Fully automatic VMware ESX installation on "bare-metal"
This HowTo is about how to fully automated provision VMware ESX to bare-metal systems (physical server) with openQRM without "touching" the hardware once and without any manual interaction needed.
Install openQRM
Install a e.g. minimal Debian on a physical Server.
Install and initialize openQRM
Please notice!
A detailed Howto about the above initial starting point is available at "Install openQRM on Debian."
For this howto we have used the same openQRM server as for the howtos about 'Install openQRM on Debian'.
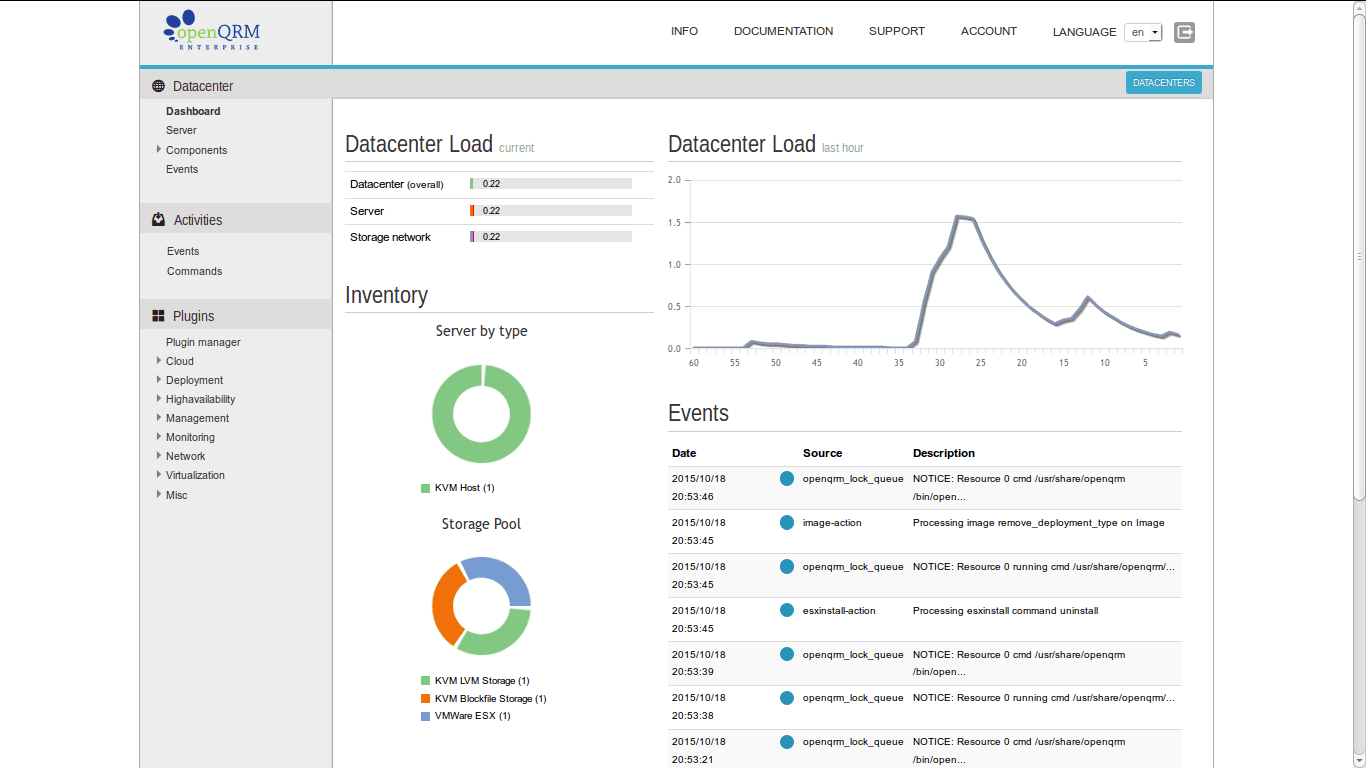
Successfully installed openQRM
Here a screenshot of the openQRM dashboard after the successful installation. We are ready now to start the configuration for the automatic VMware ESX installation.
Enable plugins
In the openQRM Plugin Manager please enable and start the following plugins in the sequence below:
- dns plugin - type Networking
- dhcpd plugin- type Networking
- tftpd plugin - type Networking
- network-manager plugin - type Networking
- local-server plugin - type Misc
- device-manager plugin - type Management
- novnc plugin - type Management
- sshterm plugin - type Management
- nfs-storage plugin - type Storage
- vmware-esx plugin - type Virtualization
- esxinstall plugin - type Deployment
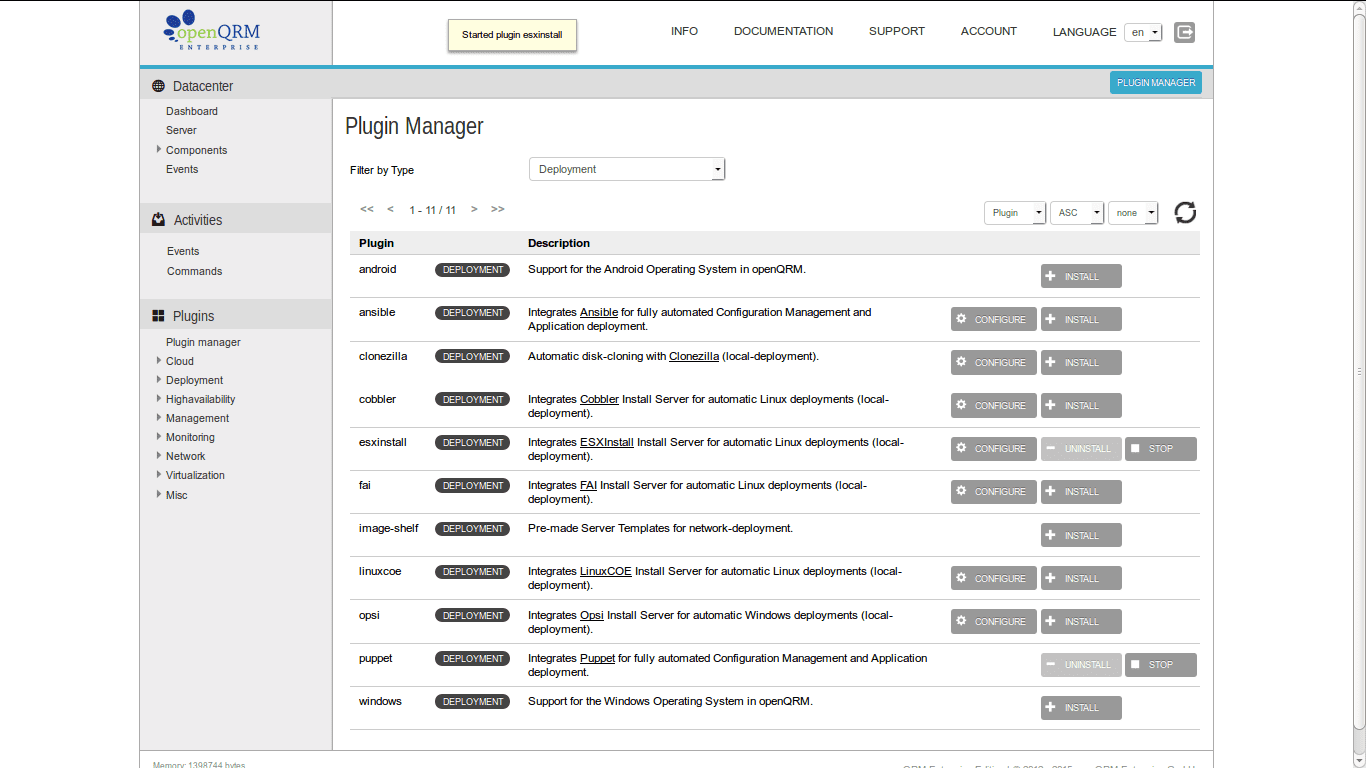
In the plugin manager click on "install" of the esxinstall plugin.
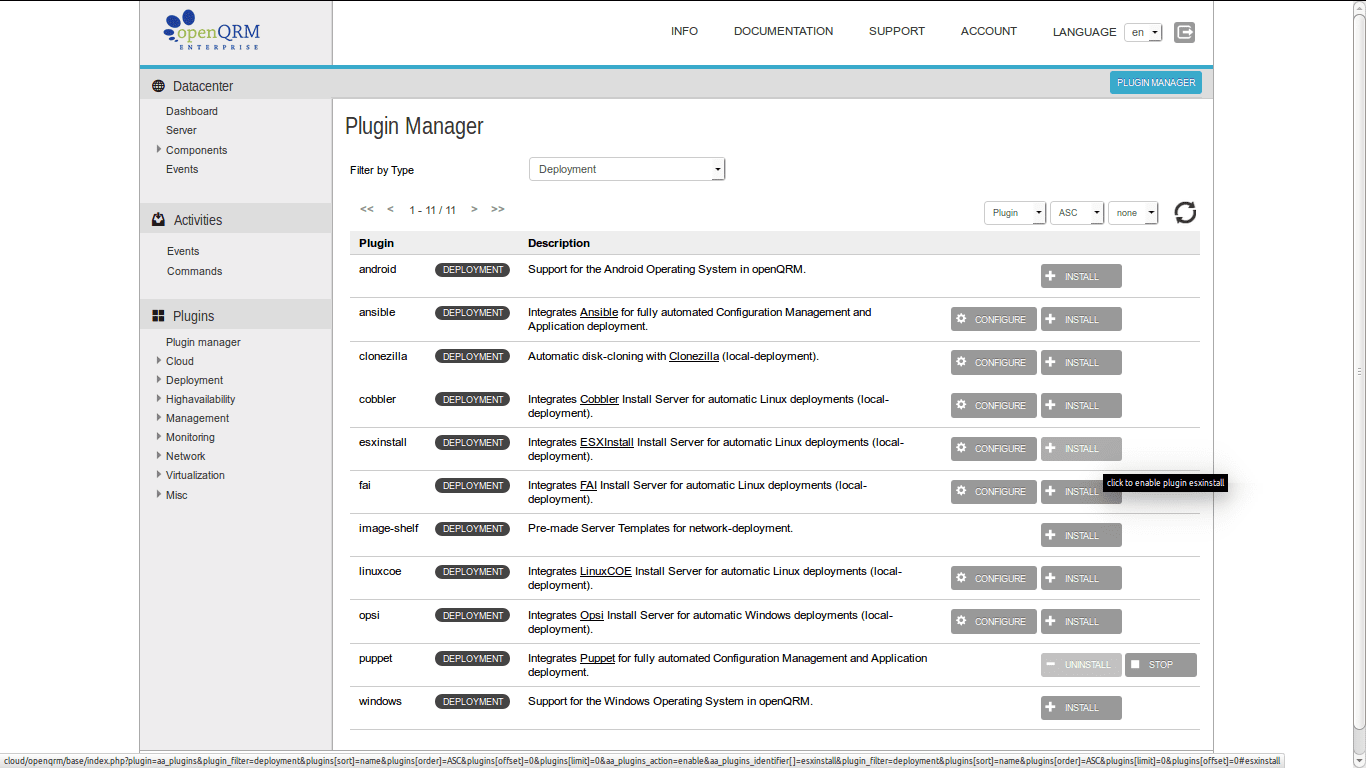
The esxinstall plugin is now installed.
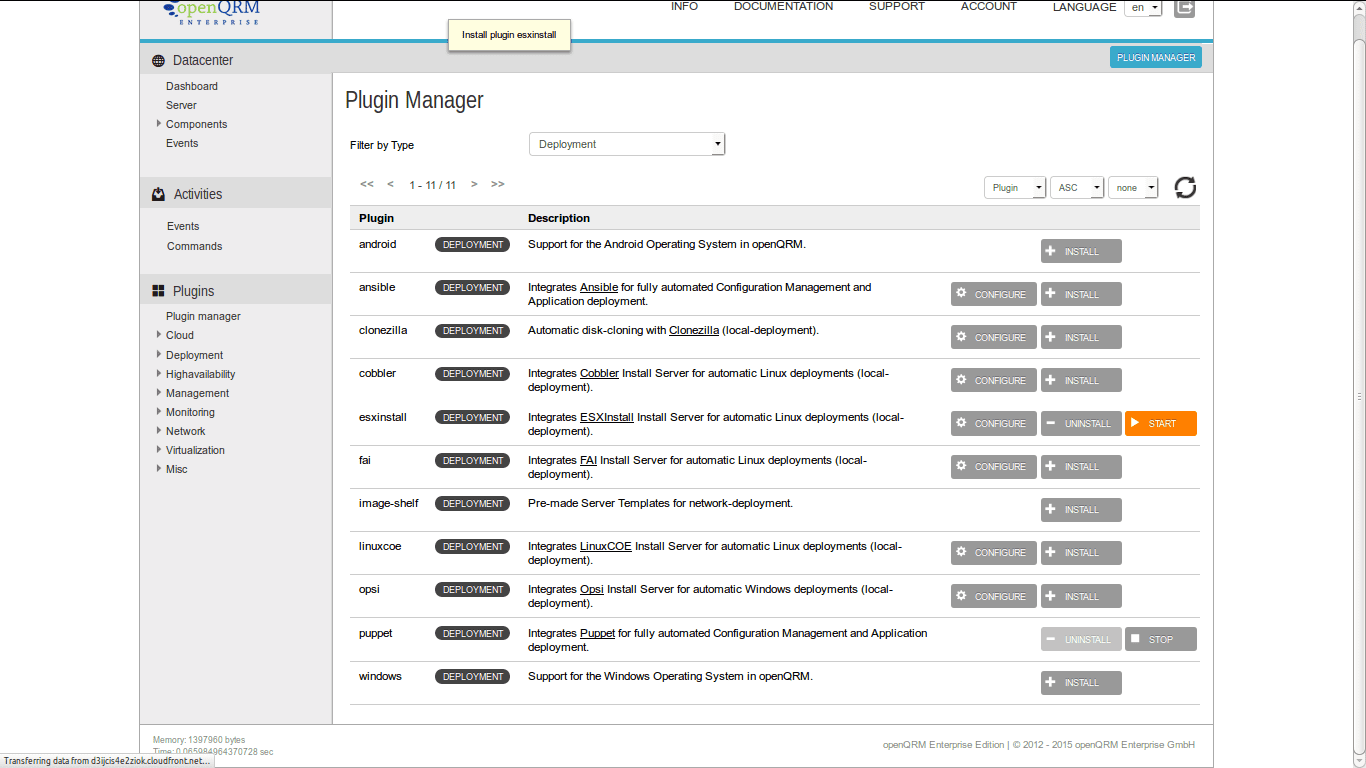
Click on "start" of the esxinstall plugin.
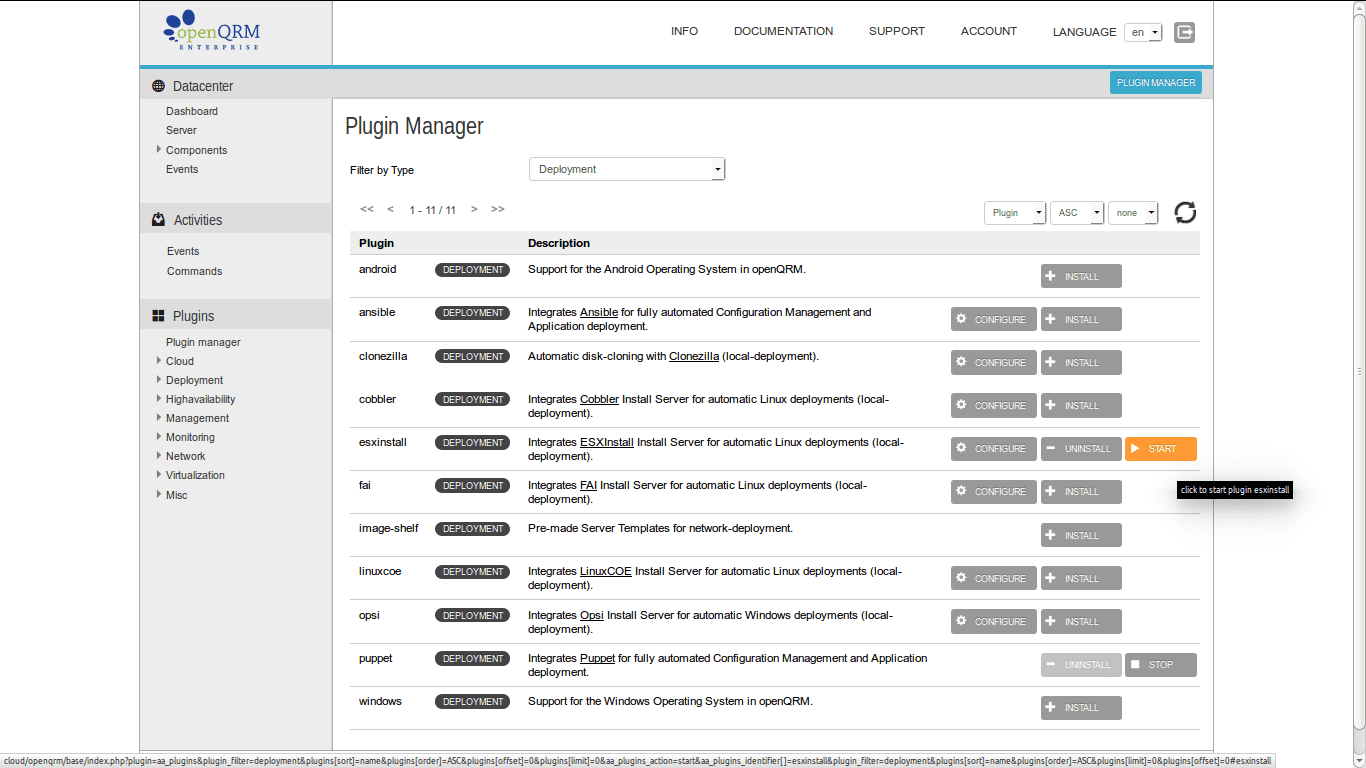
The esxinstall plugin is now enabled and started.
After enabling the plugins please copy the content of the VMware ESX installation ISO files to /usr/share/openqrm/tftpboot/esxinstall/esx[ESX-version]/

Enable PXE boot on the second system dedicated for VMware ESX
Set the second system dedicated for OpenStack to the following boot-sequence in the system bios:
- network-boot (PXE)
- boot from first harddrive
- disabled
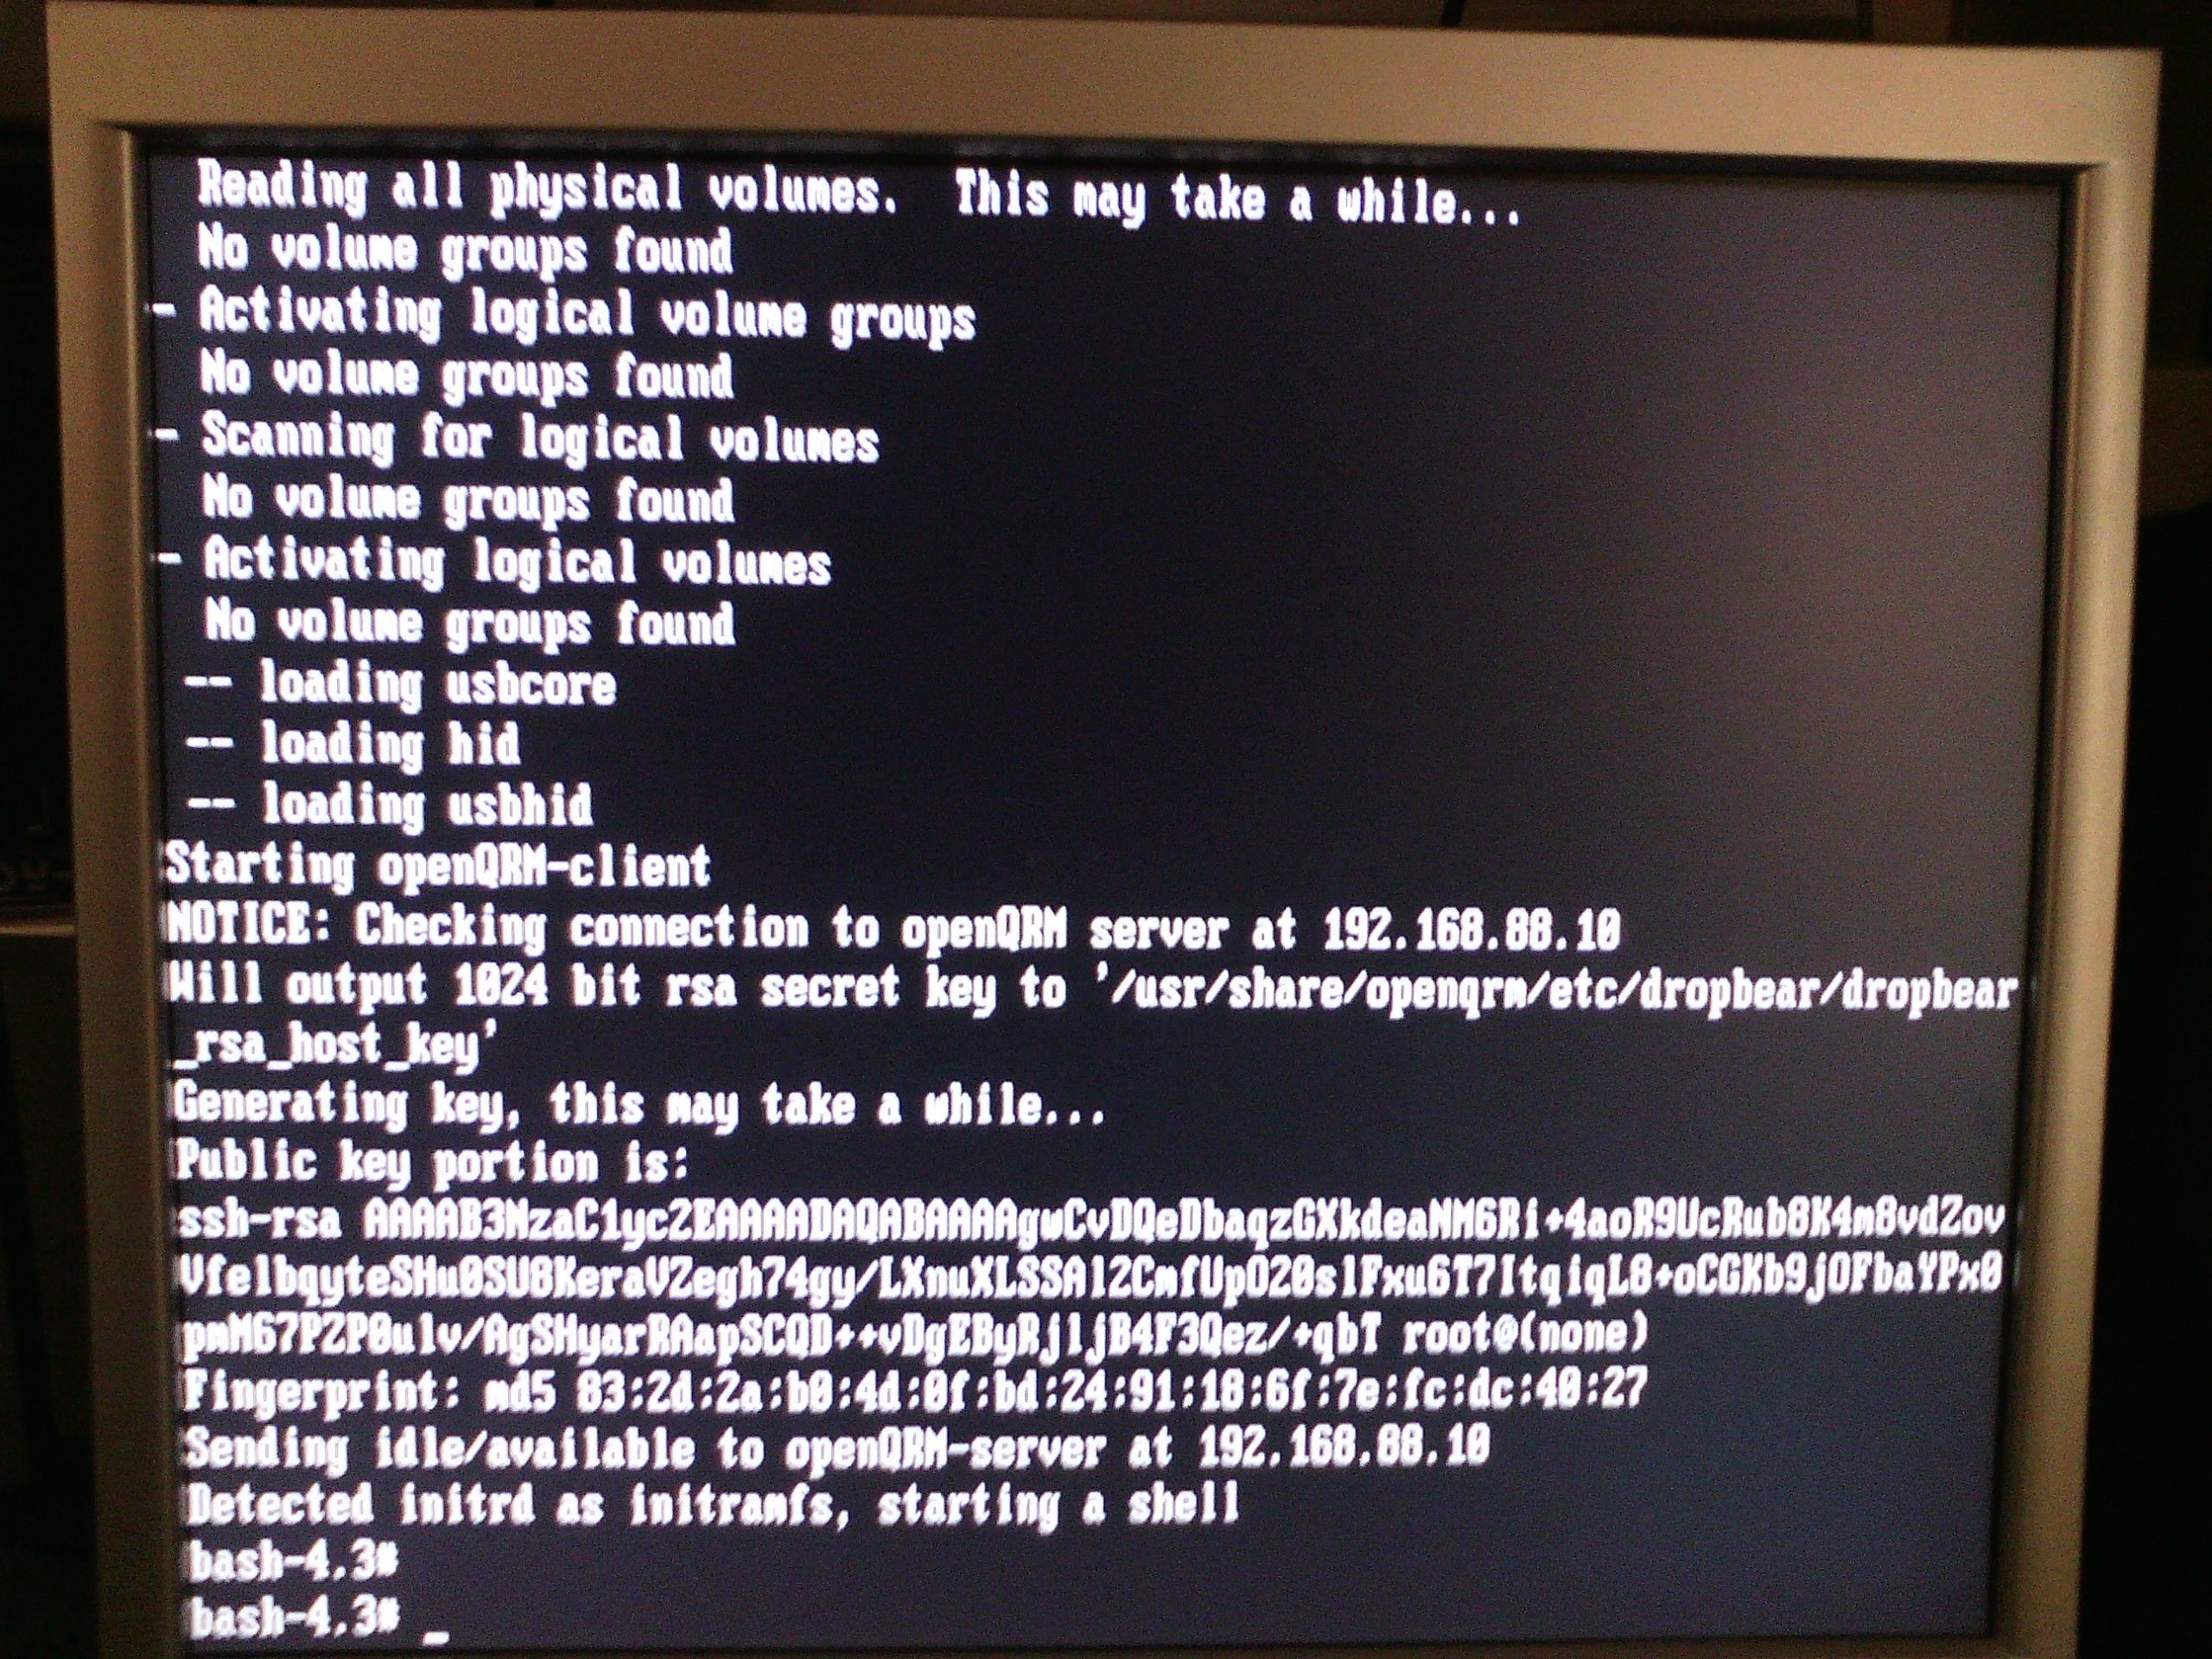
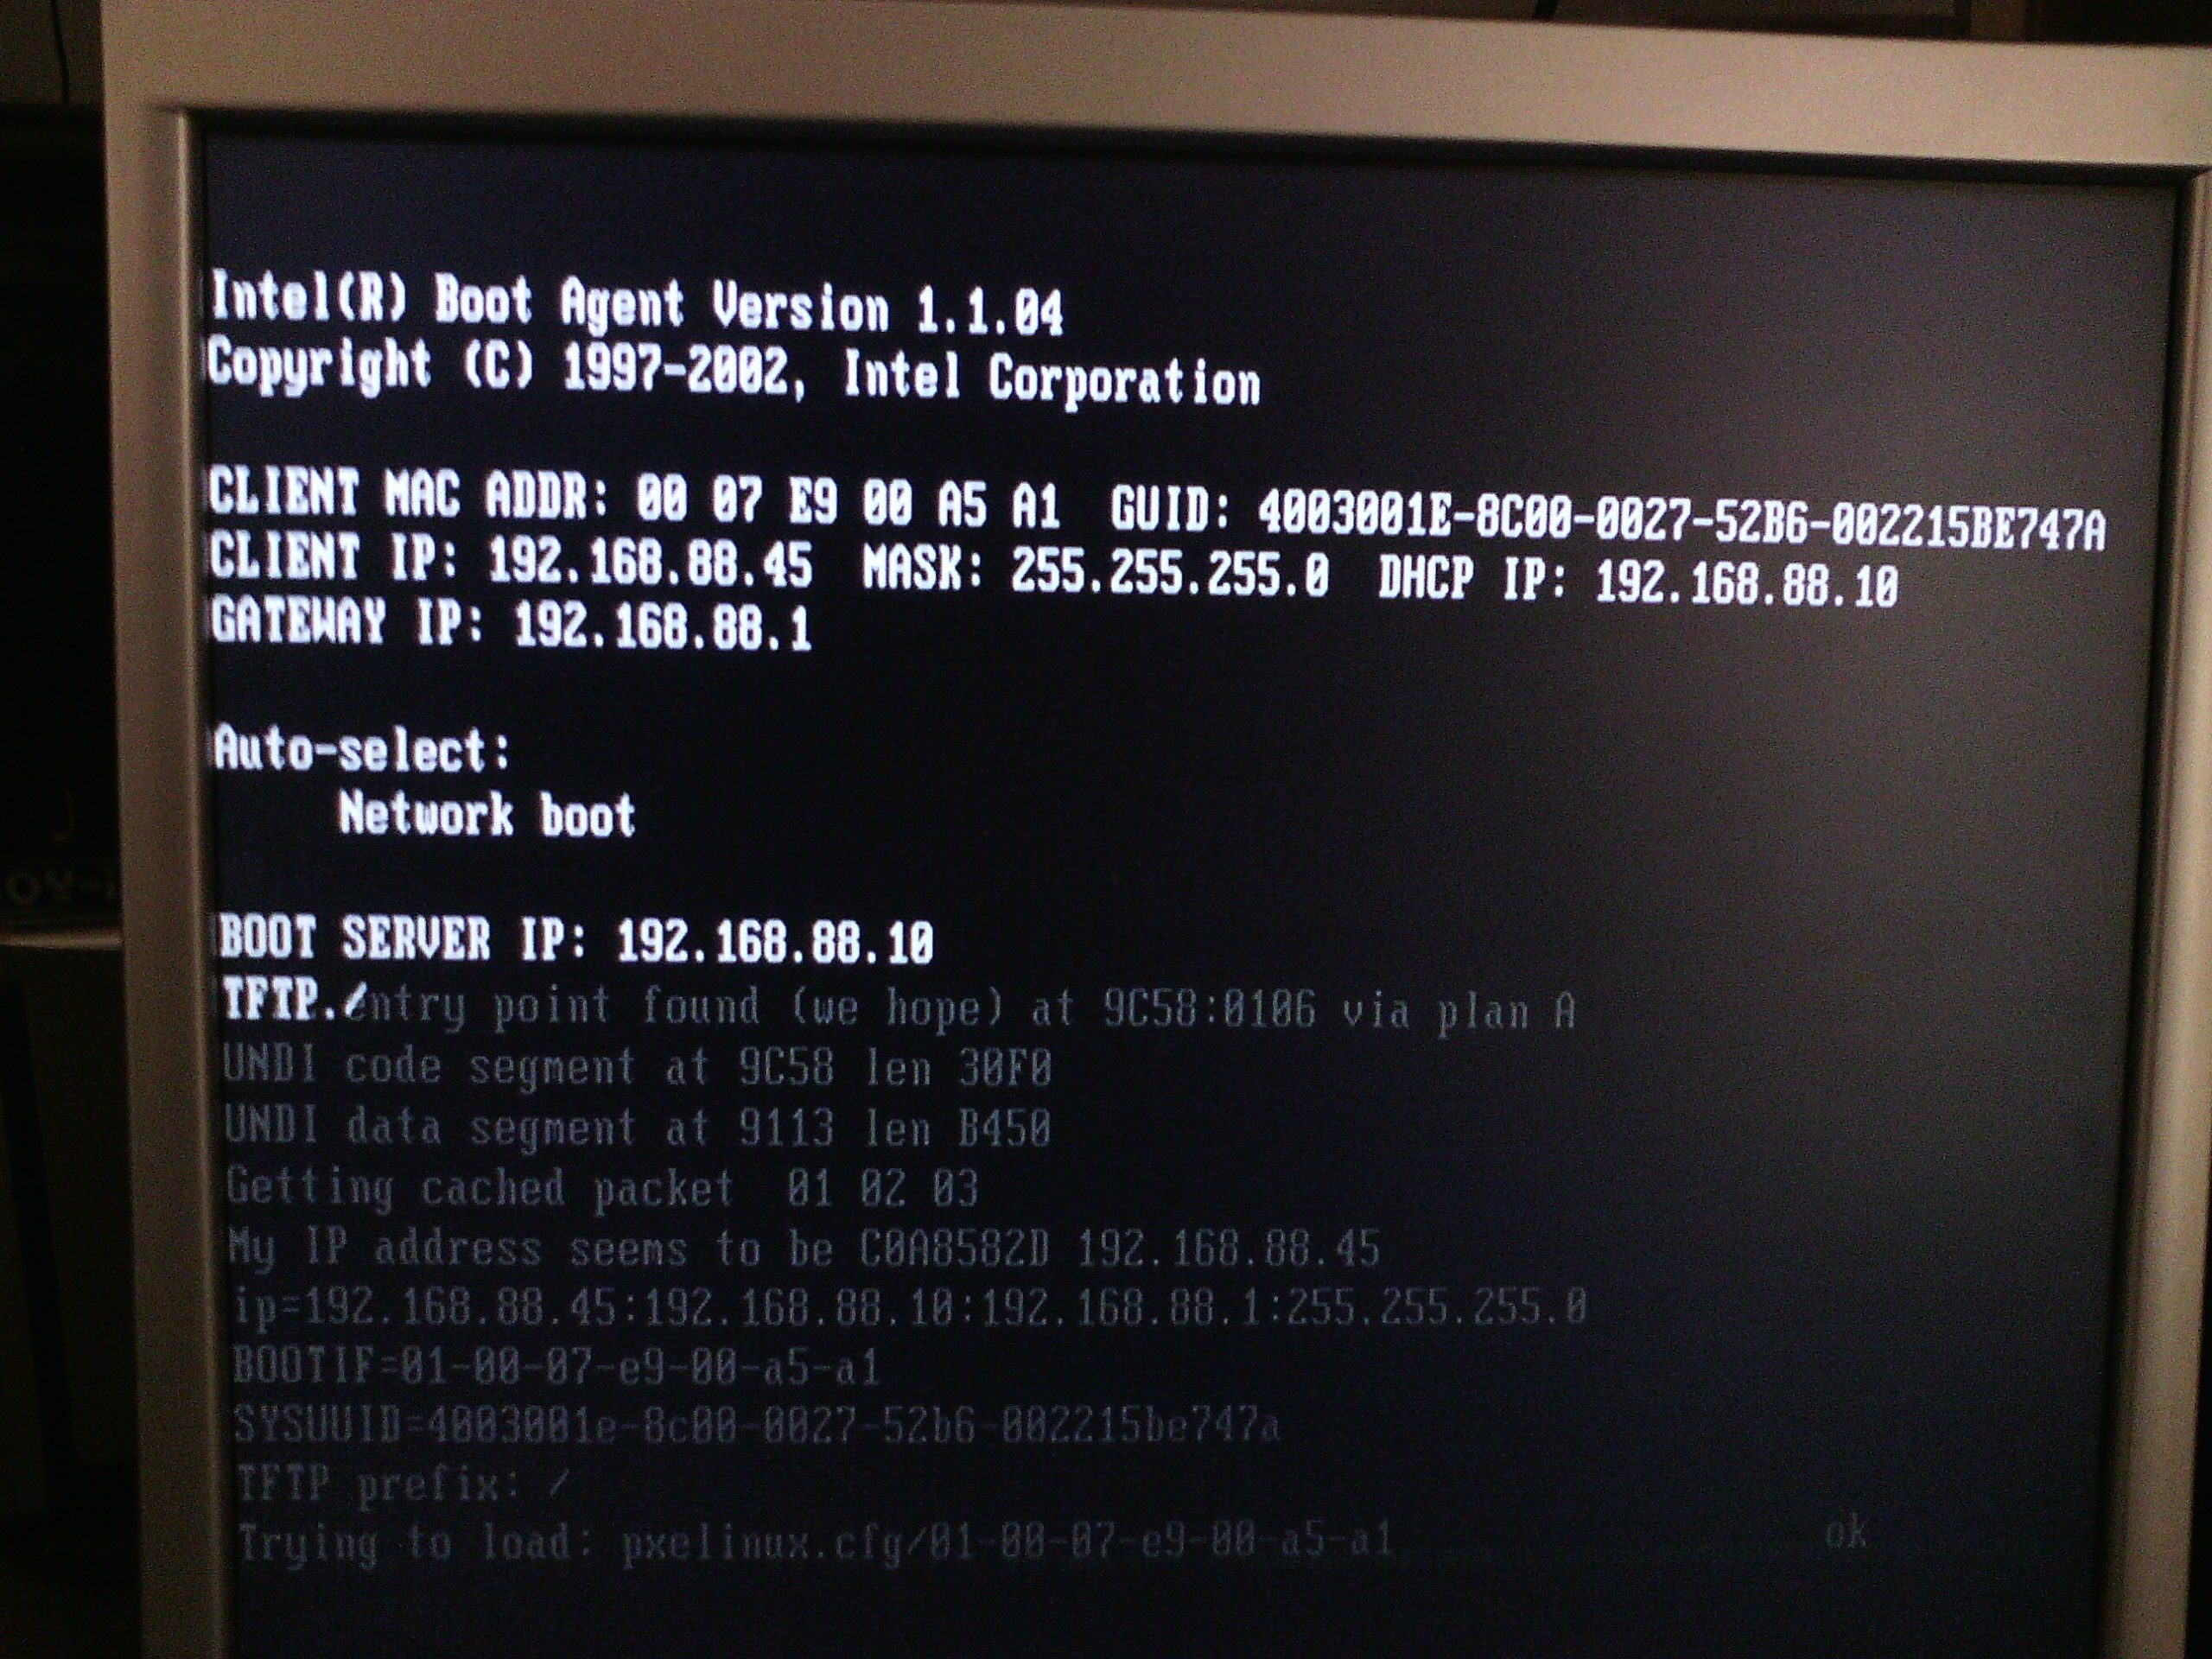
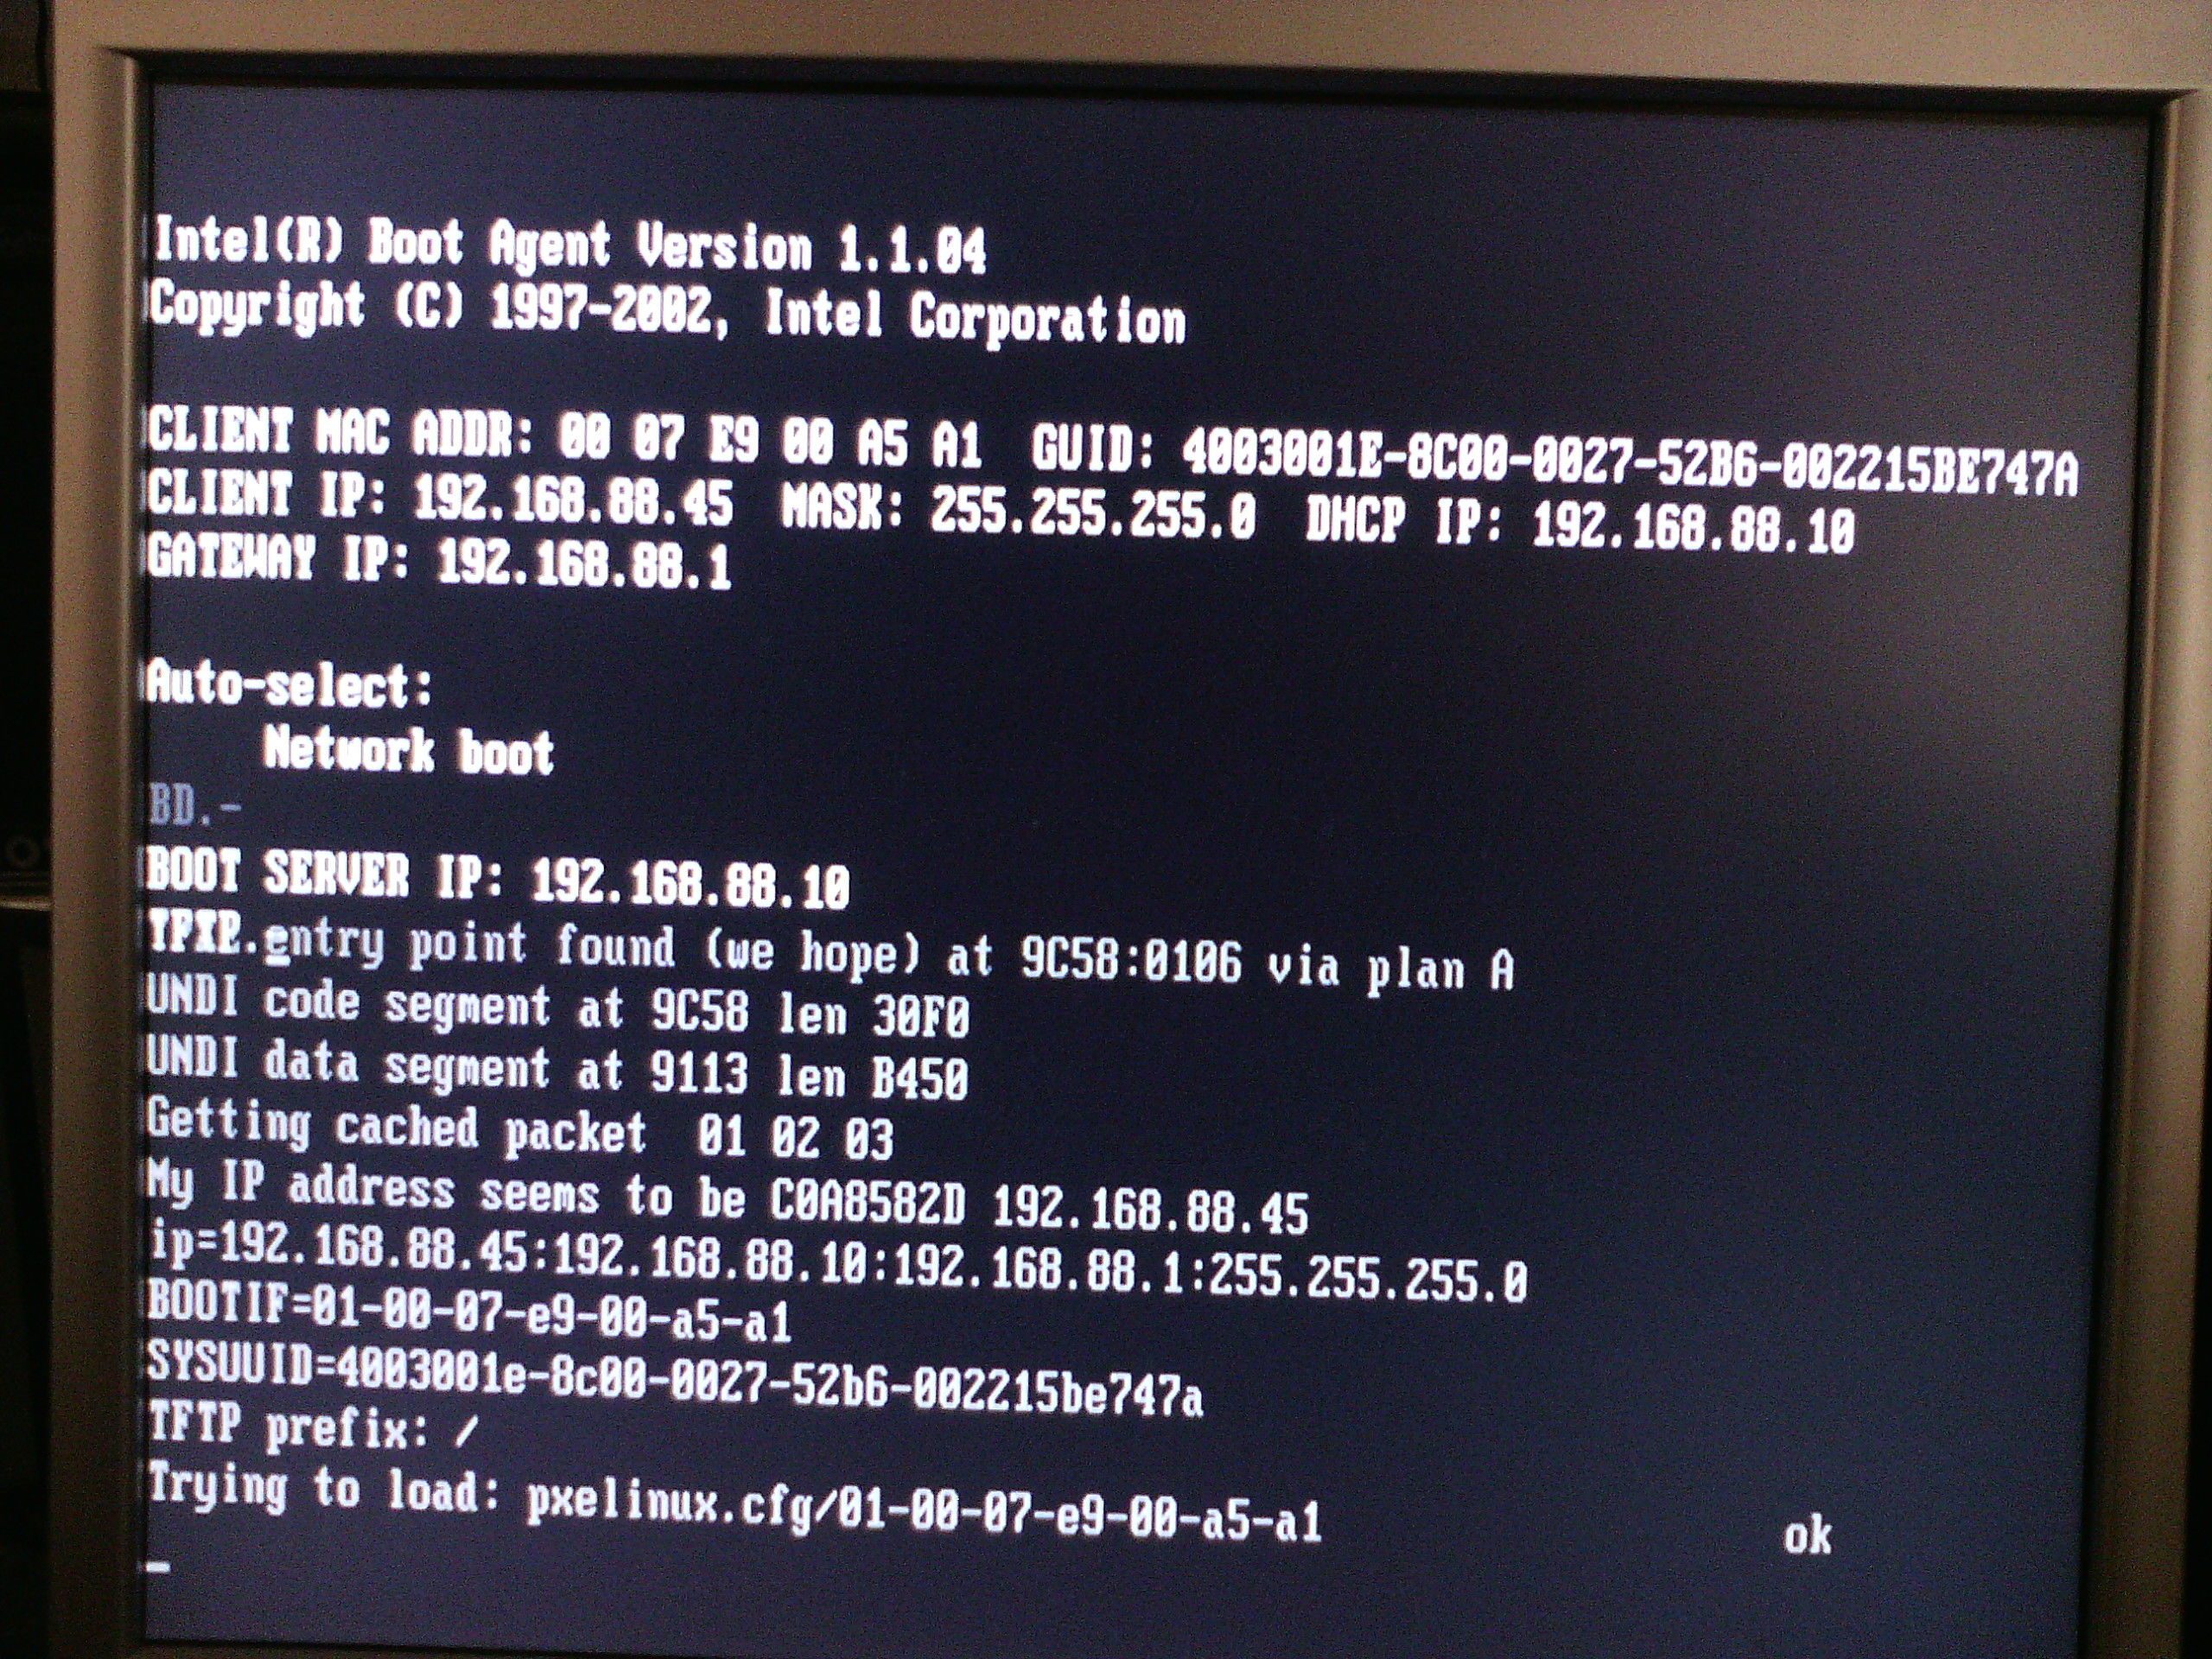
Here a screenshot of the system network-booted into openQRM
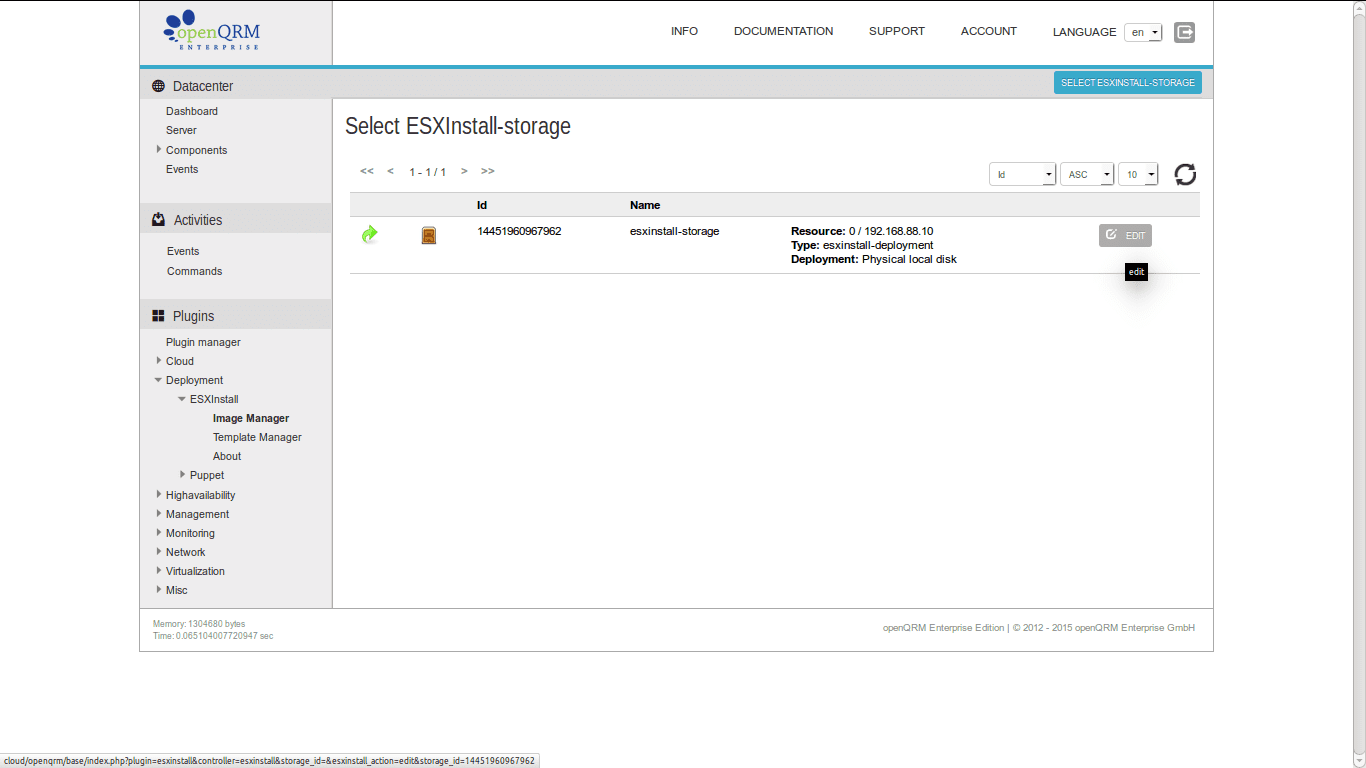
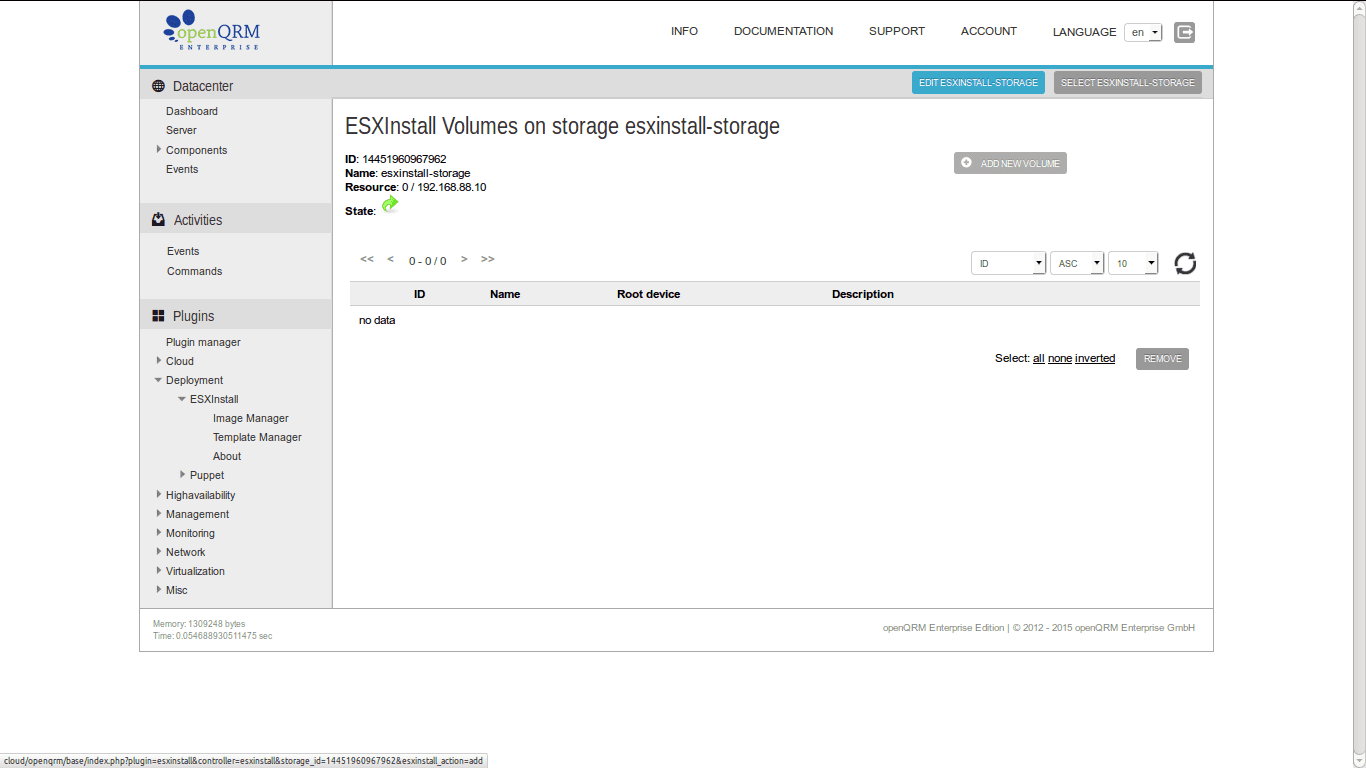
Now go to Plugins -> Deployment -> ESXInstall -> Image Manager and select the automatically created esxinstall-storage.
In the Image Overview click on "Add new Volume".
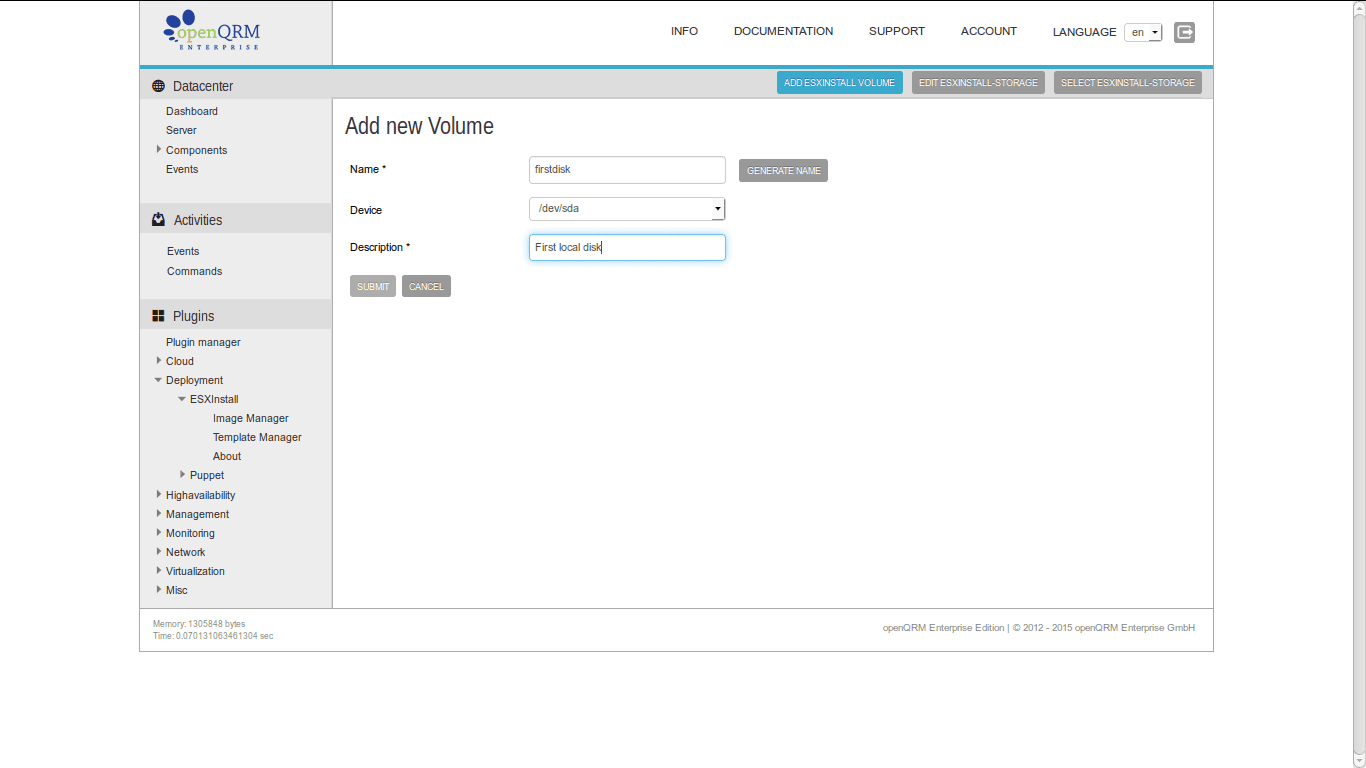
Fill in a custom name and description. Then click on "submit.
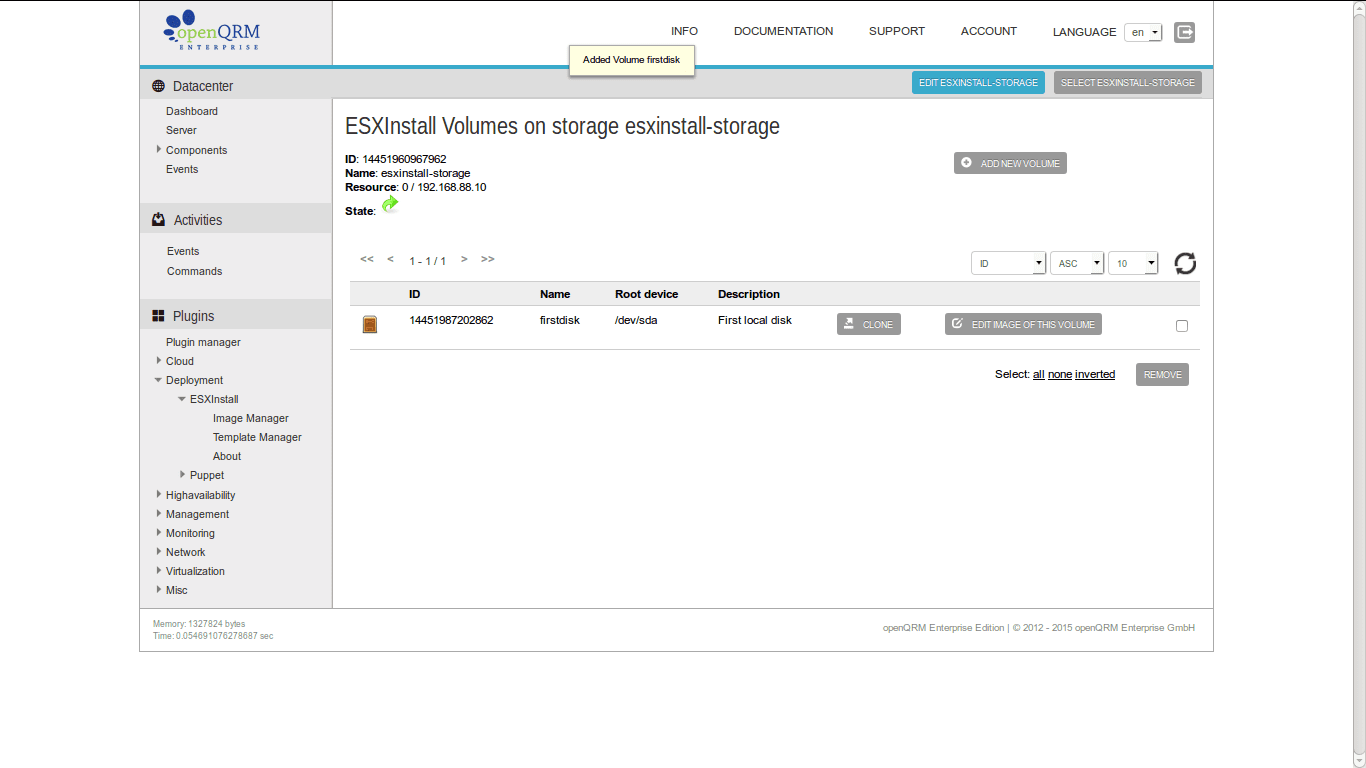
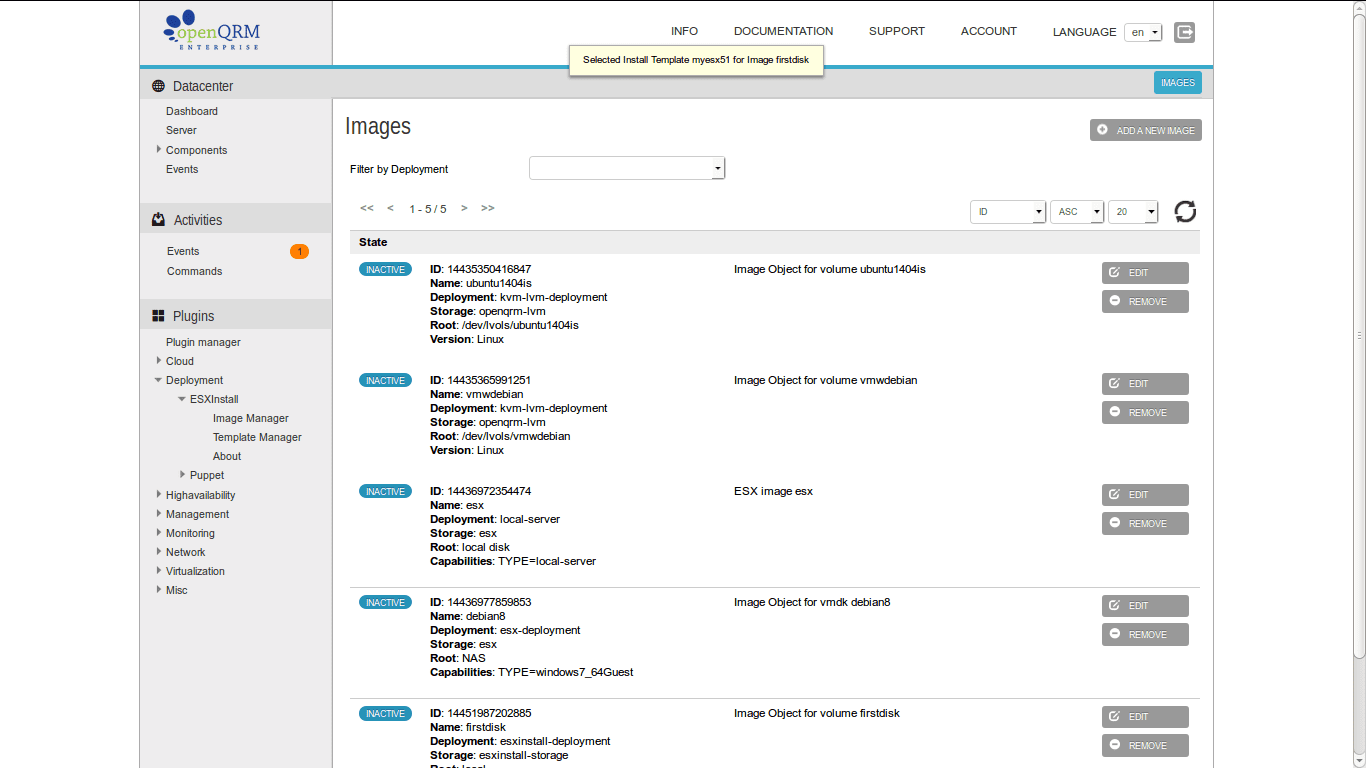
This created a new ESXInstall Image in openQRM.
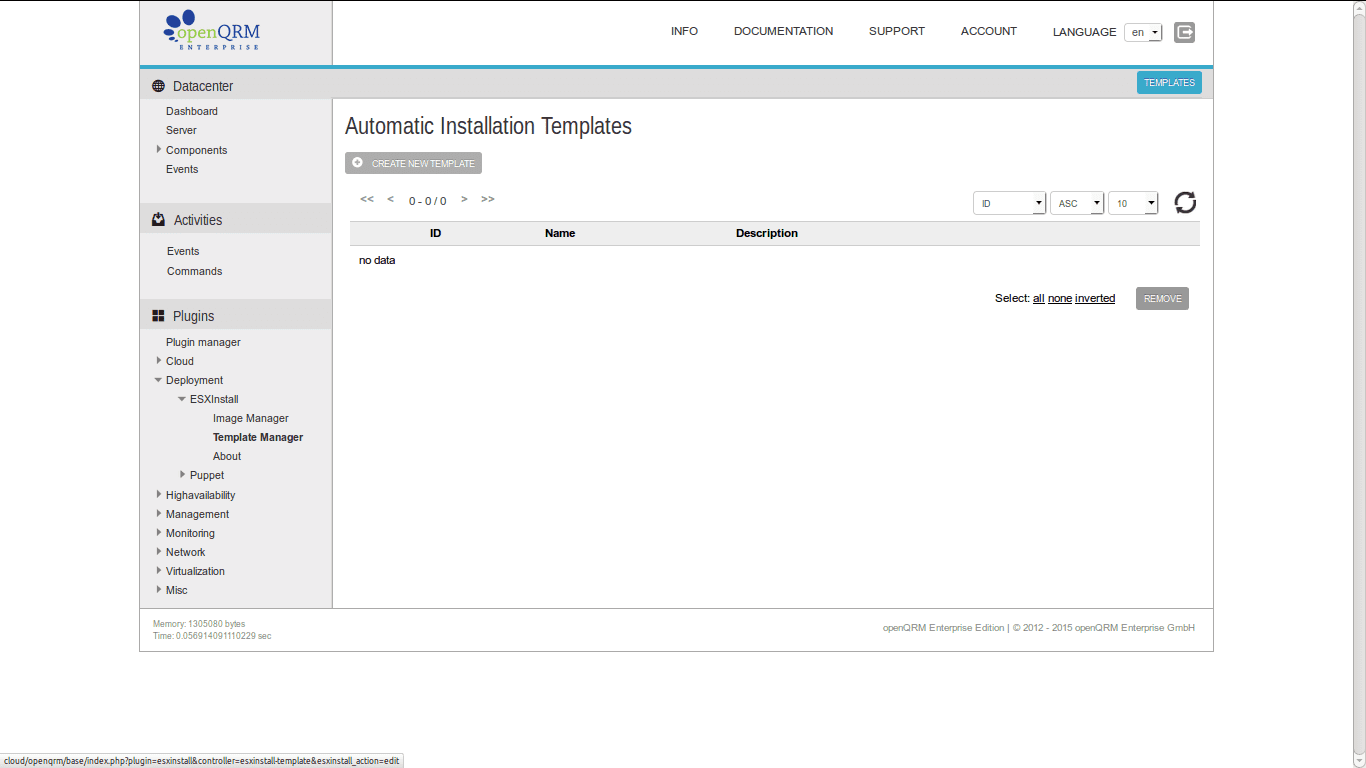
Now go to Plugins -> Deployment -> ESXInstall -> Template Manager and click on "Create new template".
Provide a custom template name and description, select the ESX version to auto-install and edit the kickstart-template according your requirements and preferences. The click on "submit".
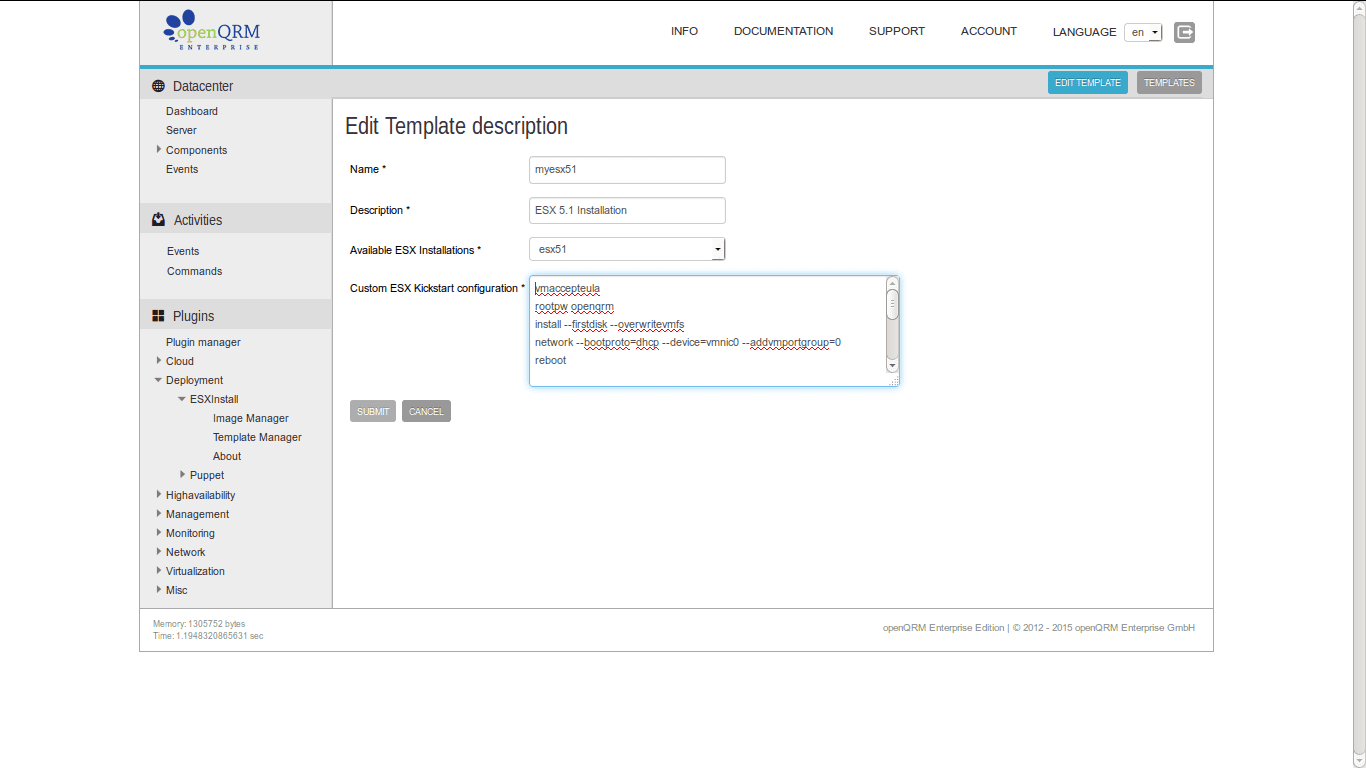
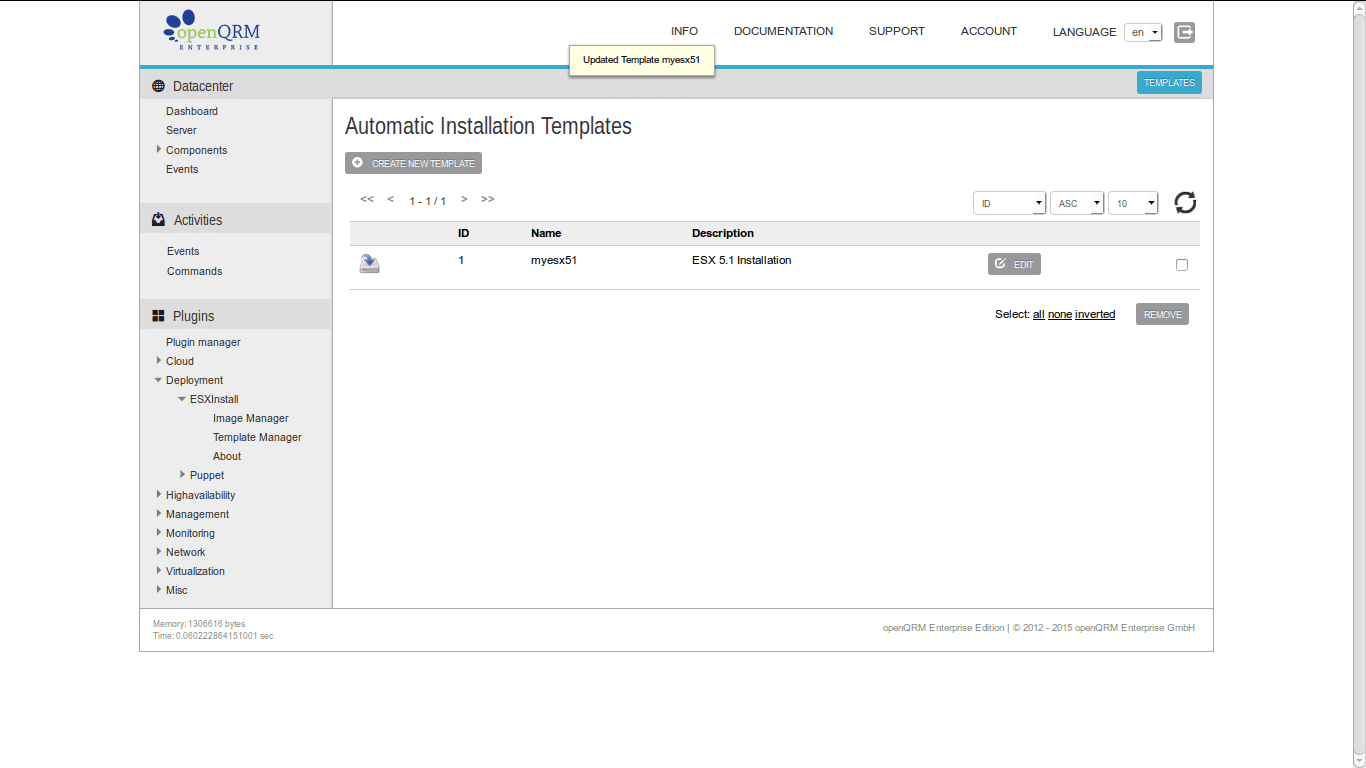
This created a new ESX install template.
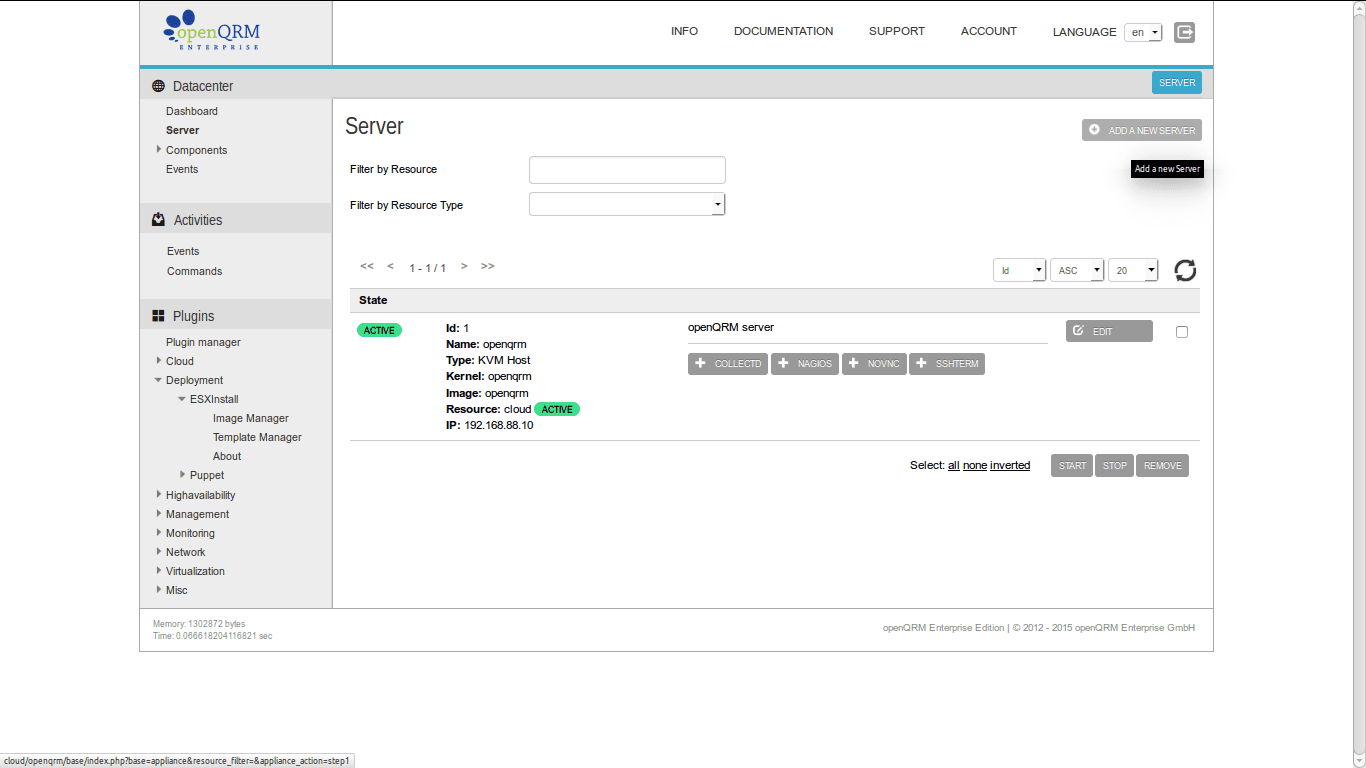
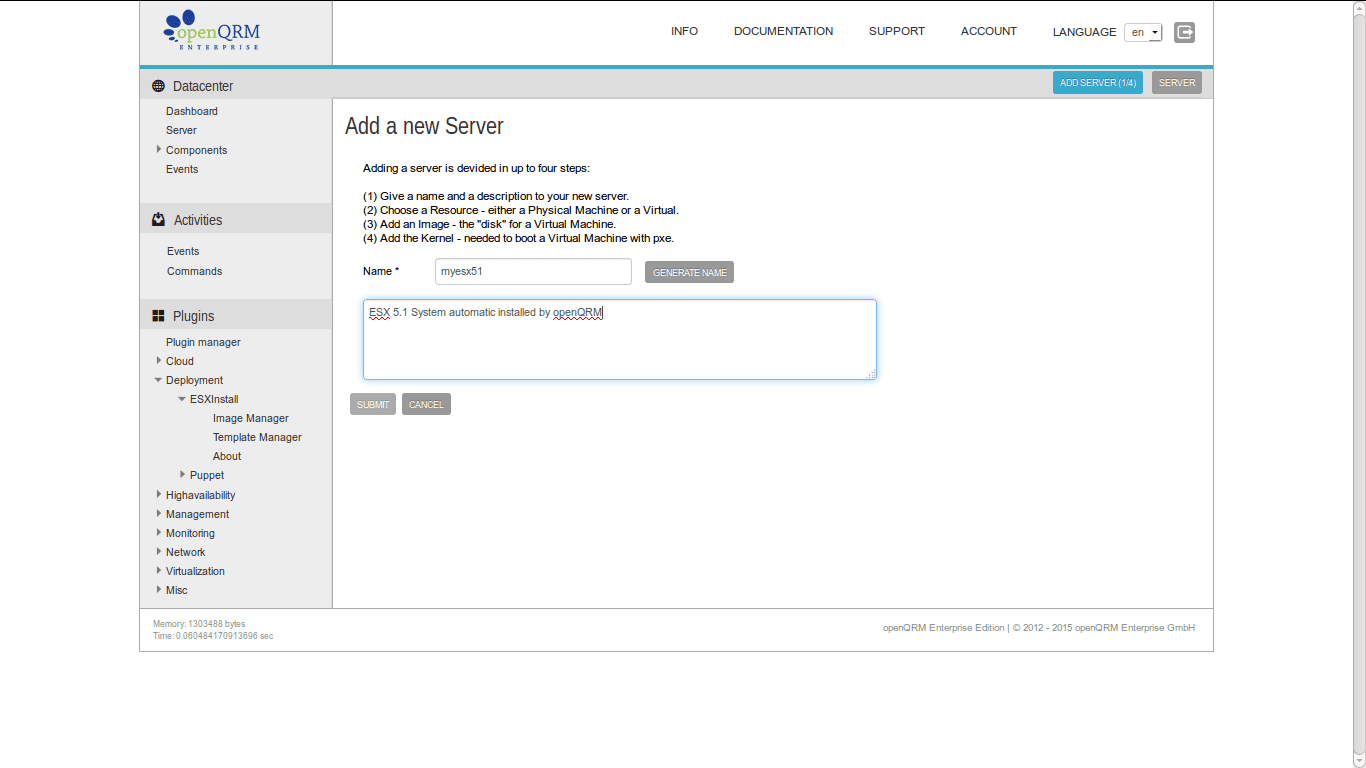
Now we create a new server object. Go to Base -> Server and click on "Add new server".
Provide a name and description in the first step of the wizard.
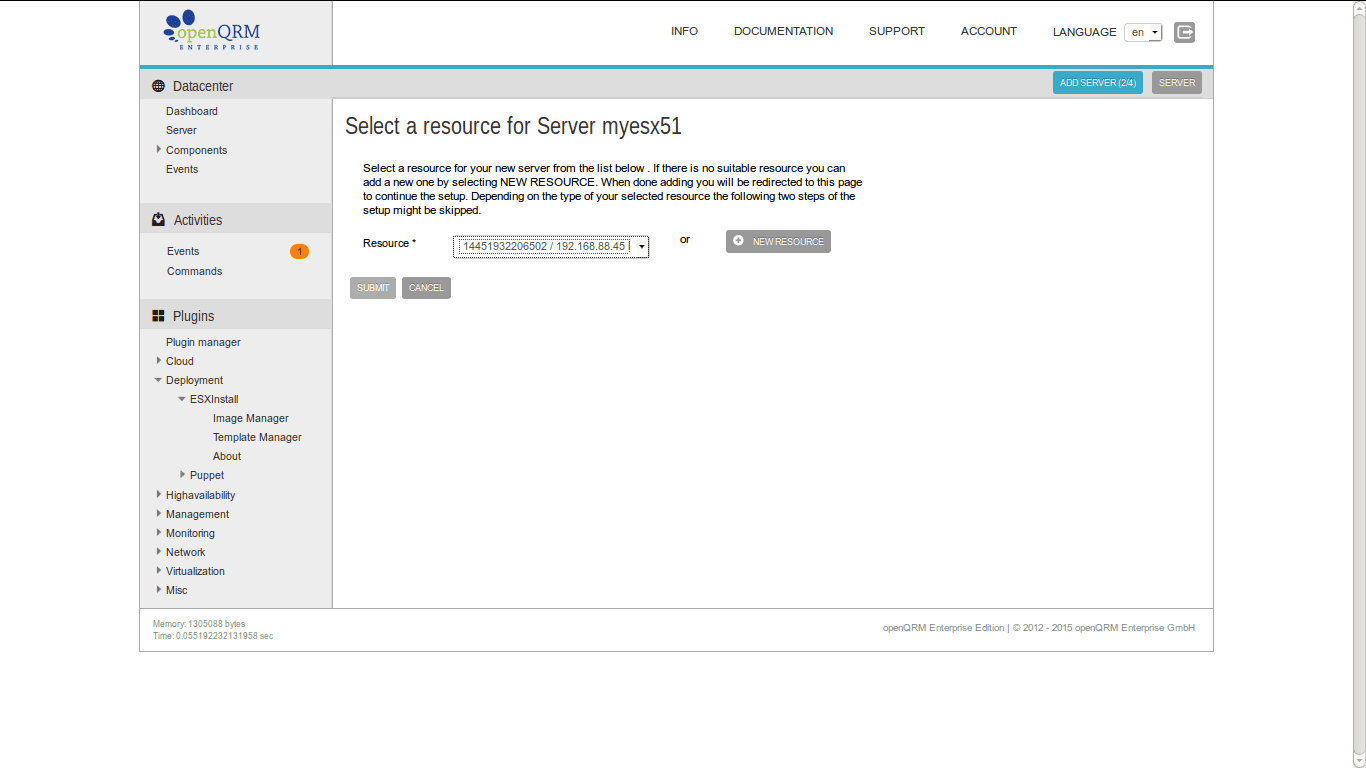
In the second step please select the resource object of the PXE/network-booted, physical system dedicated for the ESX installation.
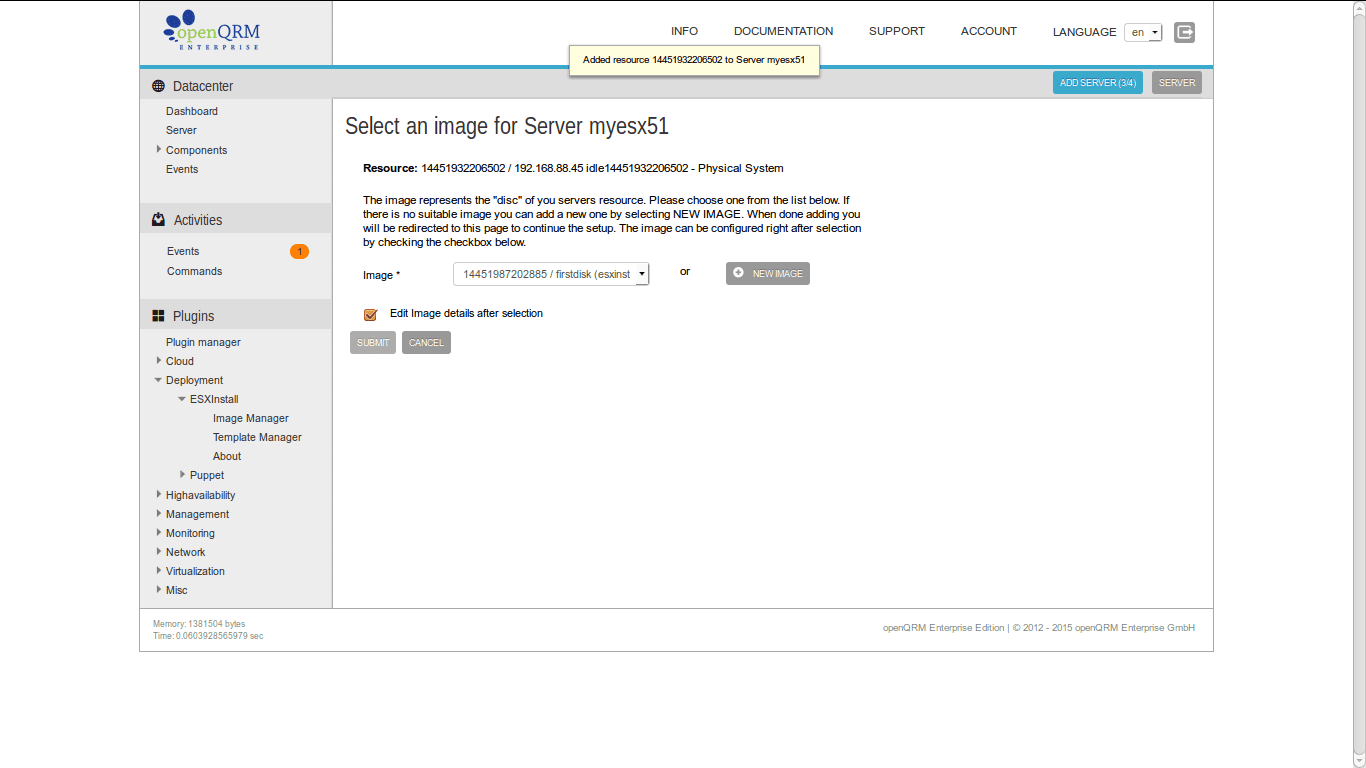
In the third step please select the previously creaeted ESXInstall Image.
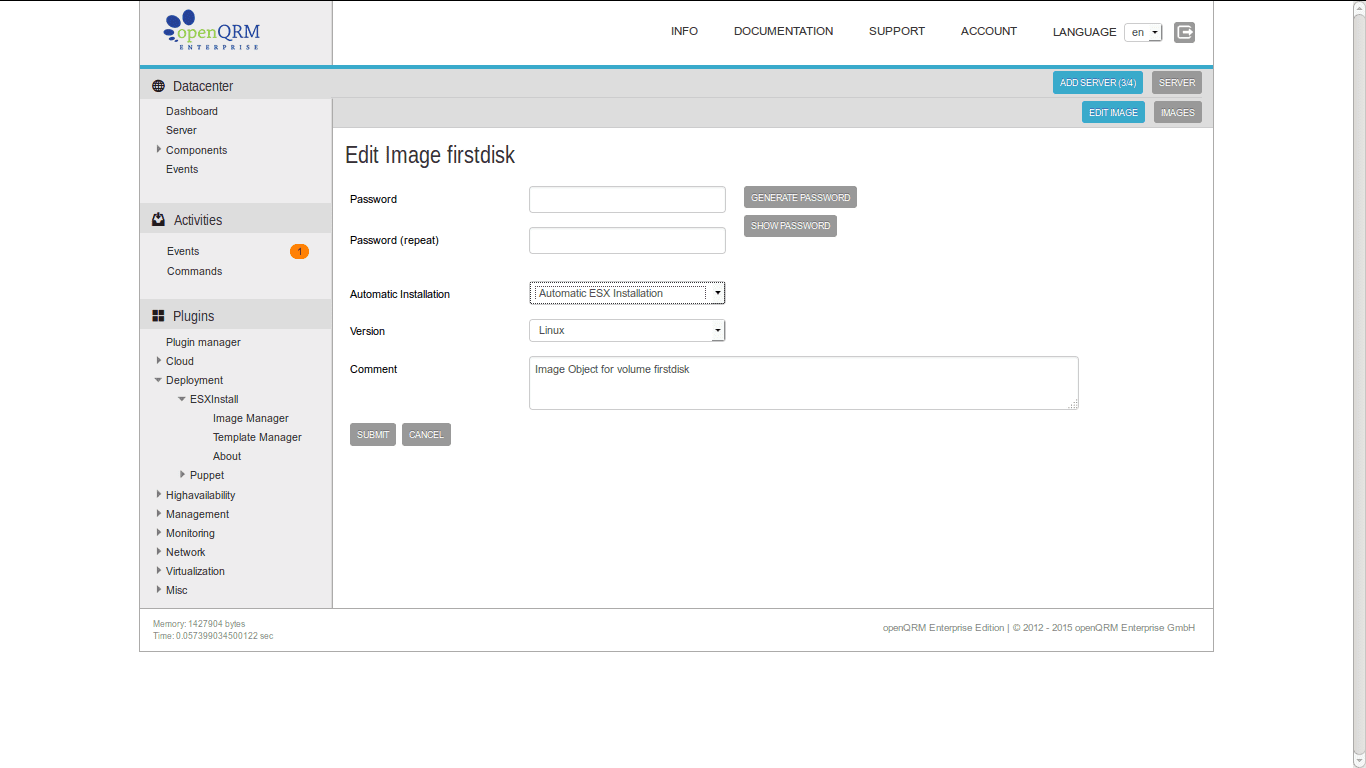
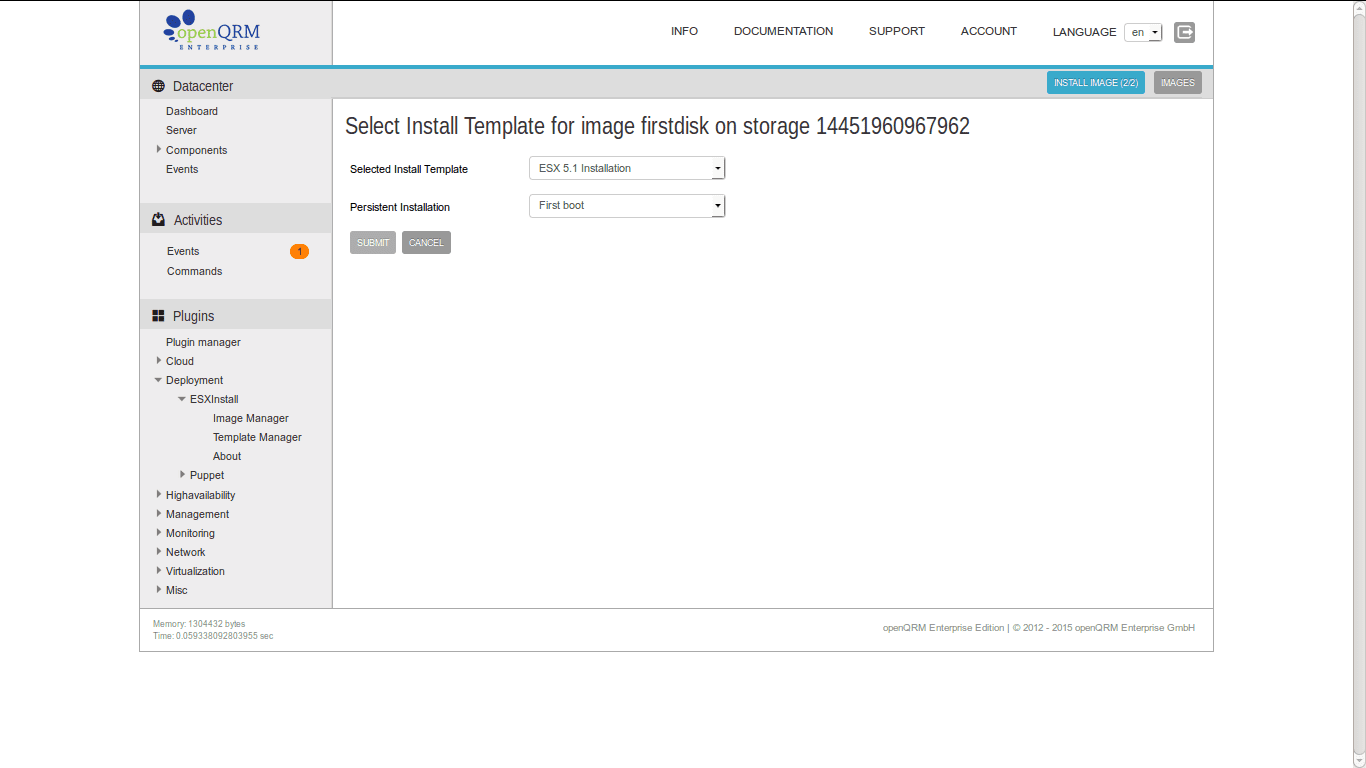
In the Edit-Image screen please select "Automatic ESX Installation" for the "Automatic Installation" option.
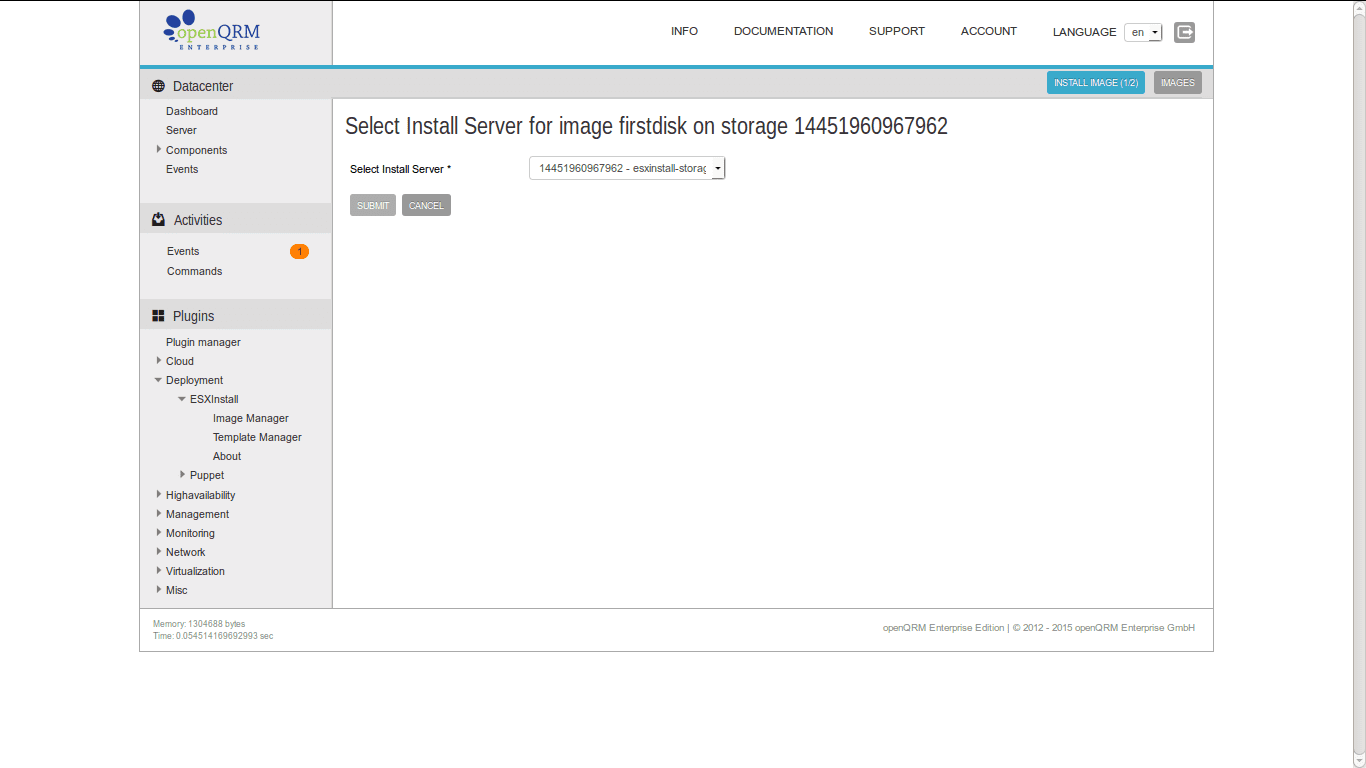
Here select the ESXInstall Storage object.
And here you define which ESX automatic installation profile will be attached to the Image.
This forwards to the Image overview. Please go back to Base -> Server.
In the server overview please click on "Continue setup".
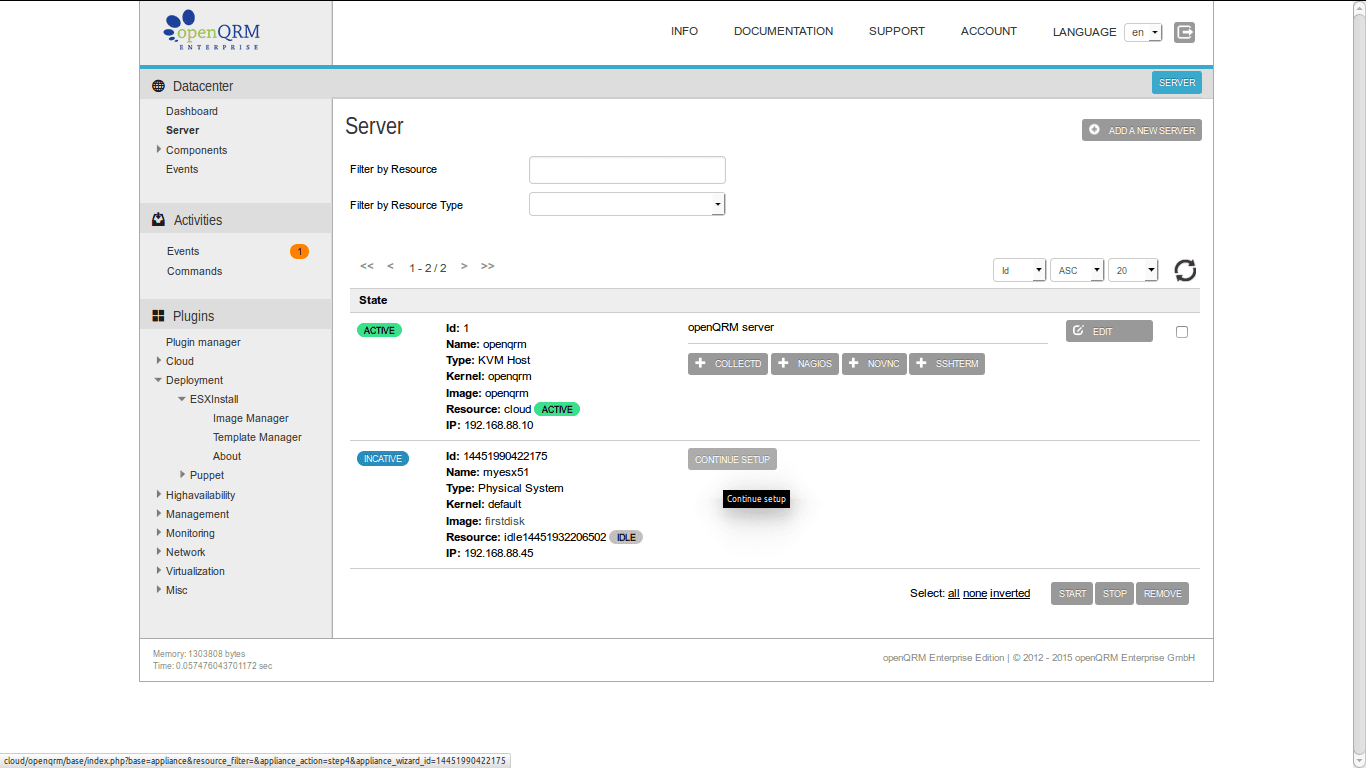
Here define the "default" kernel to the server object.

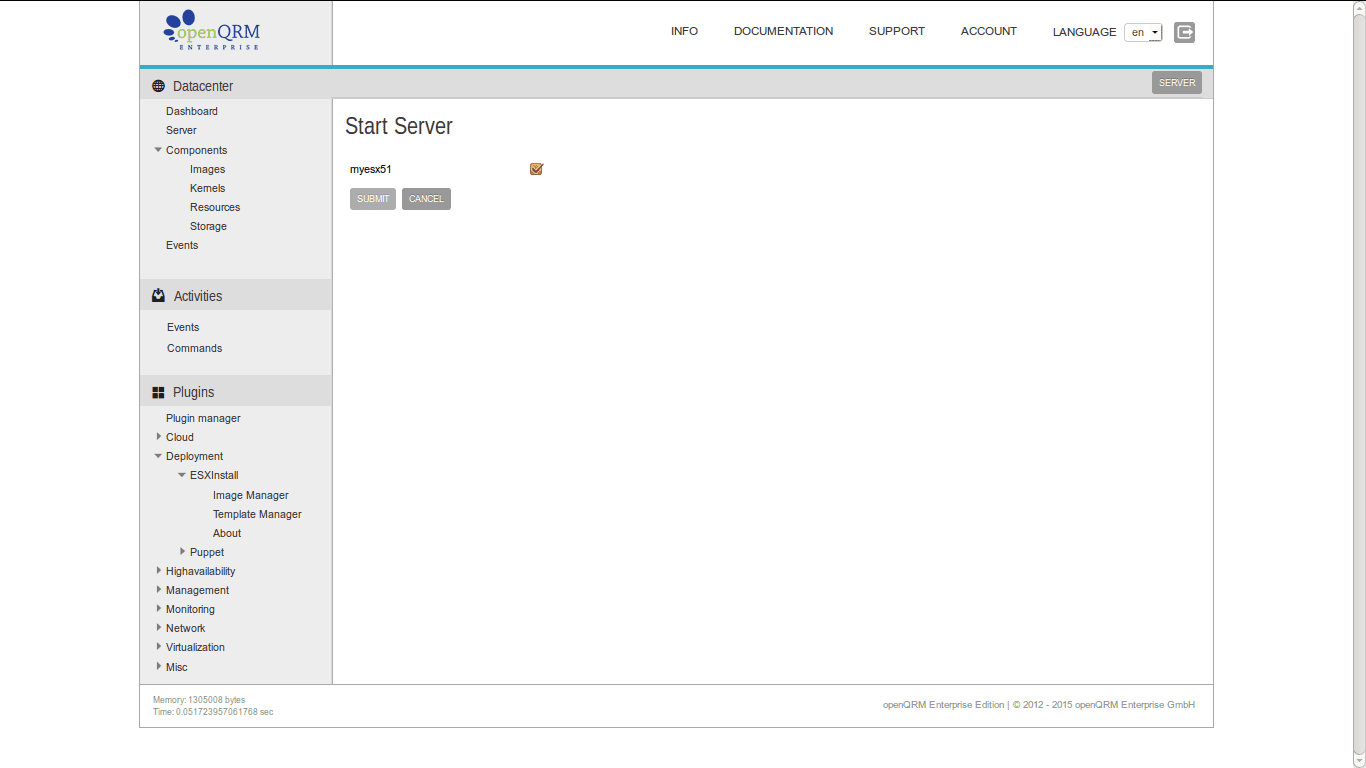
This forwards to the server overview again. Here please click on "Start" of the new created server object.
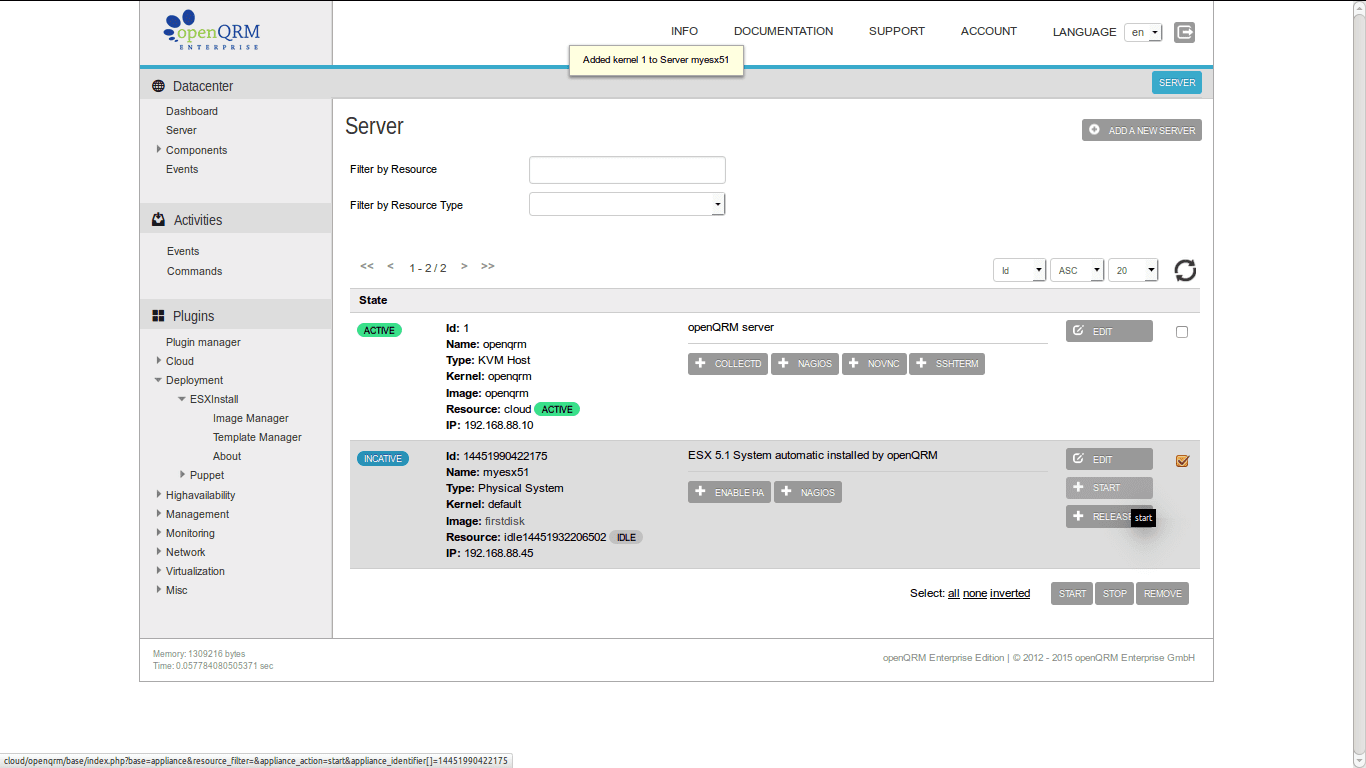
And confirm the starting action.
The server now gets activated and its resource gets into transition state for the automatic installation.

Here the physical system rebooting via PXE into the automatic ESX installation.
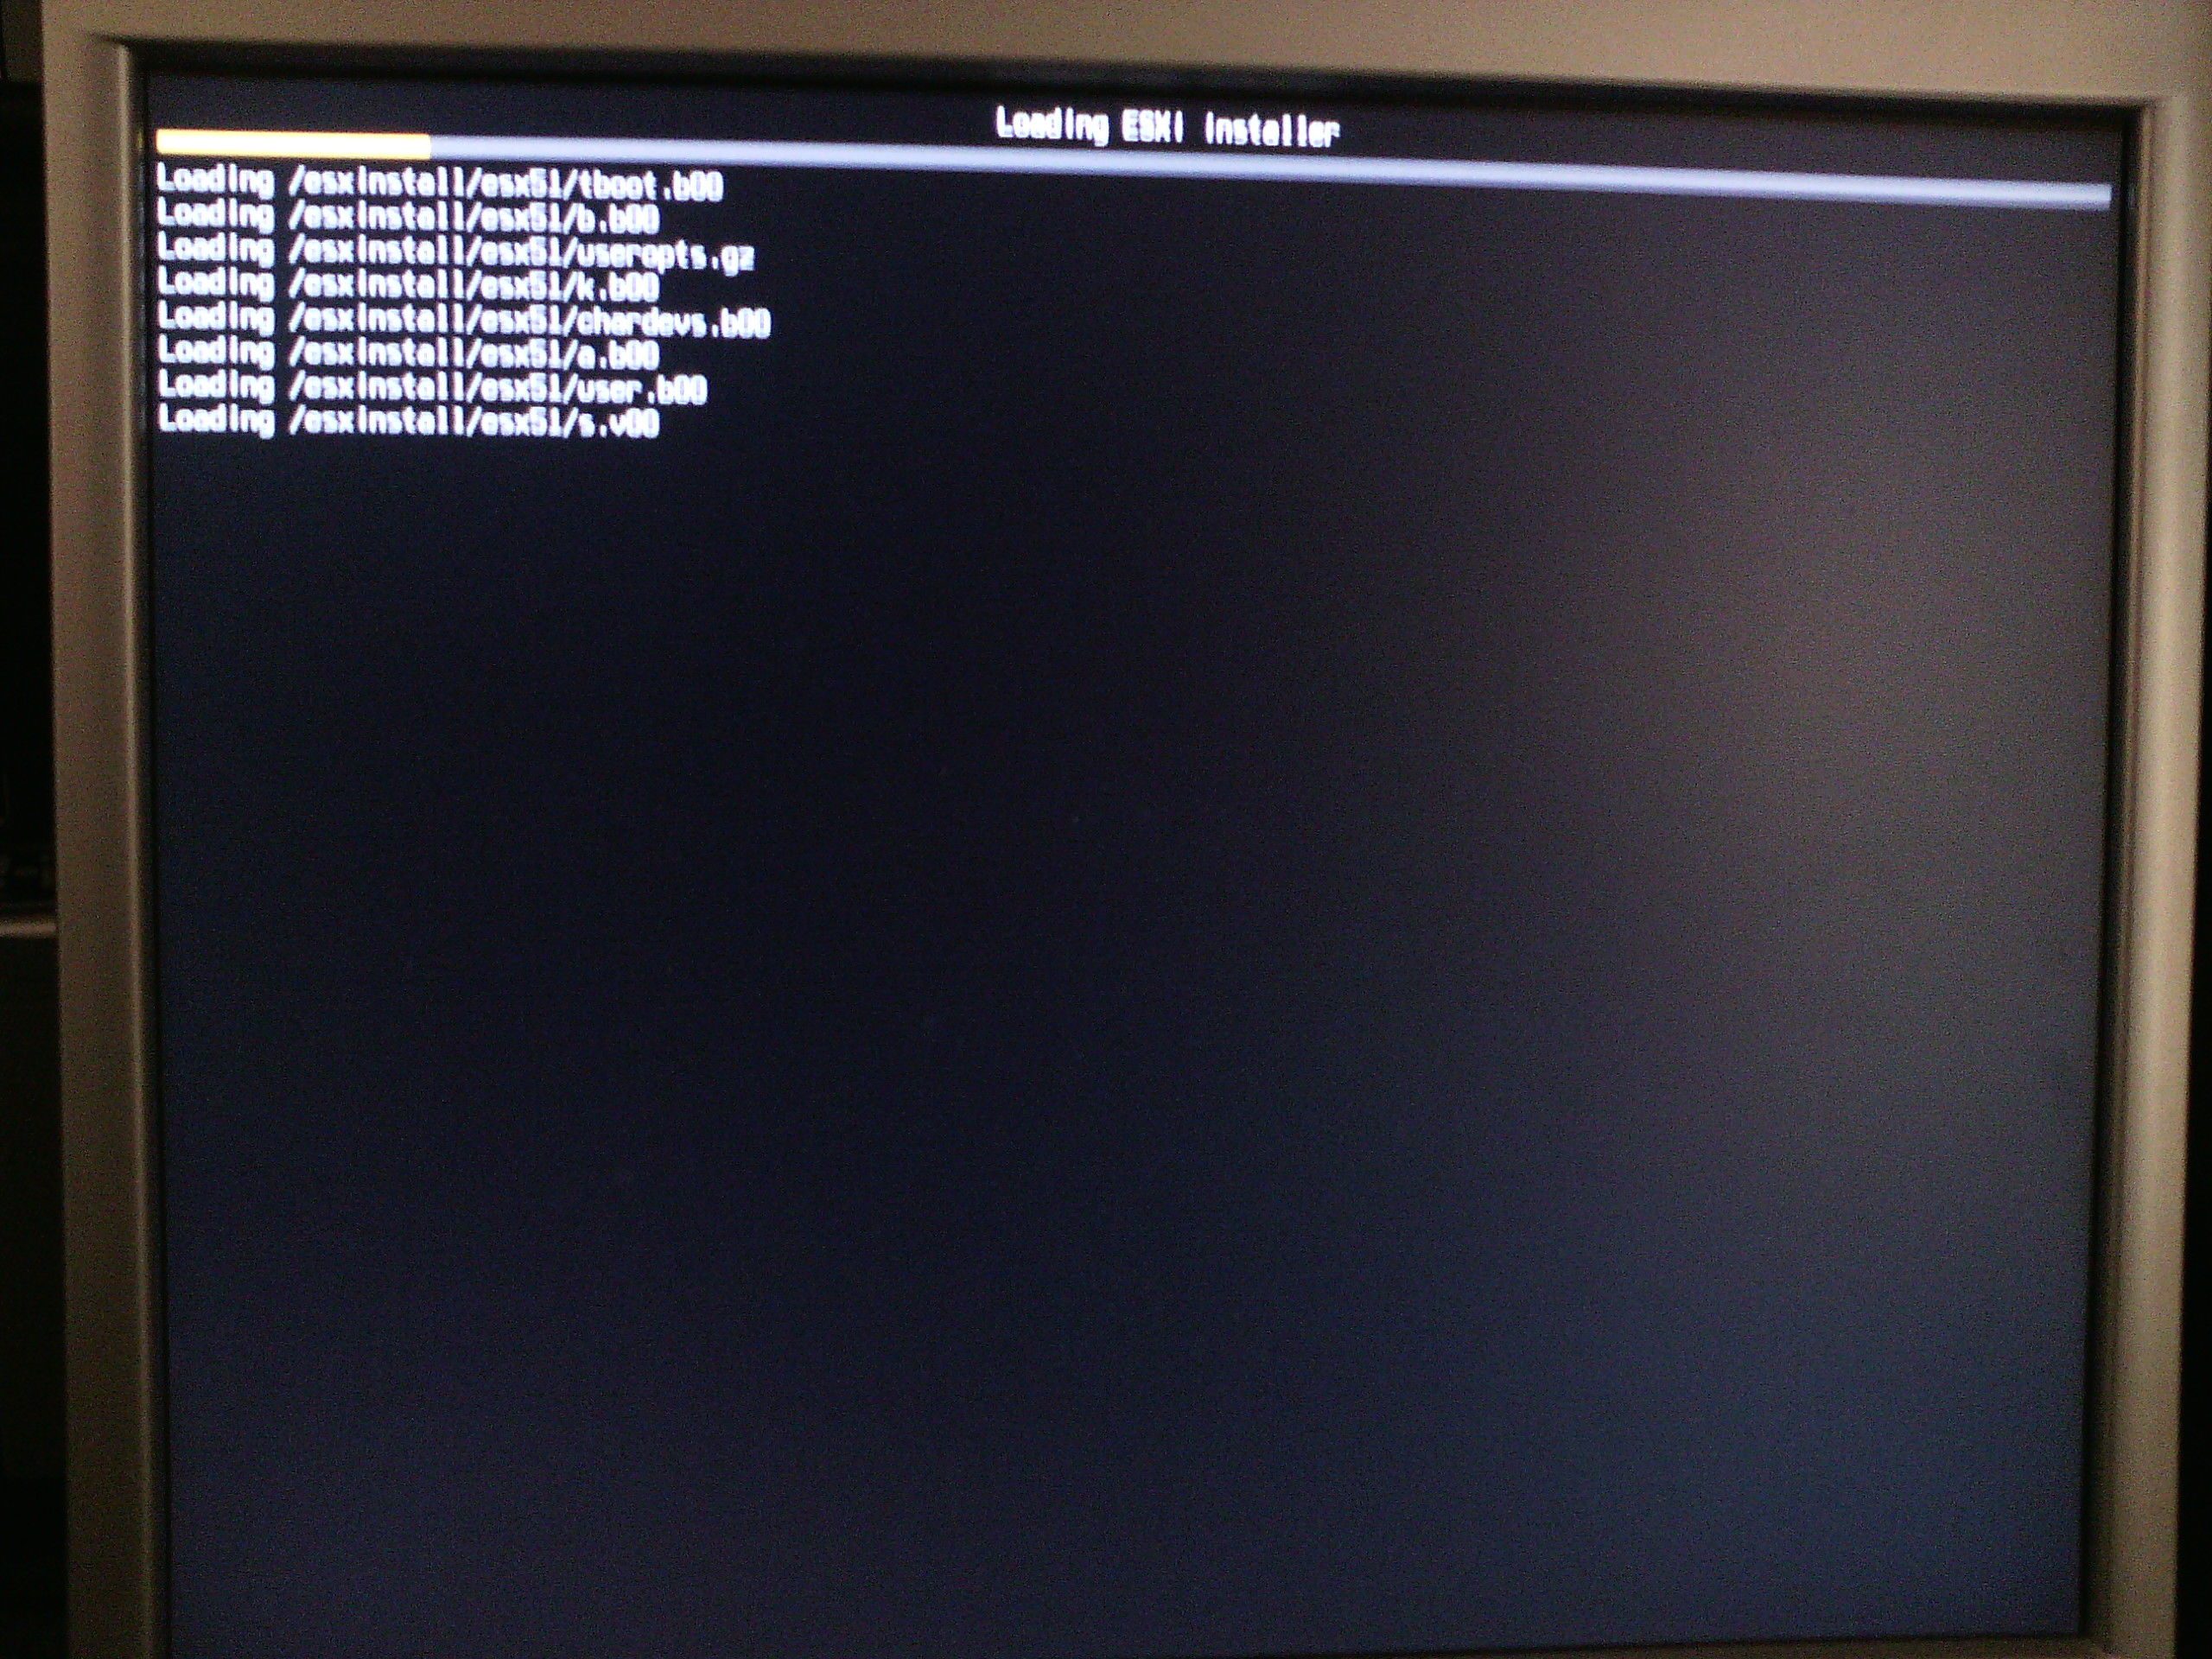
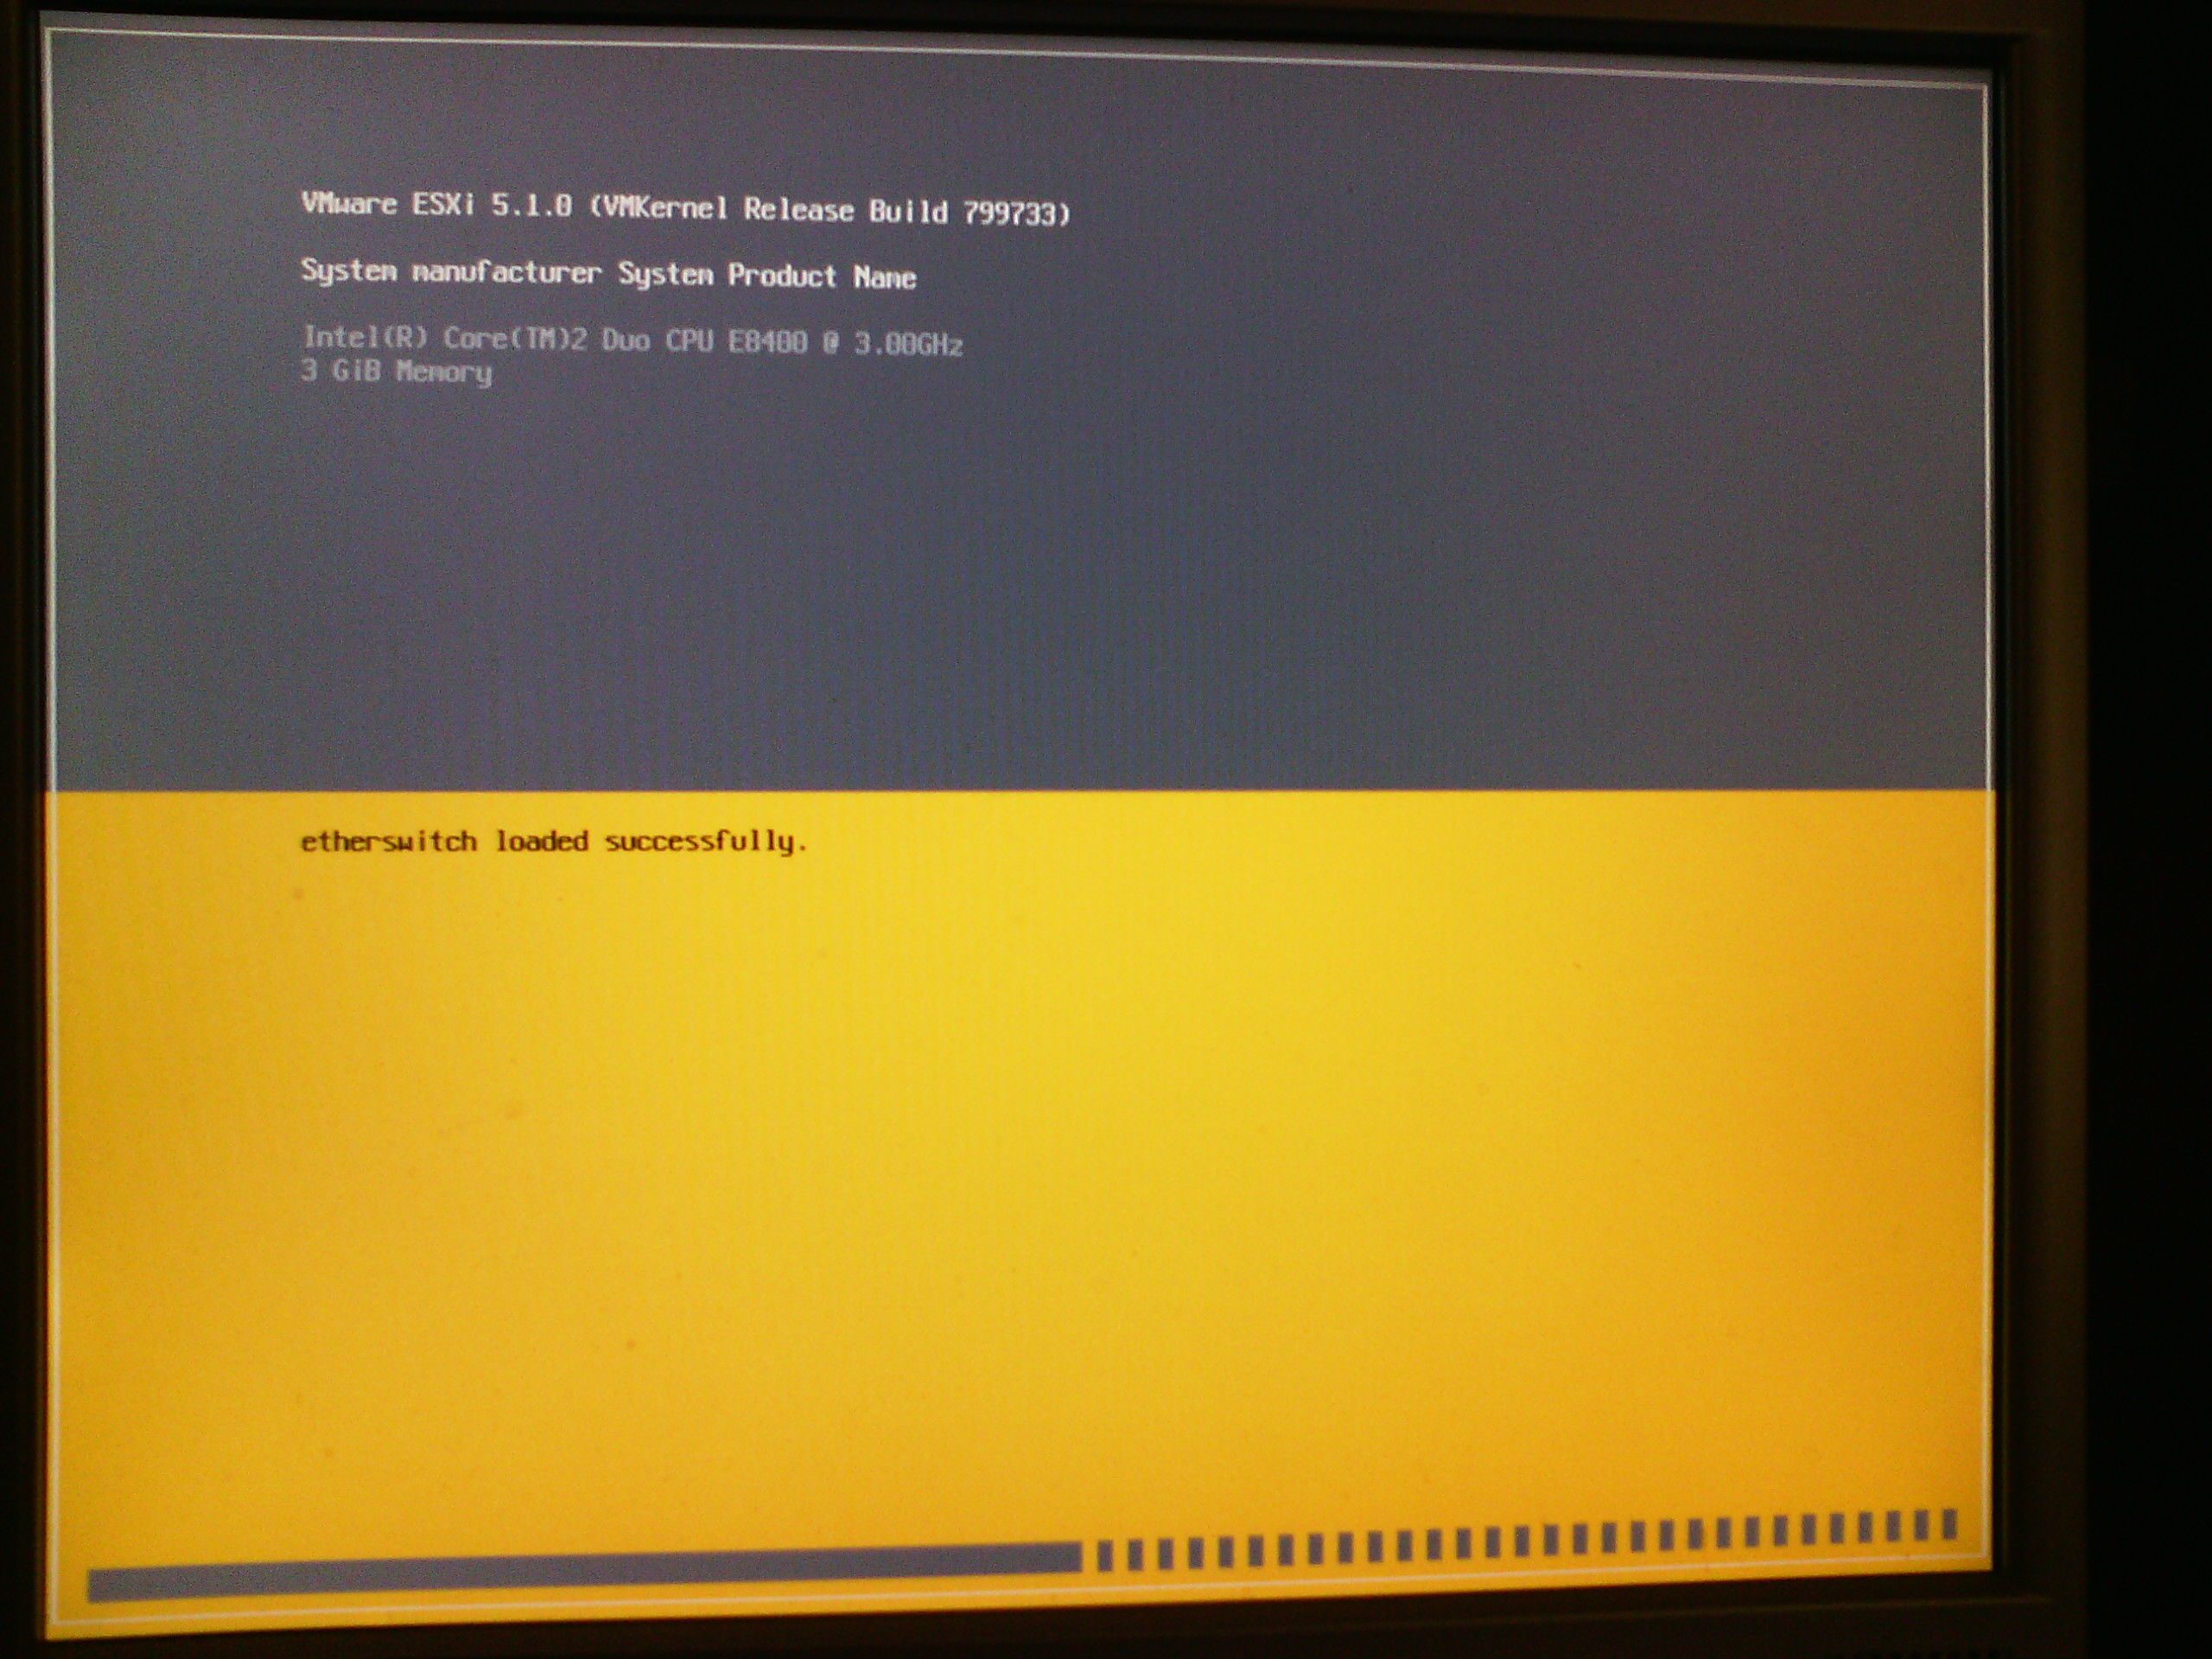
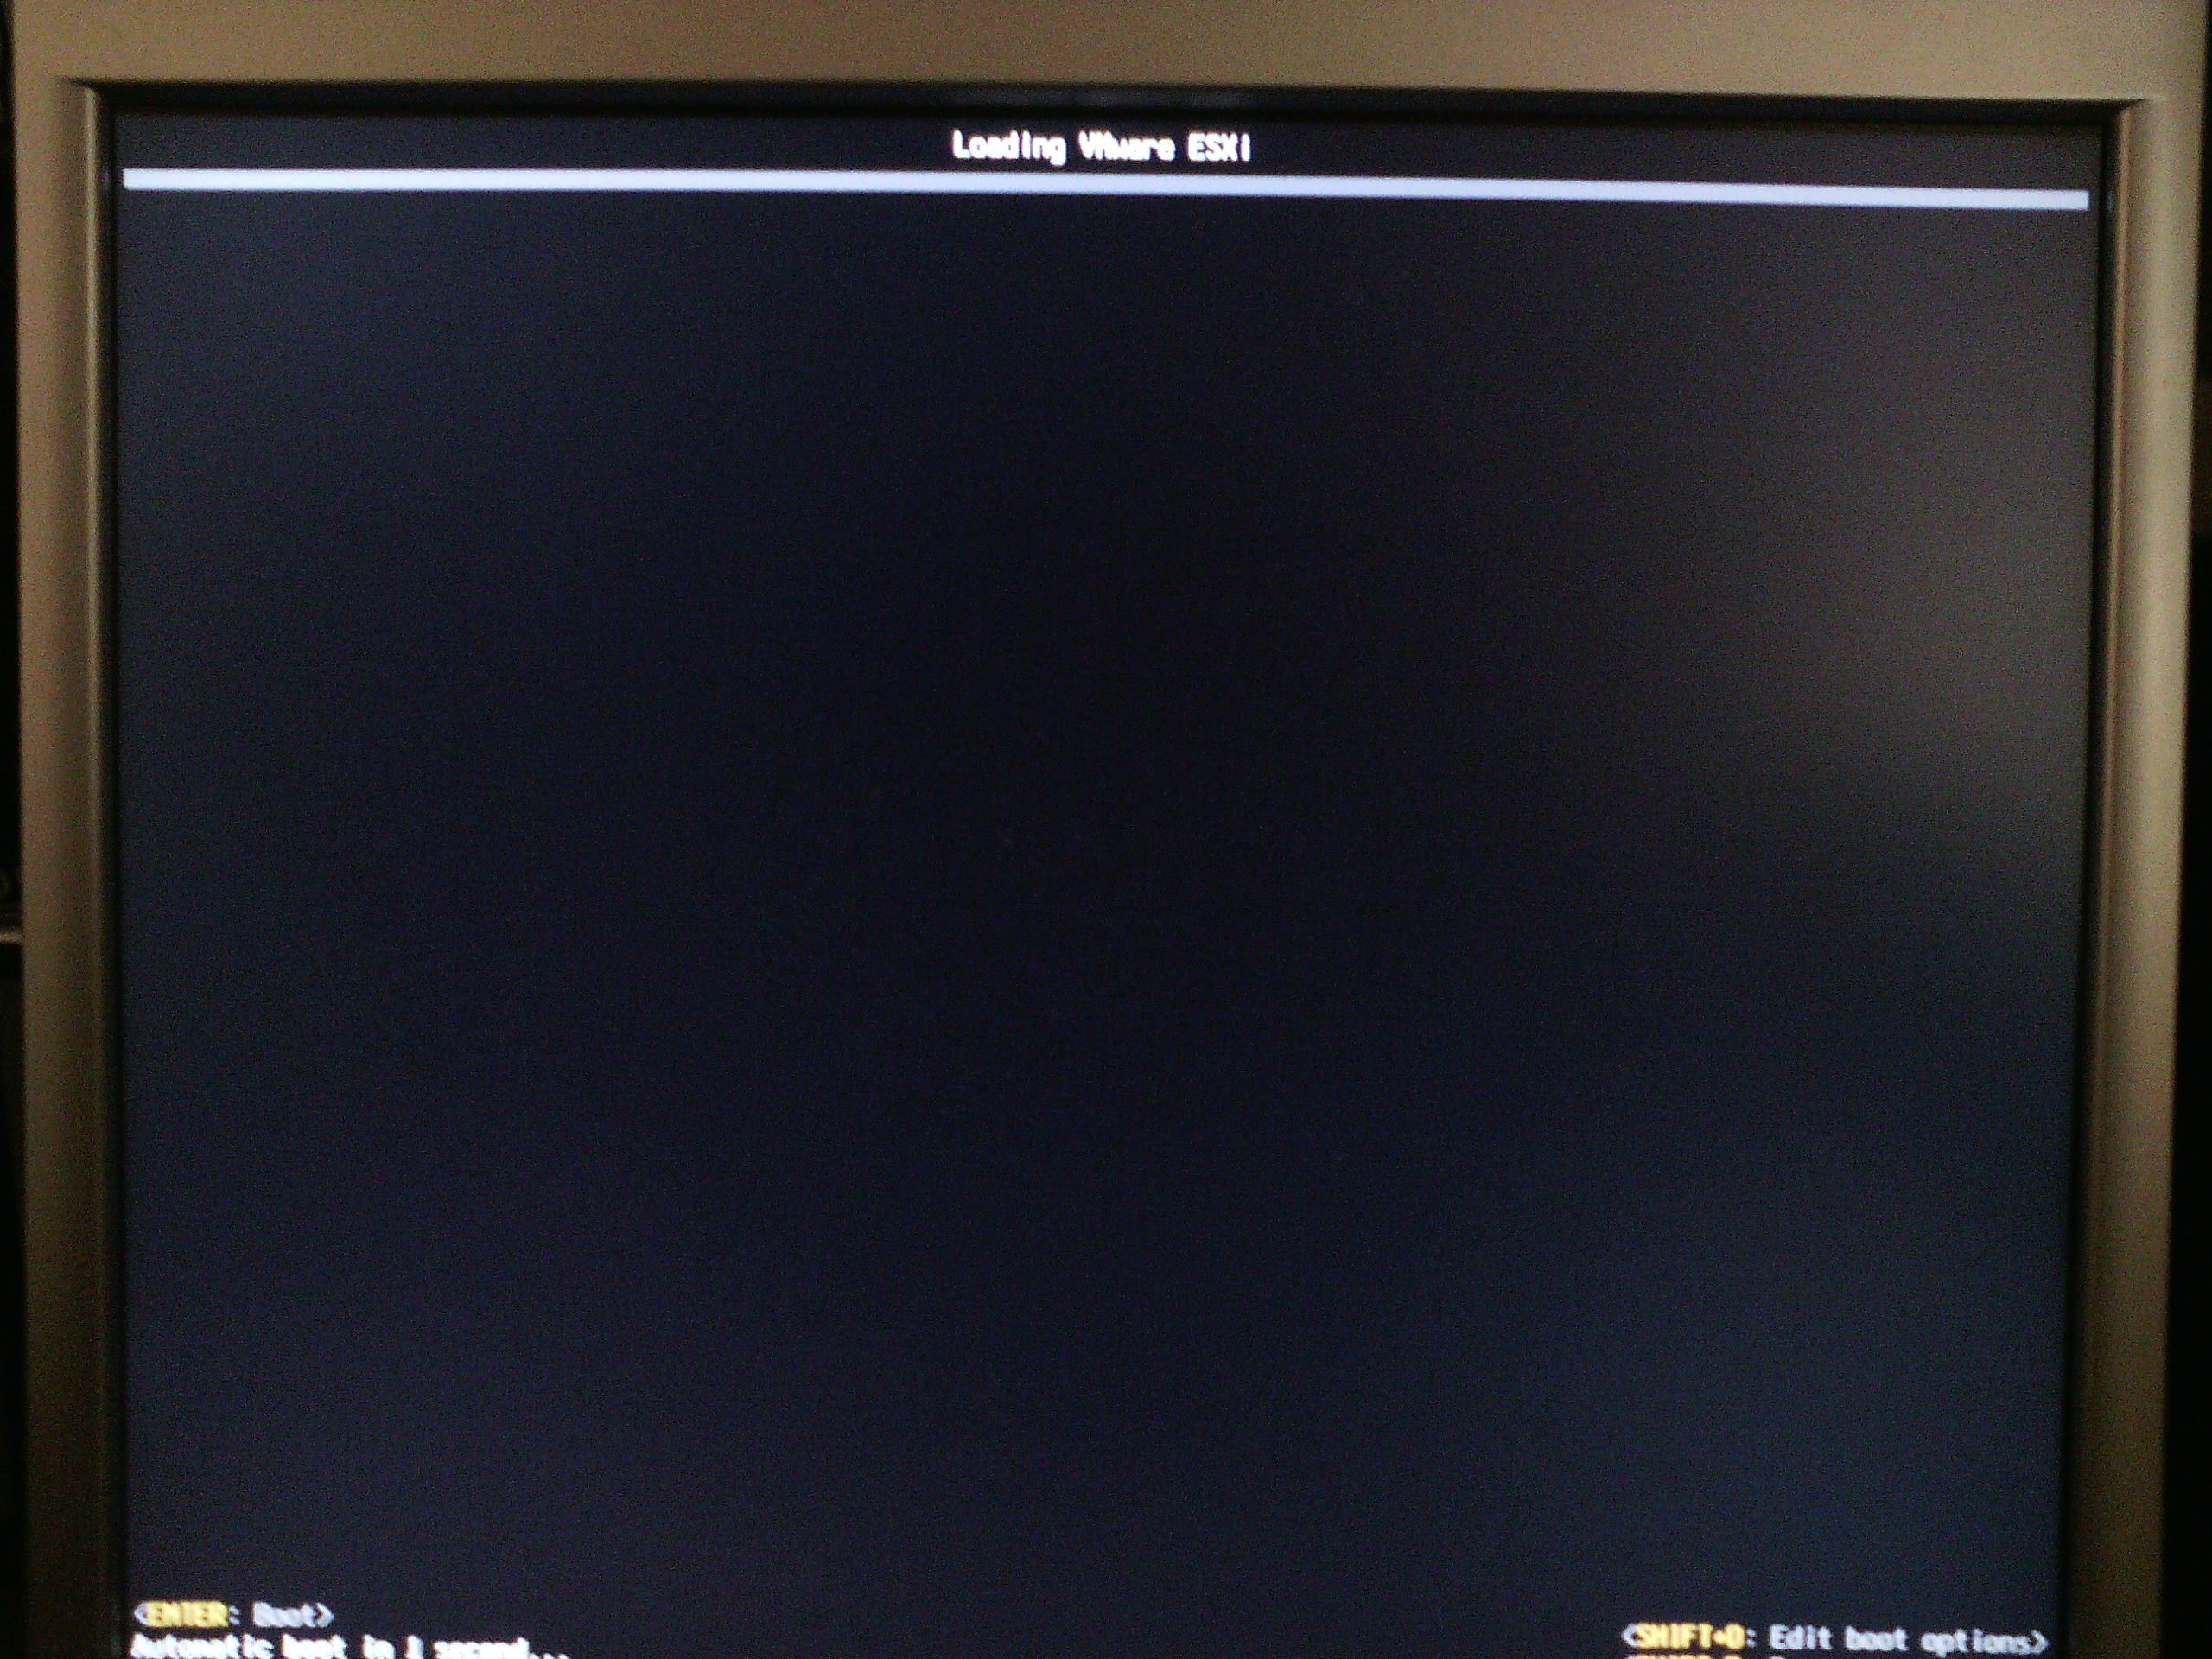
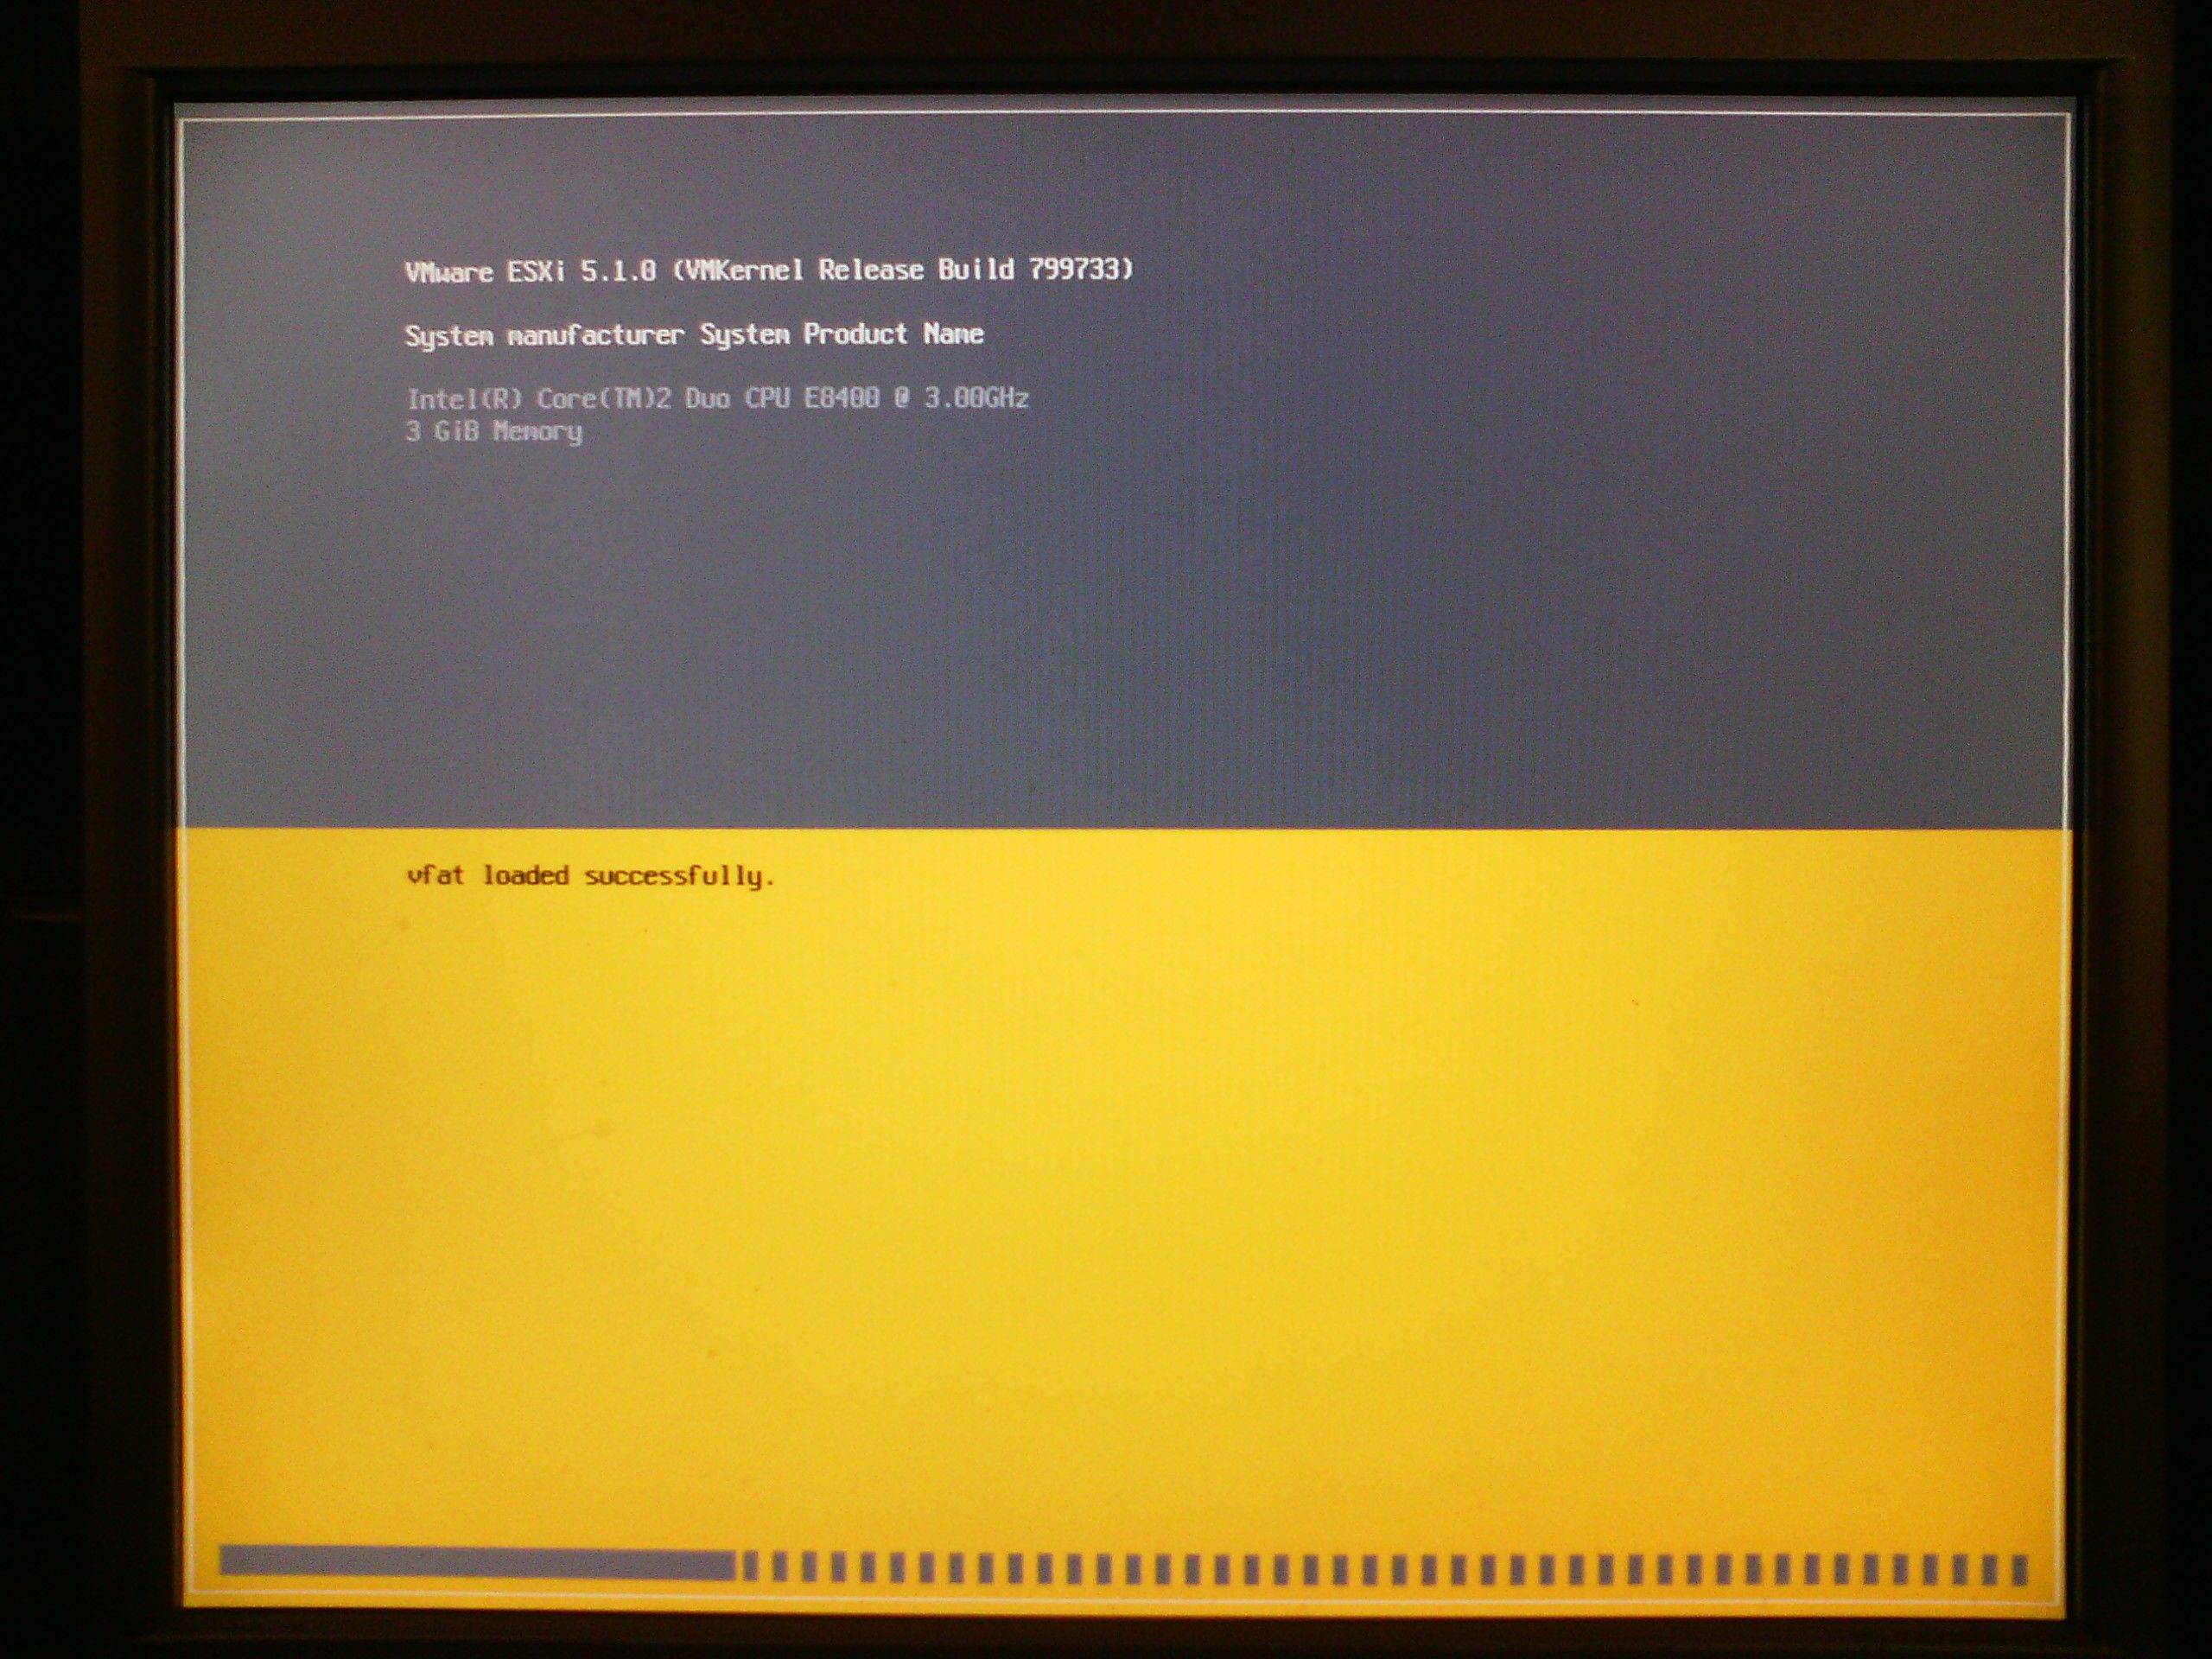
Loading the VMware ESX Installer.
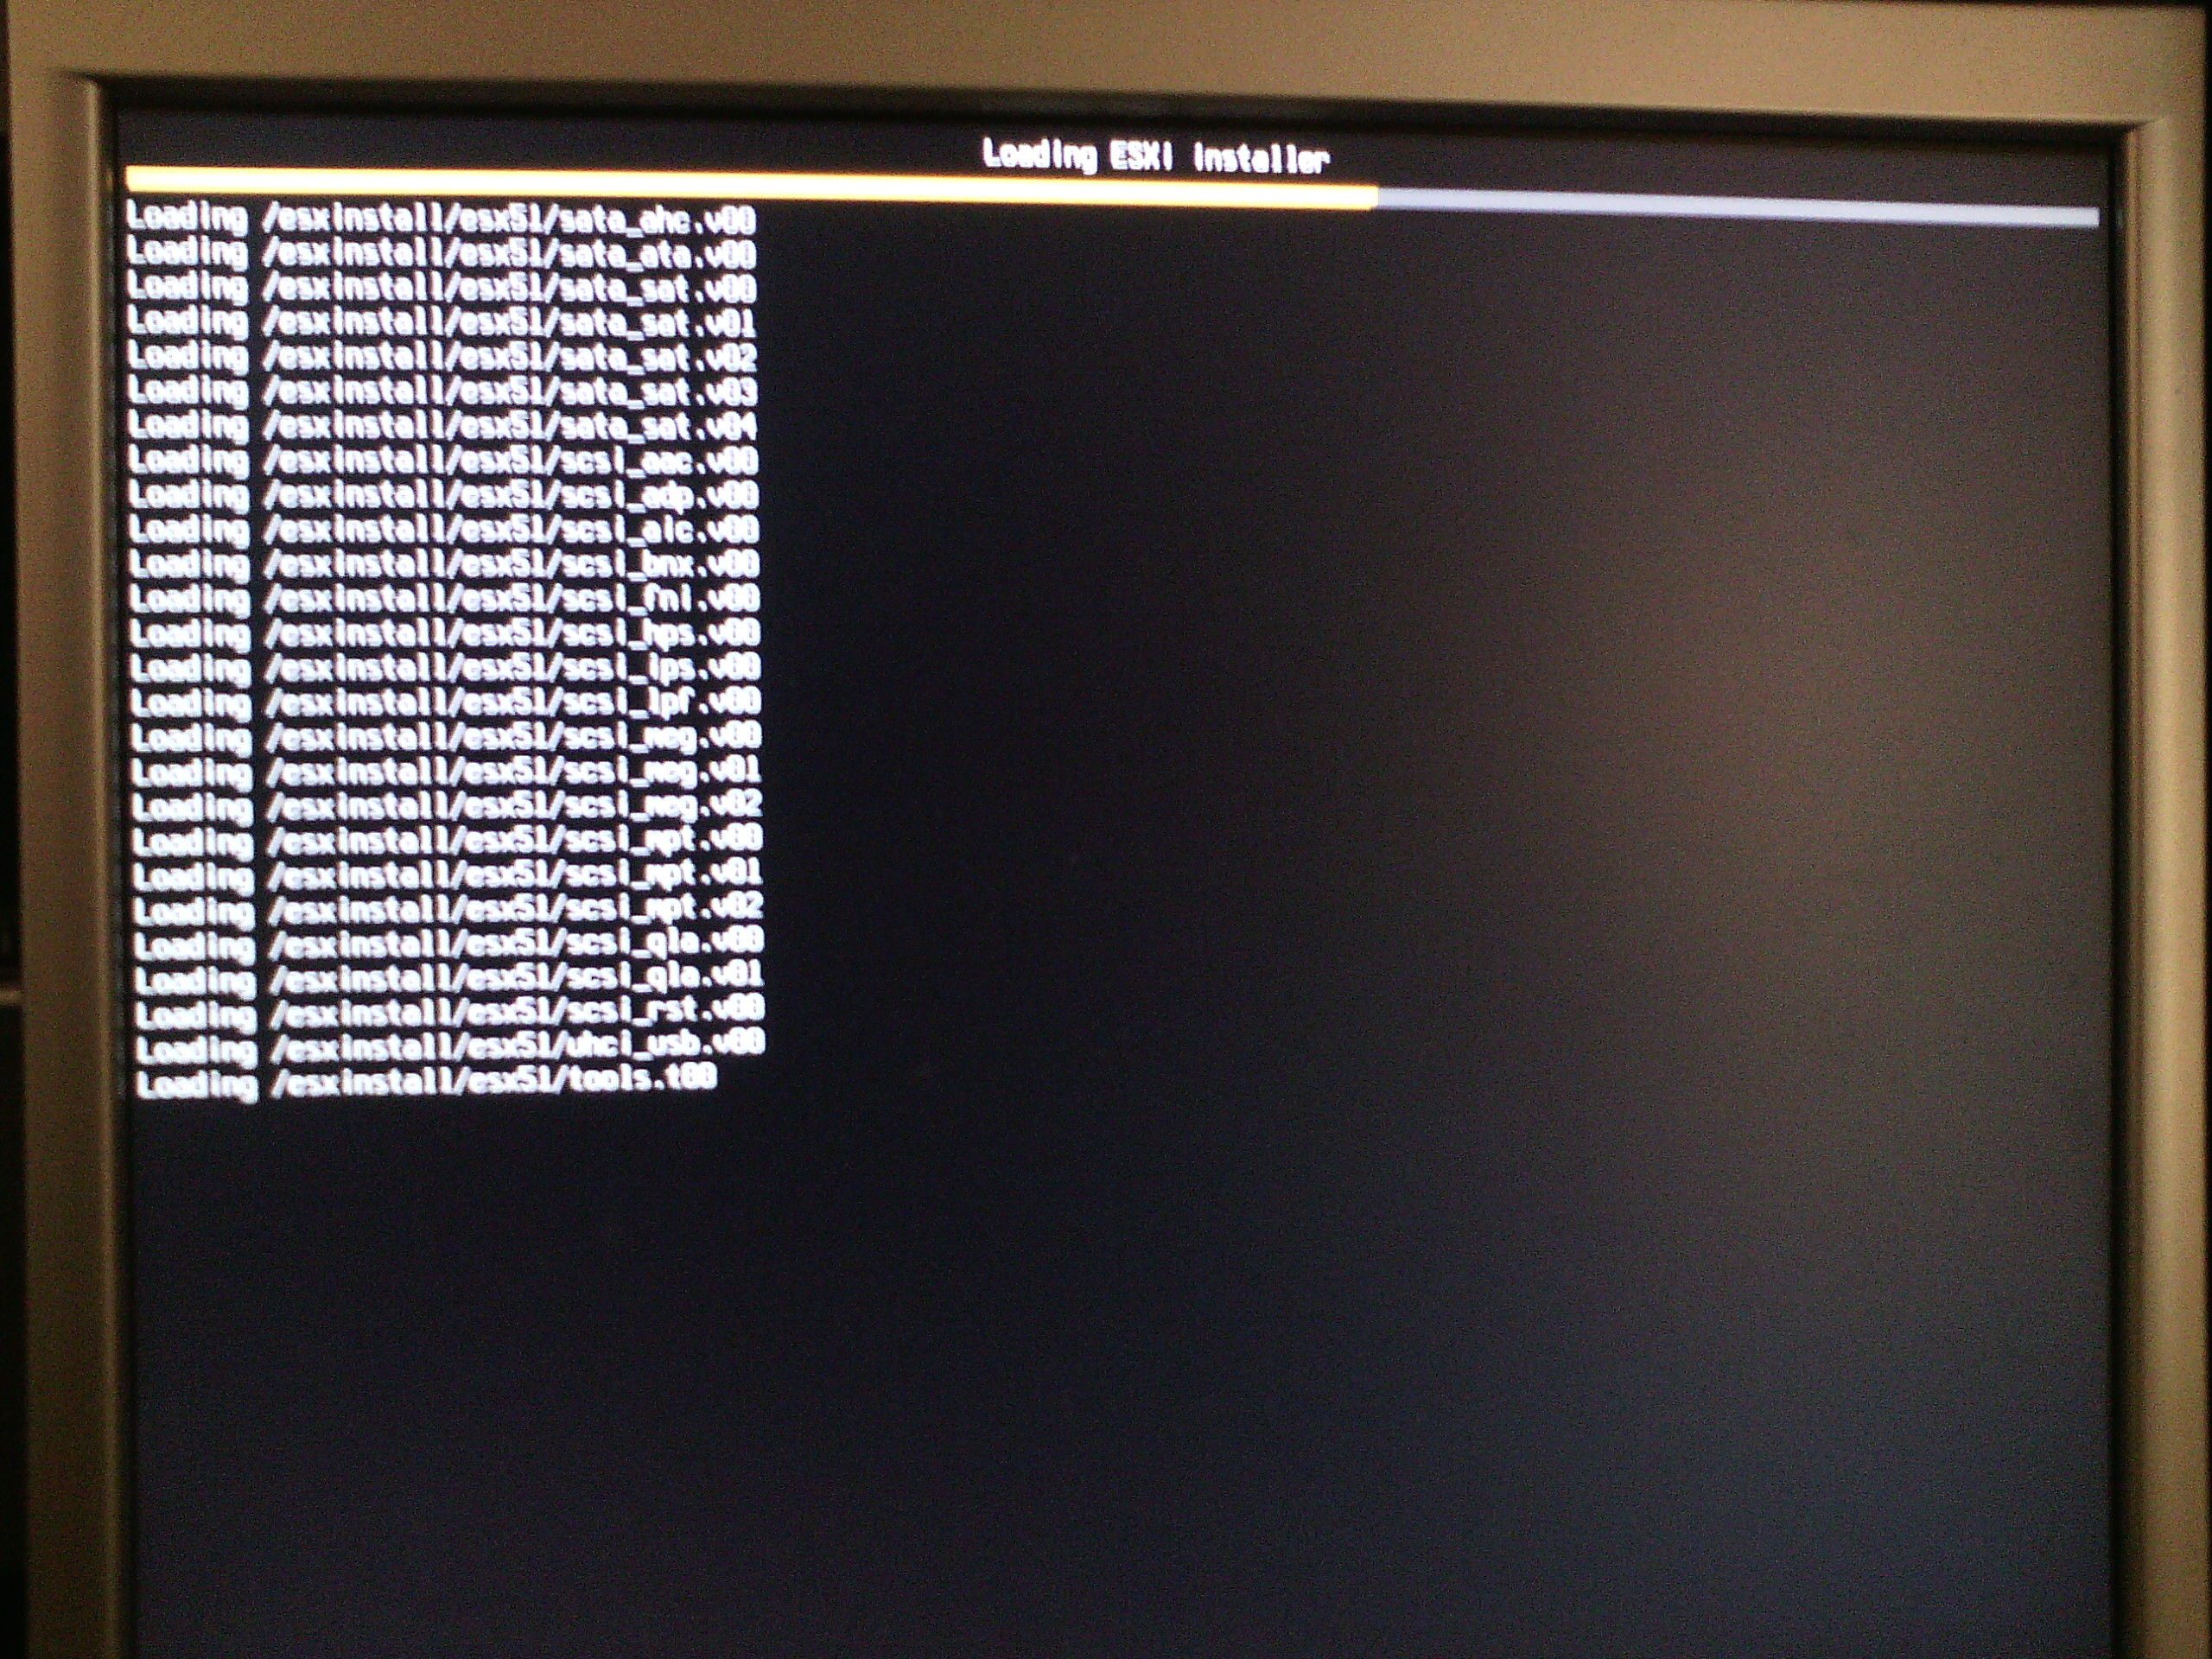
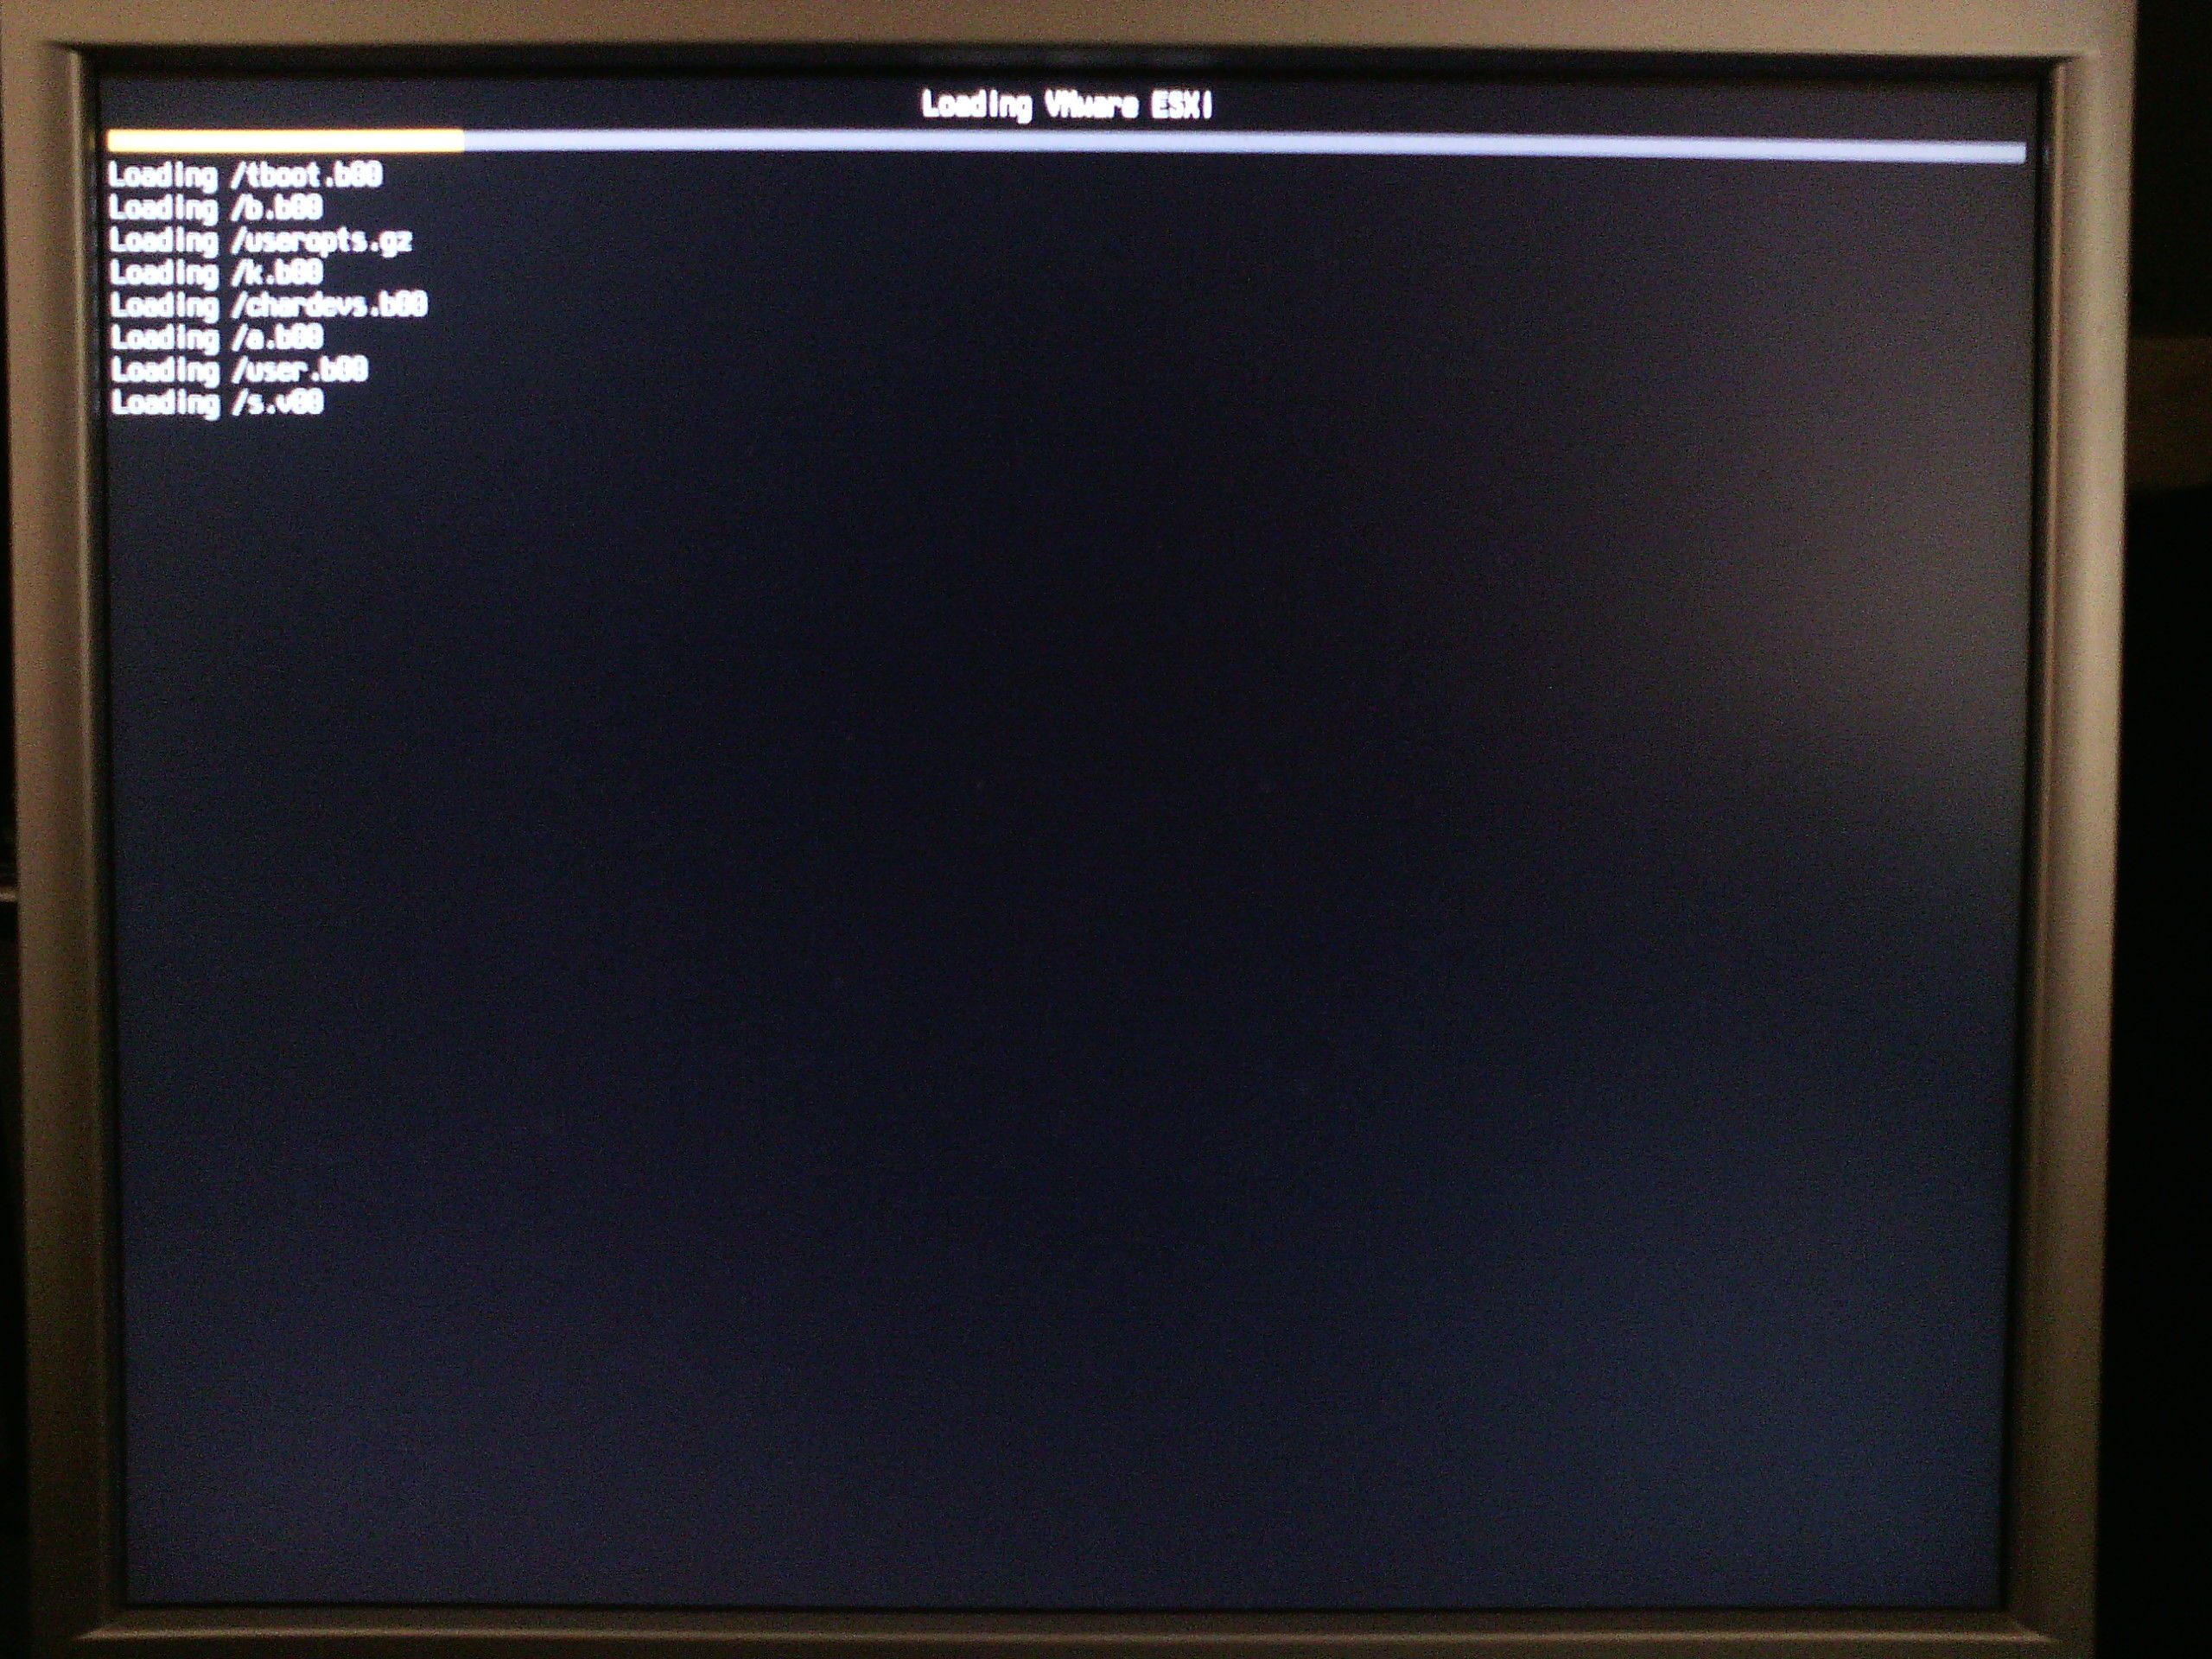
ESX is starting the operating system.
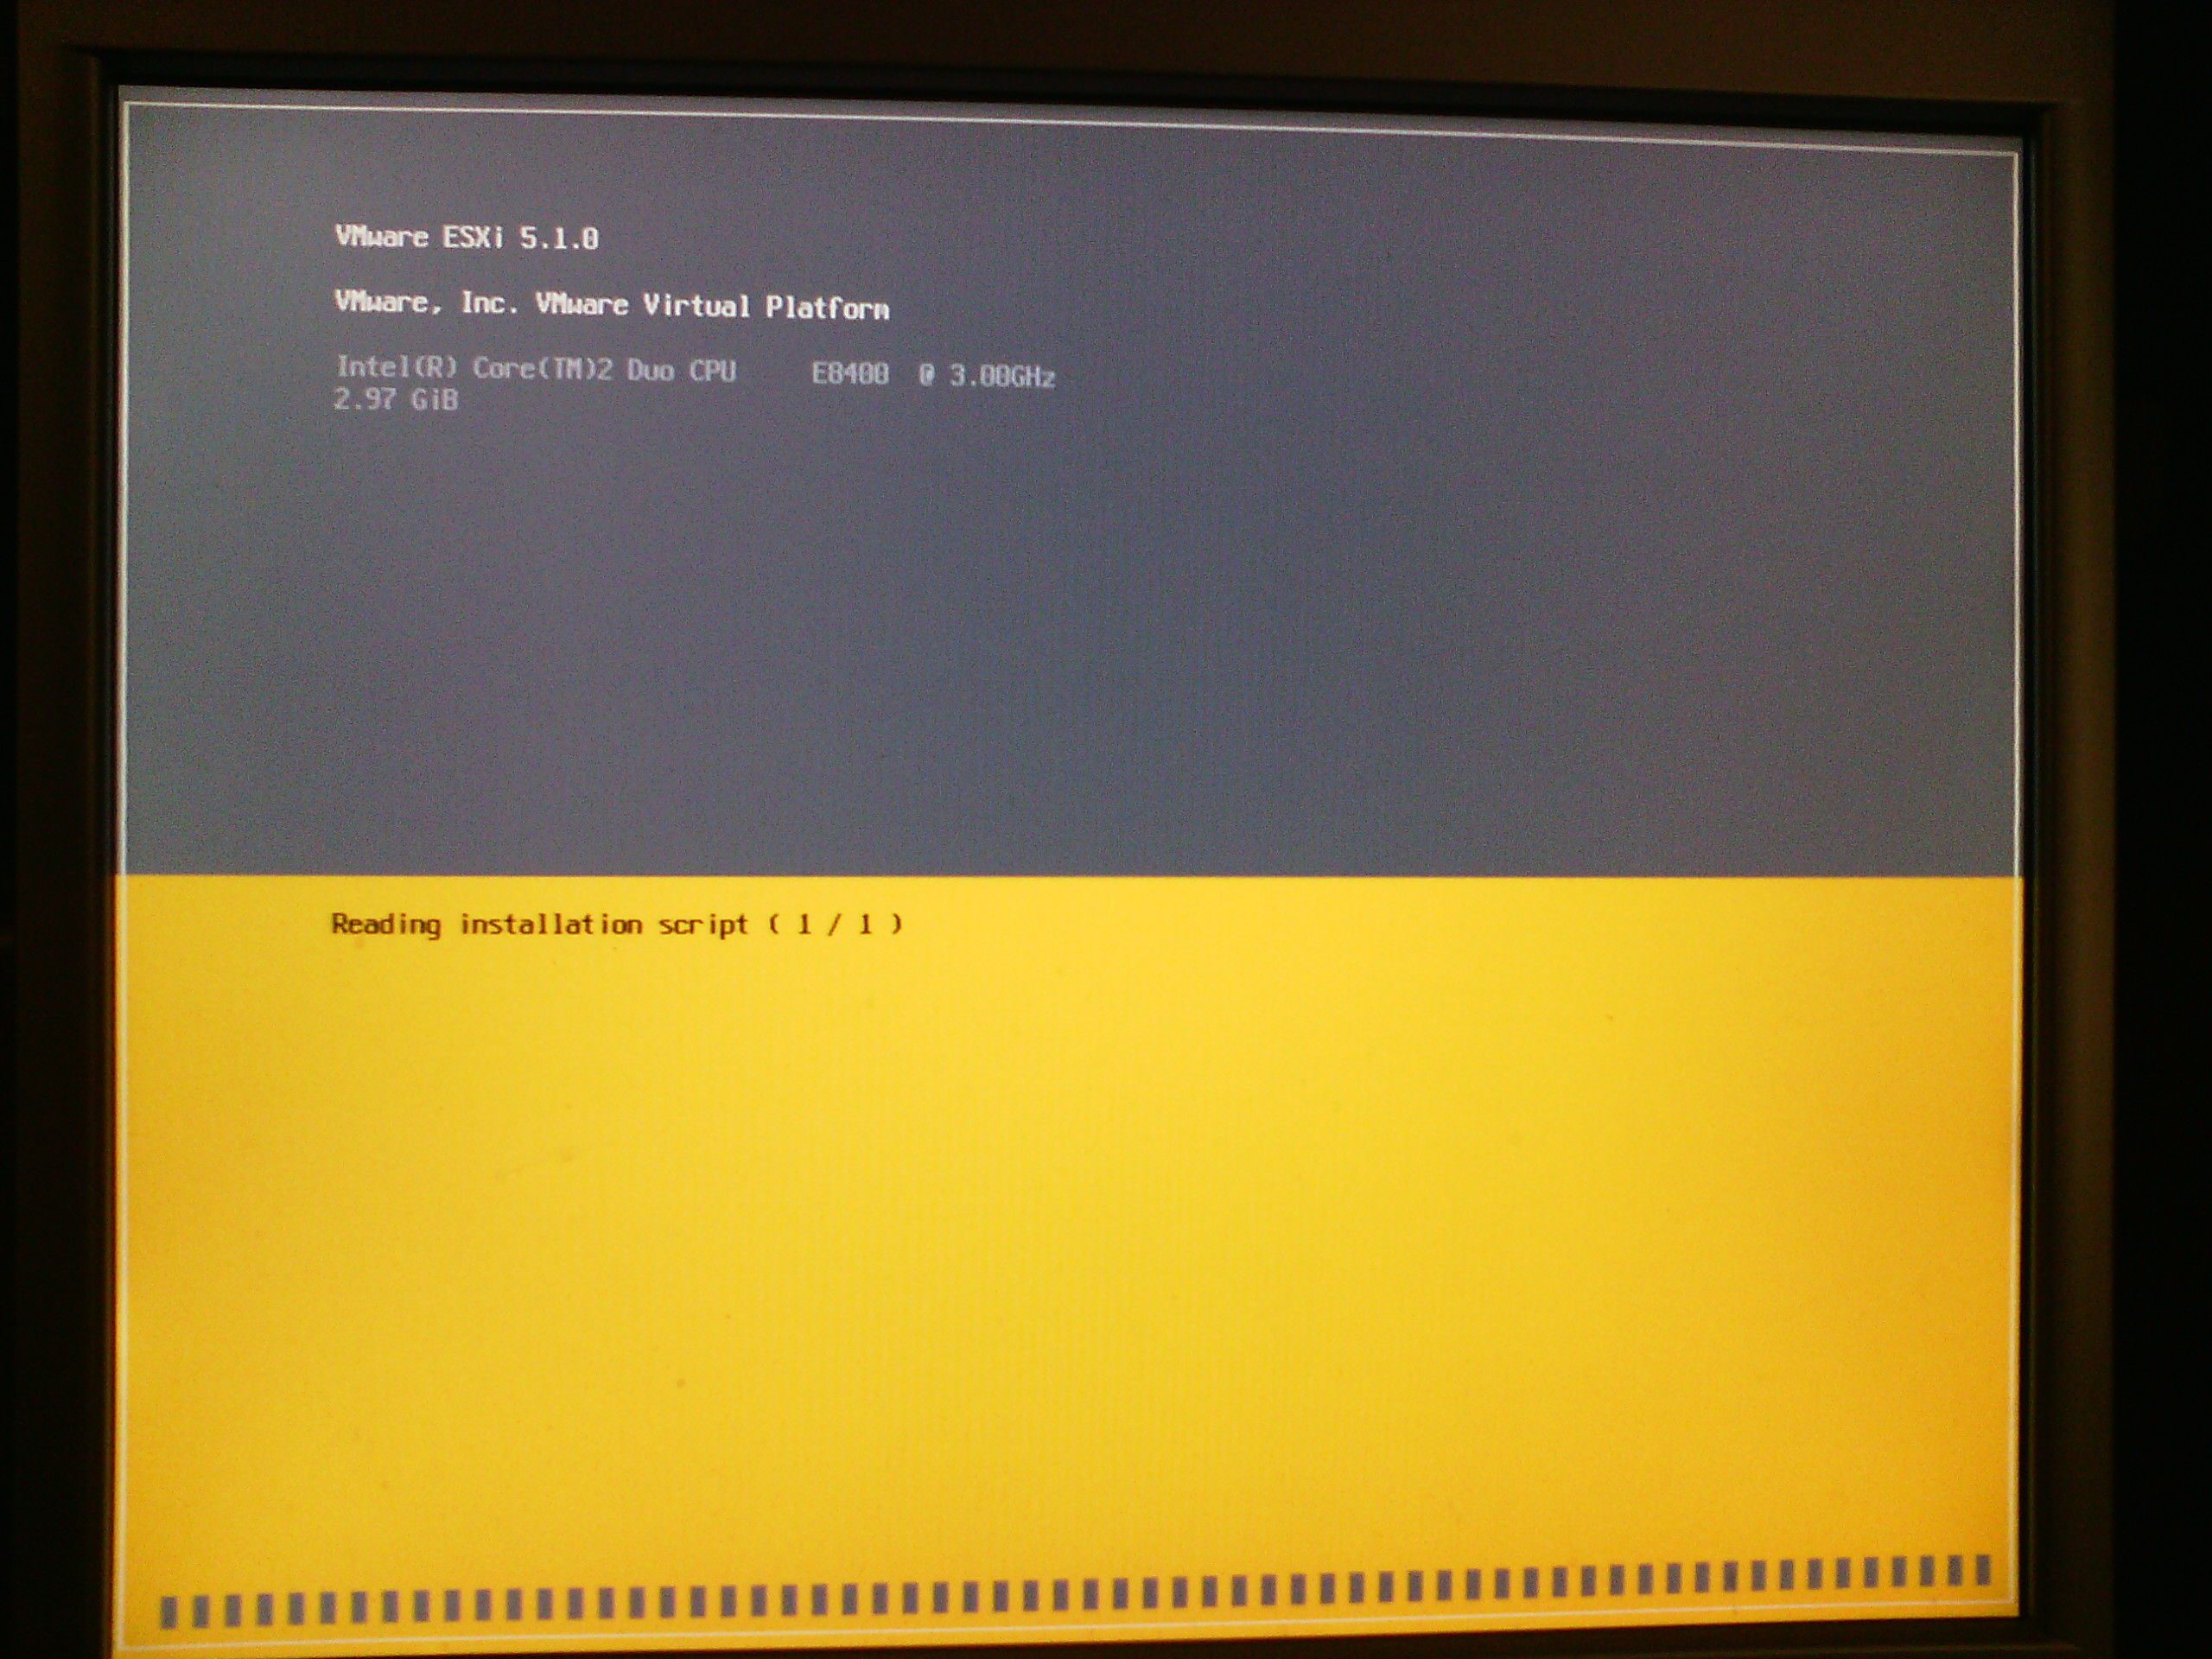
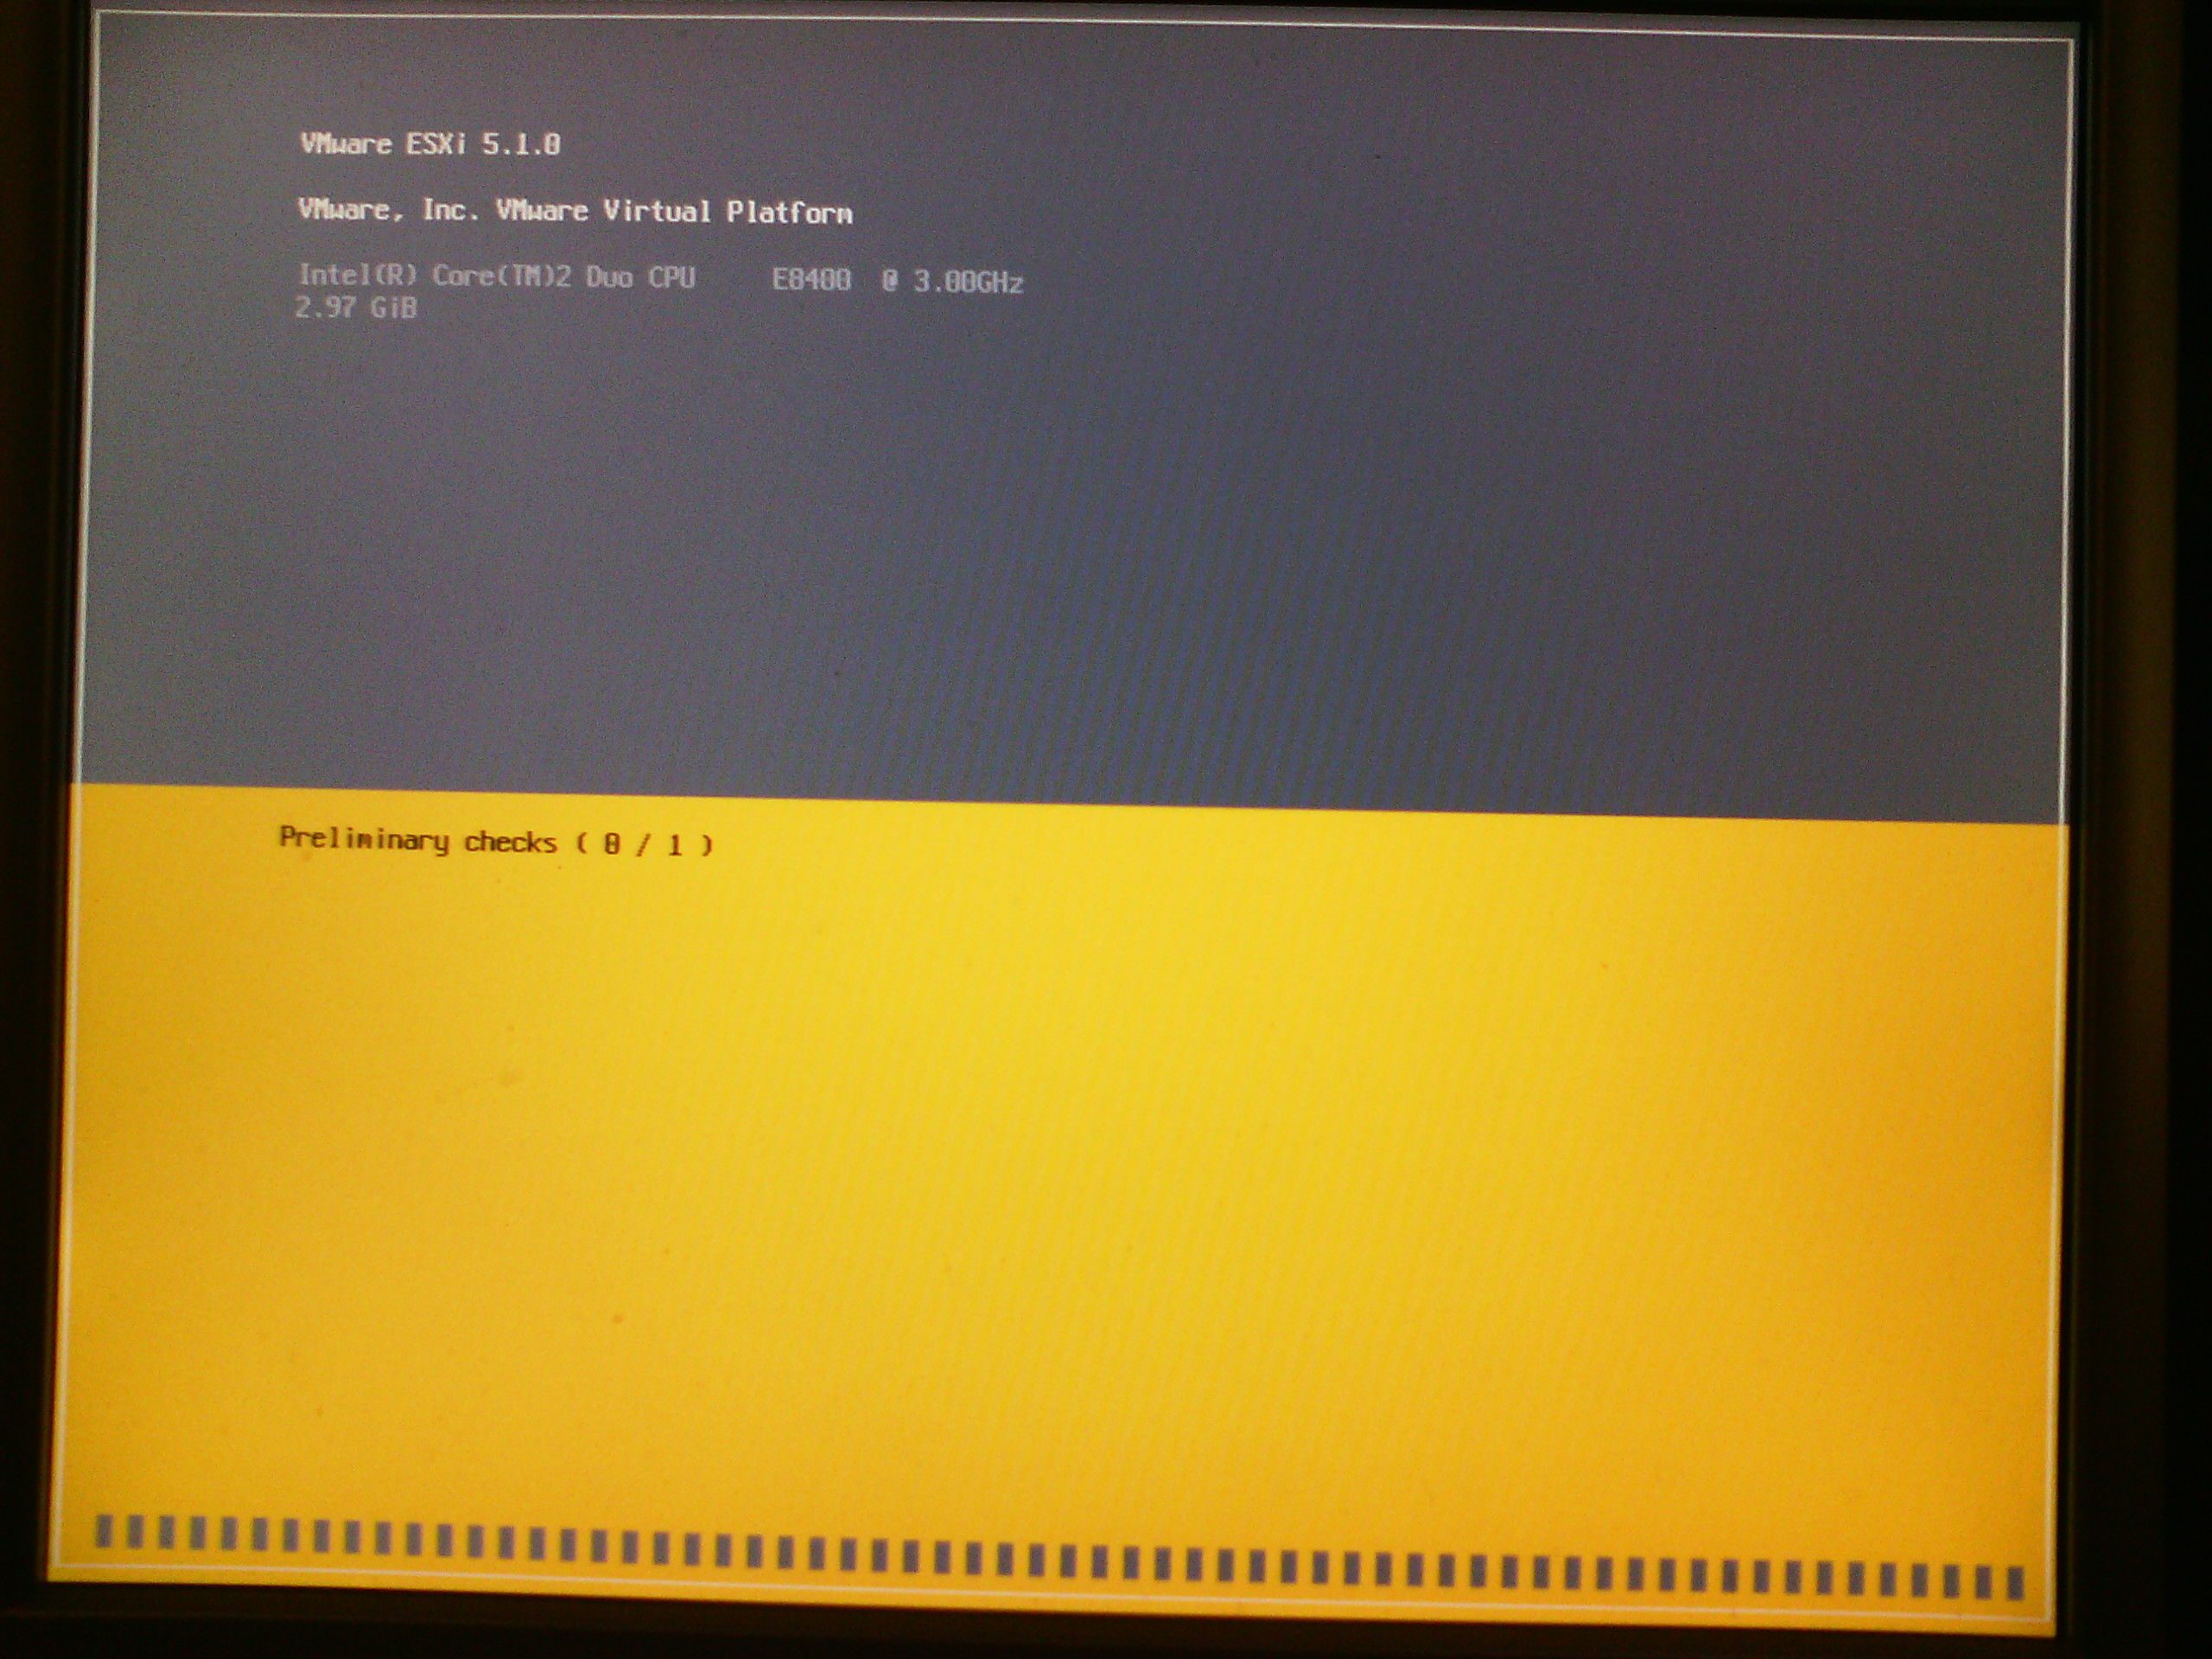
Now it is within the fully automatic installation according to the kickstart file of the installation profile.

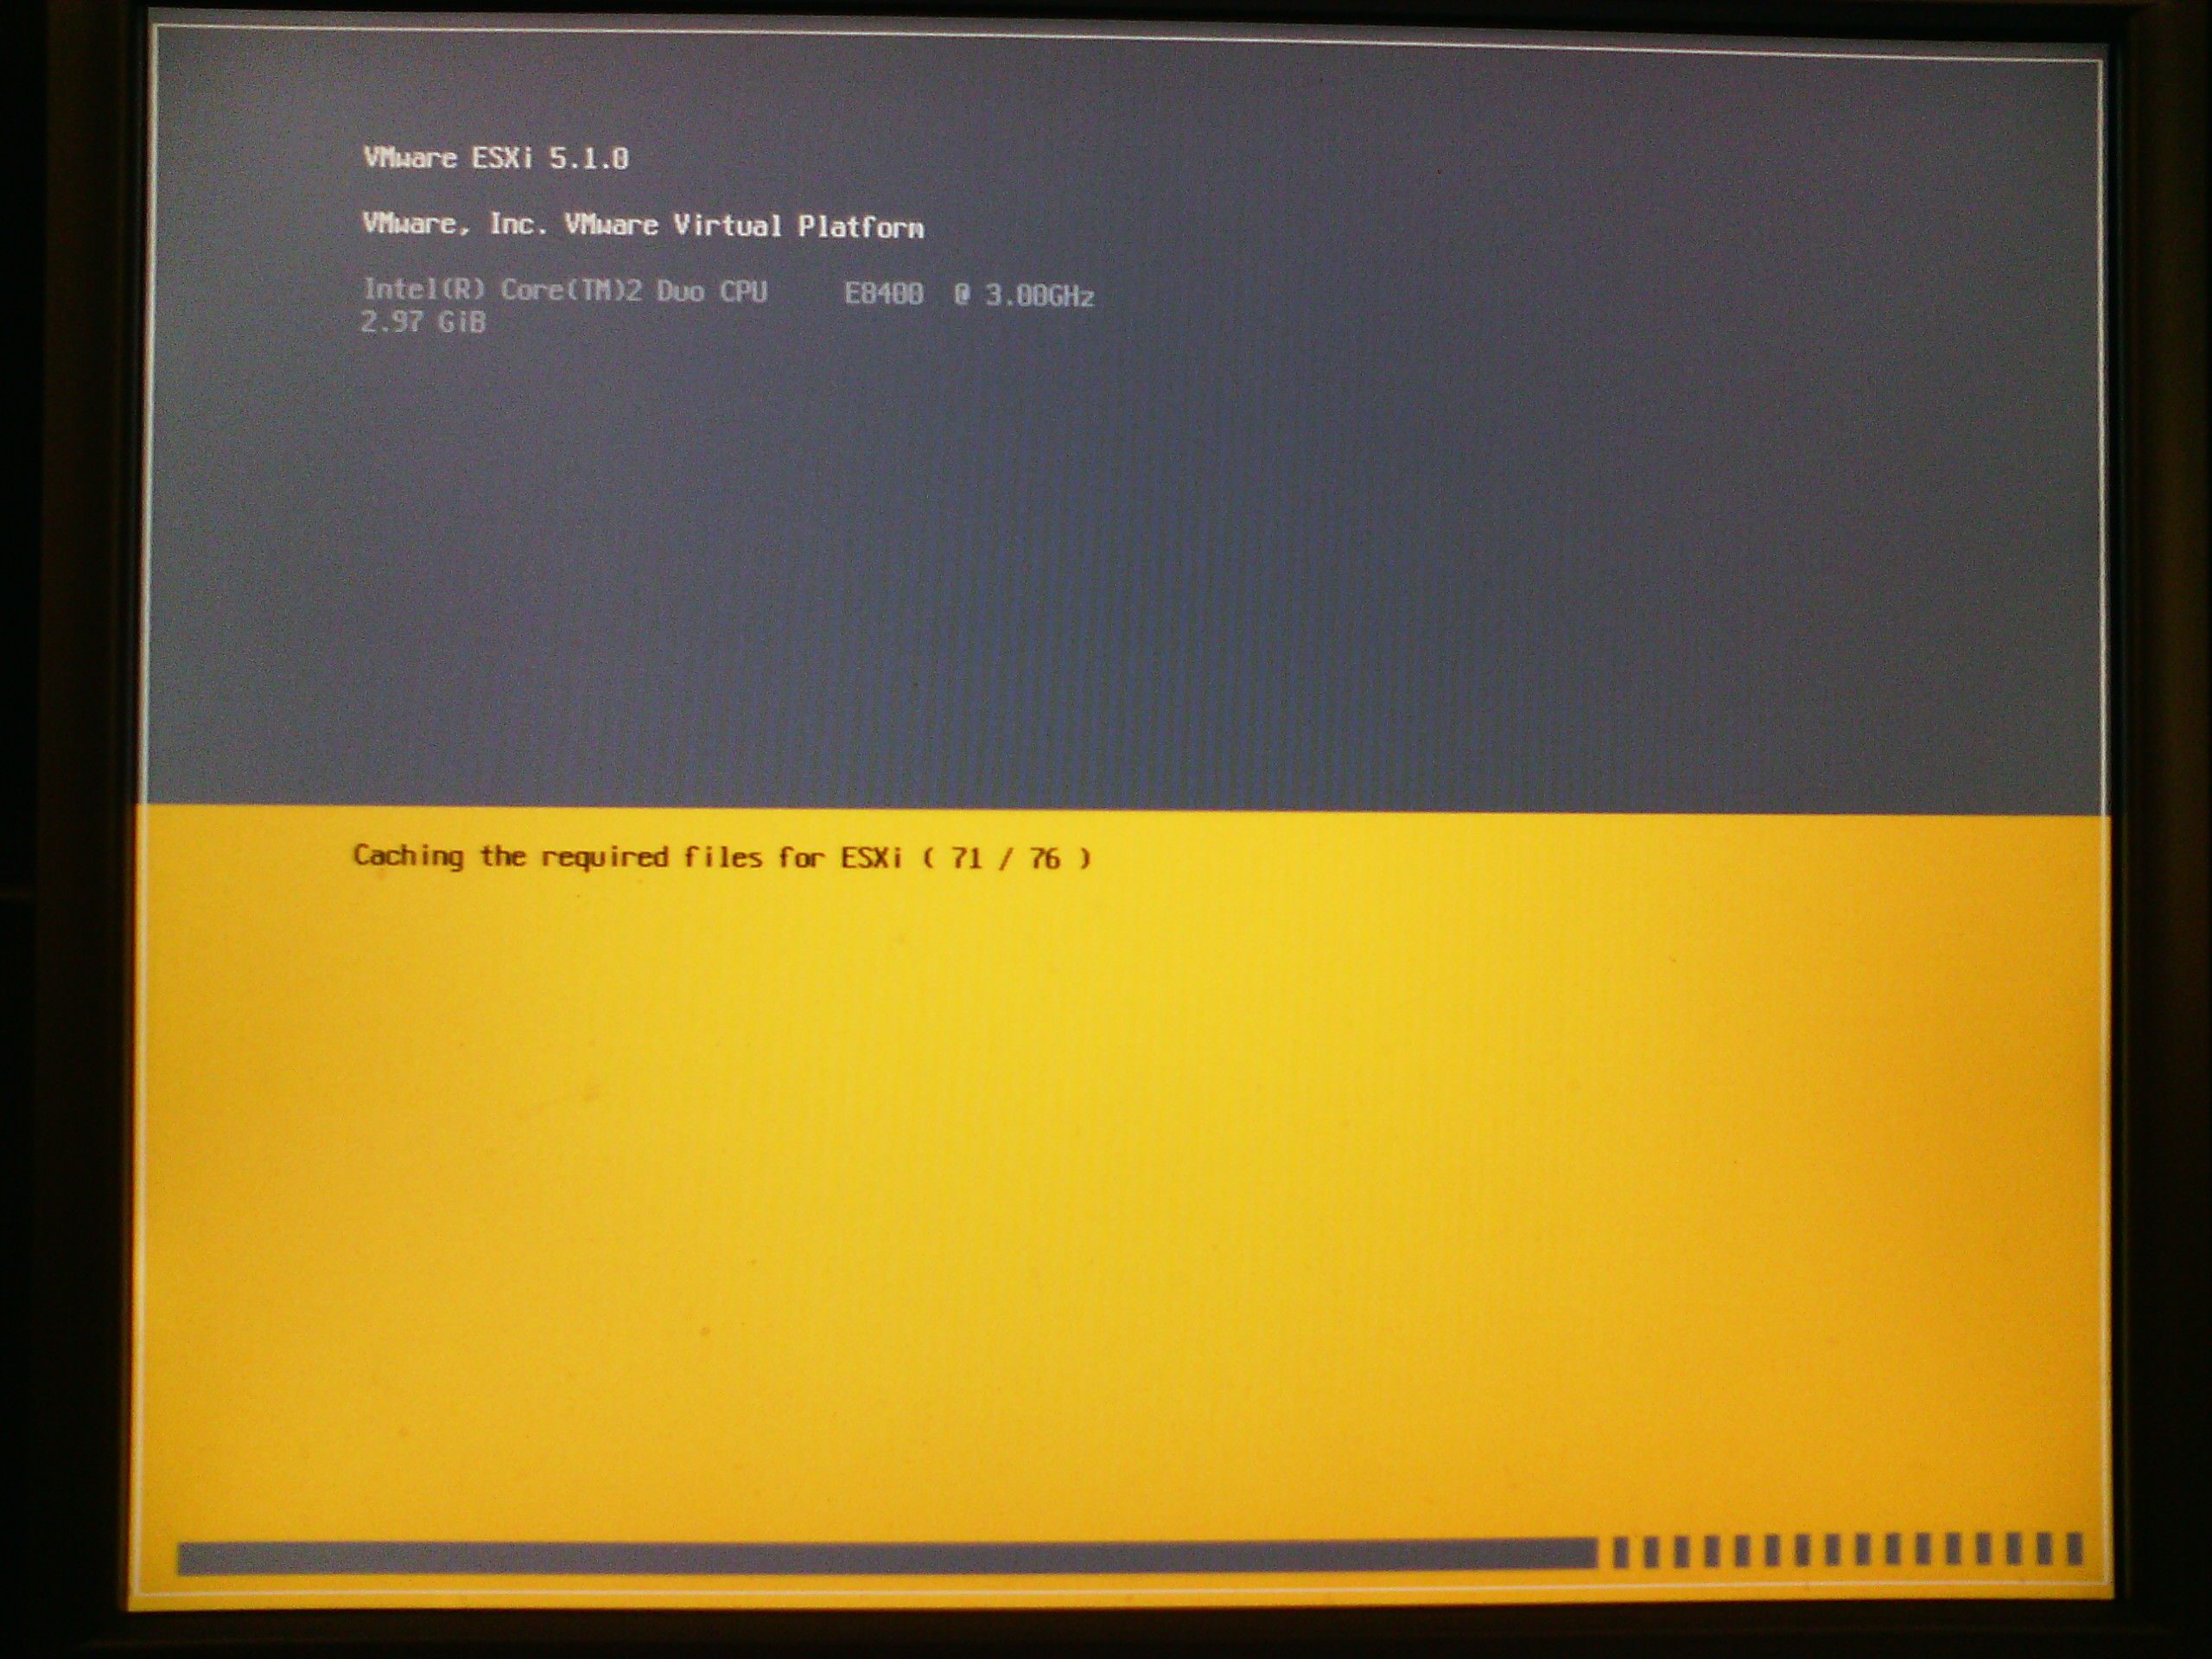
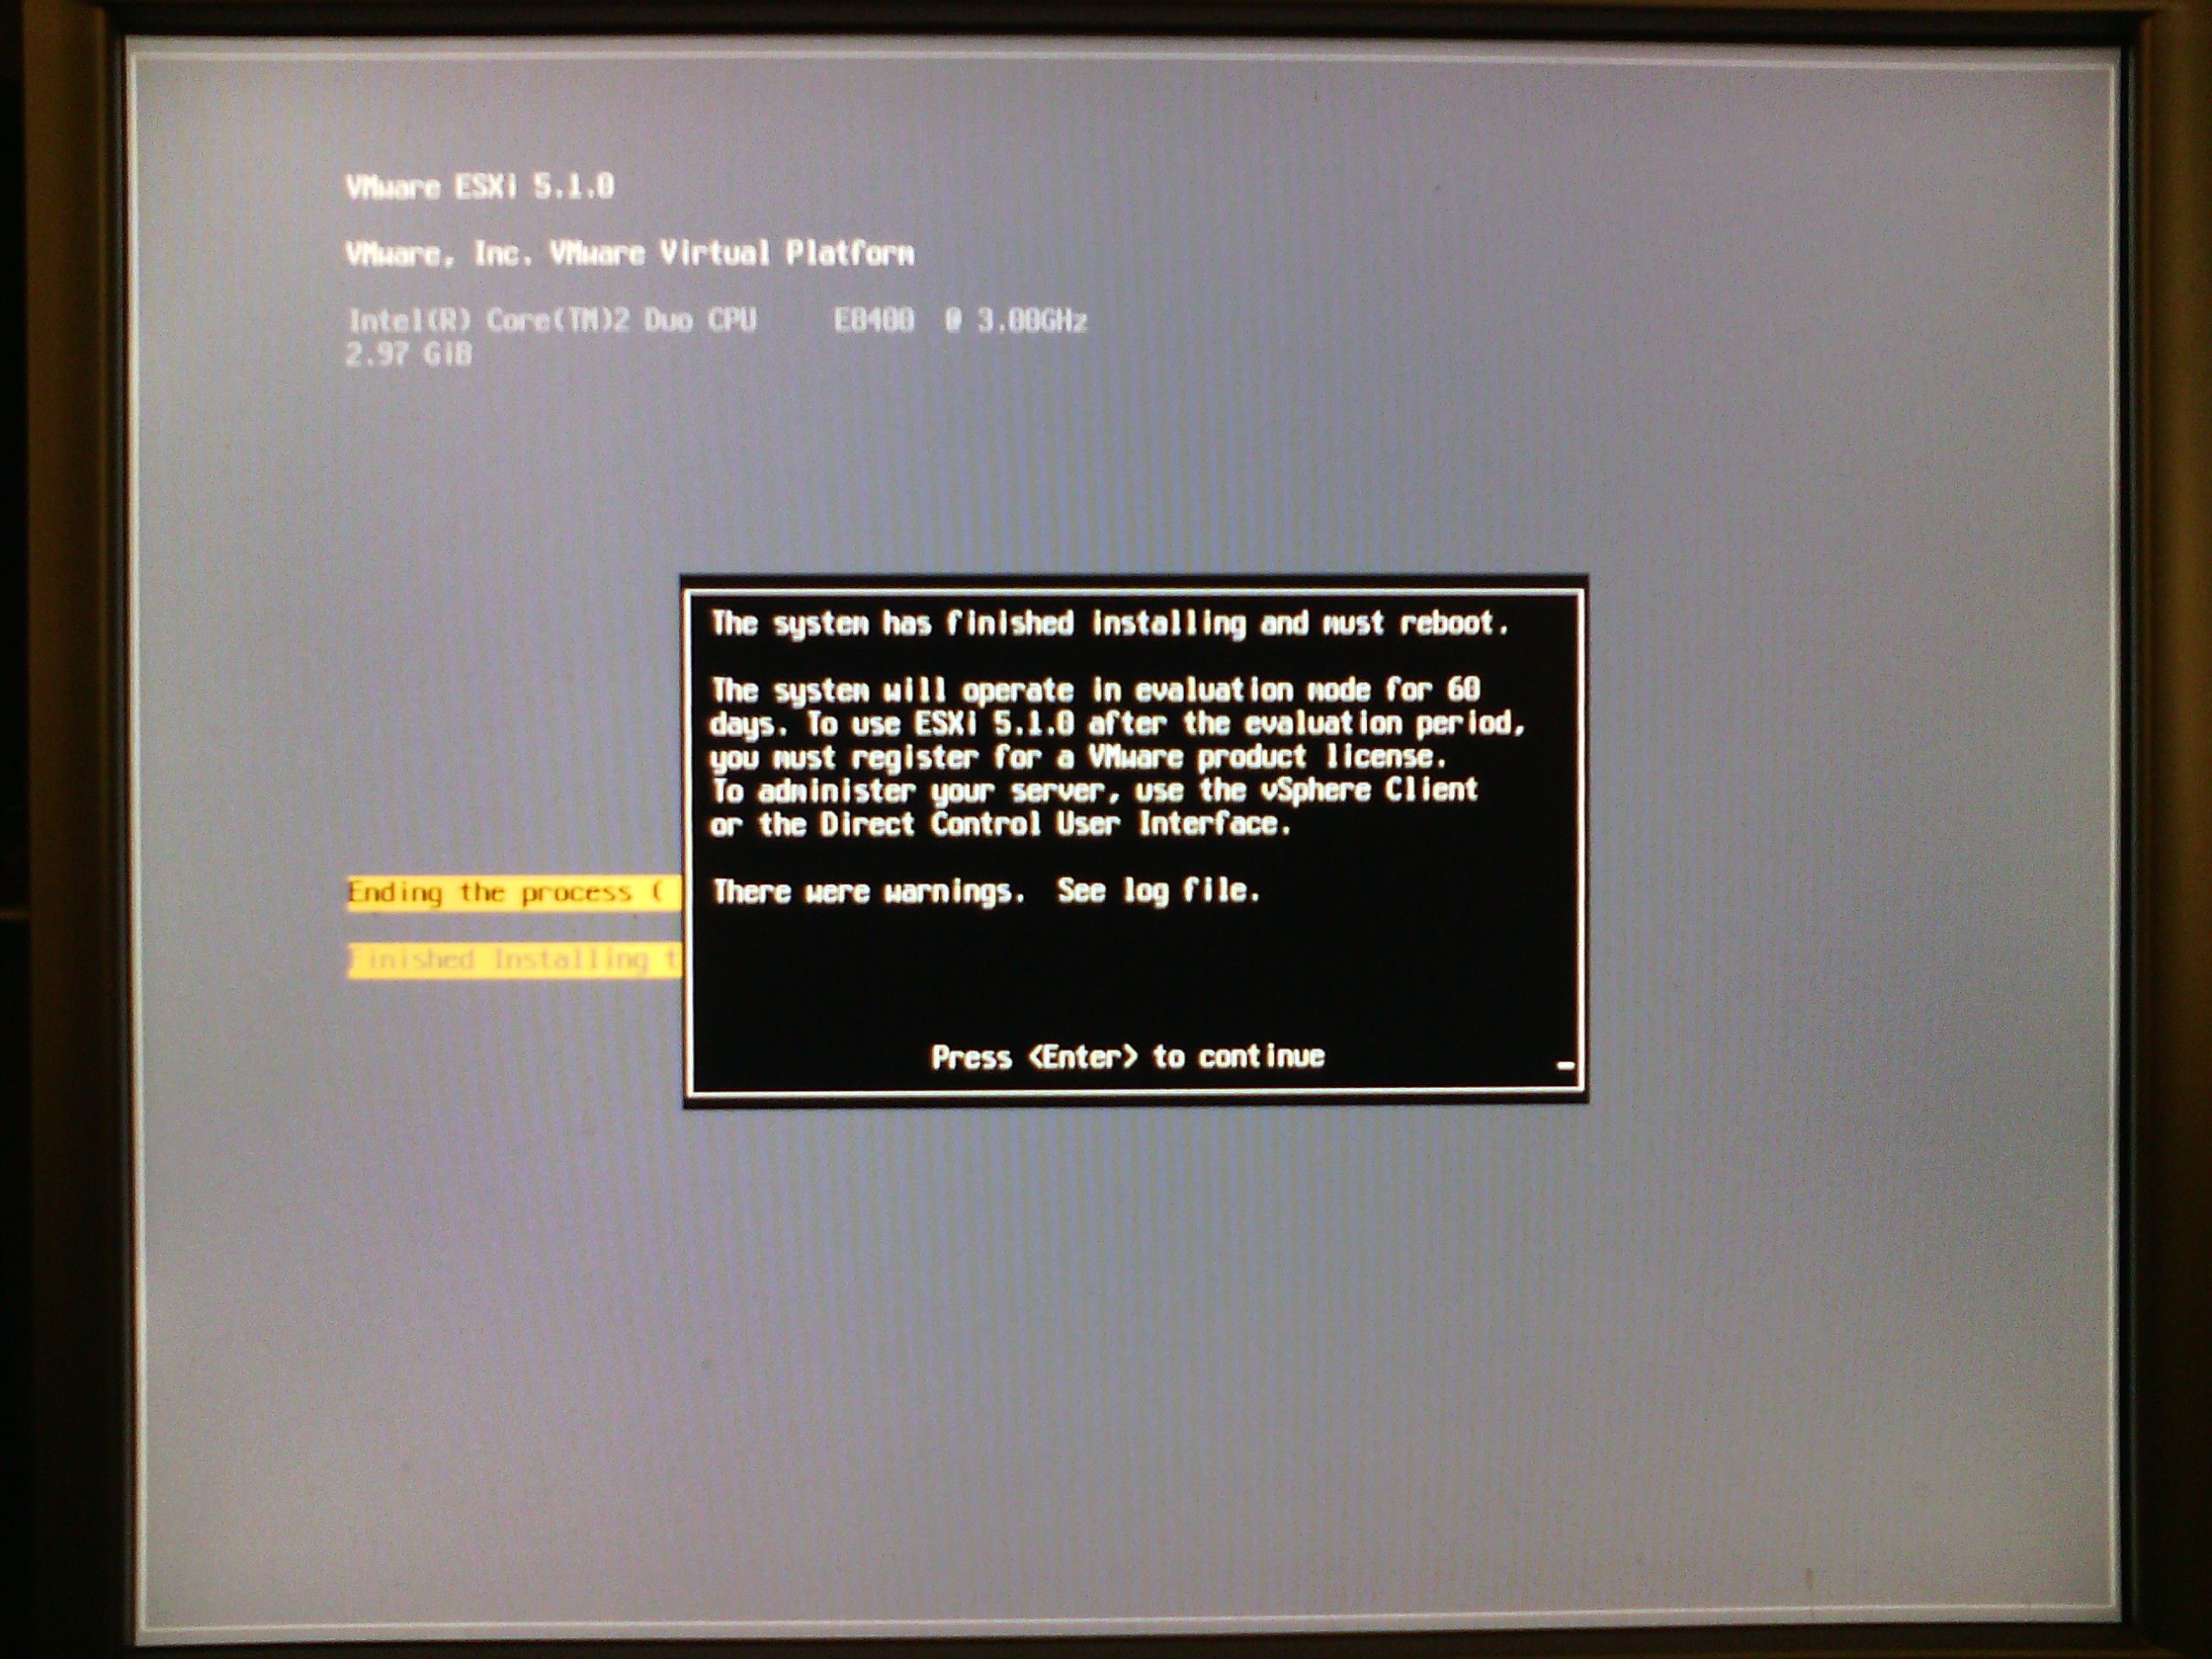
Now the installation successfully finished just before the automatic reboot. Please notice that it will reboot itself without the need to press
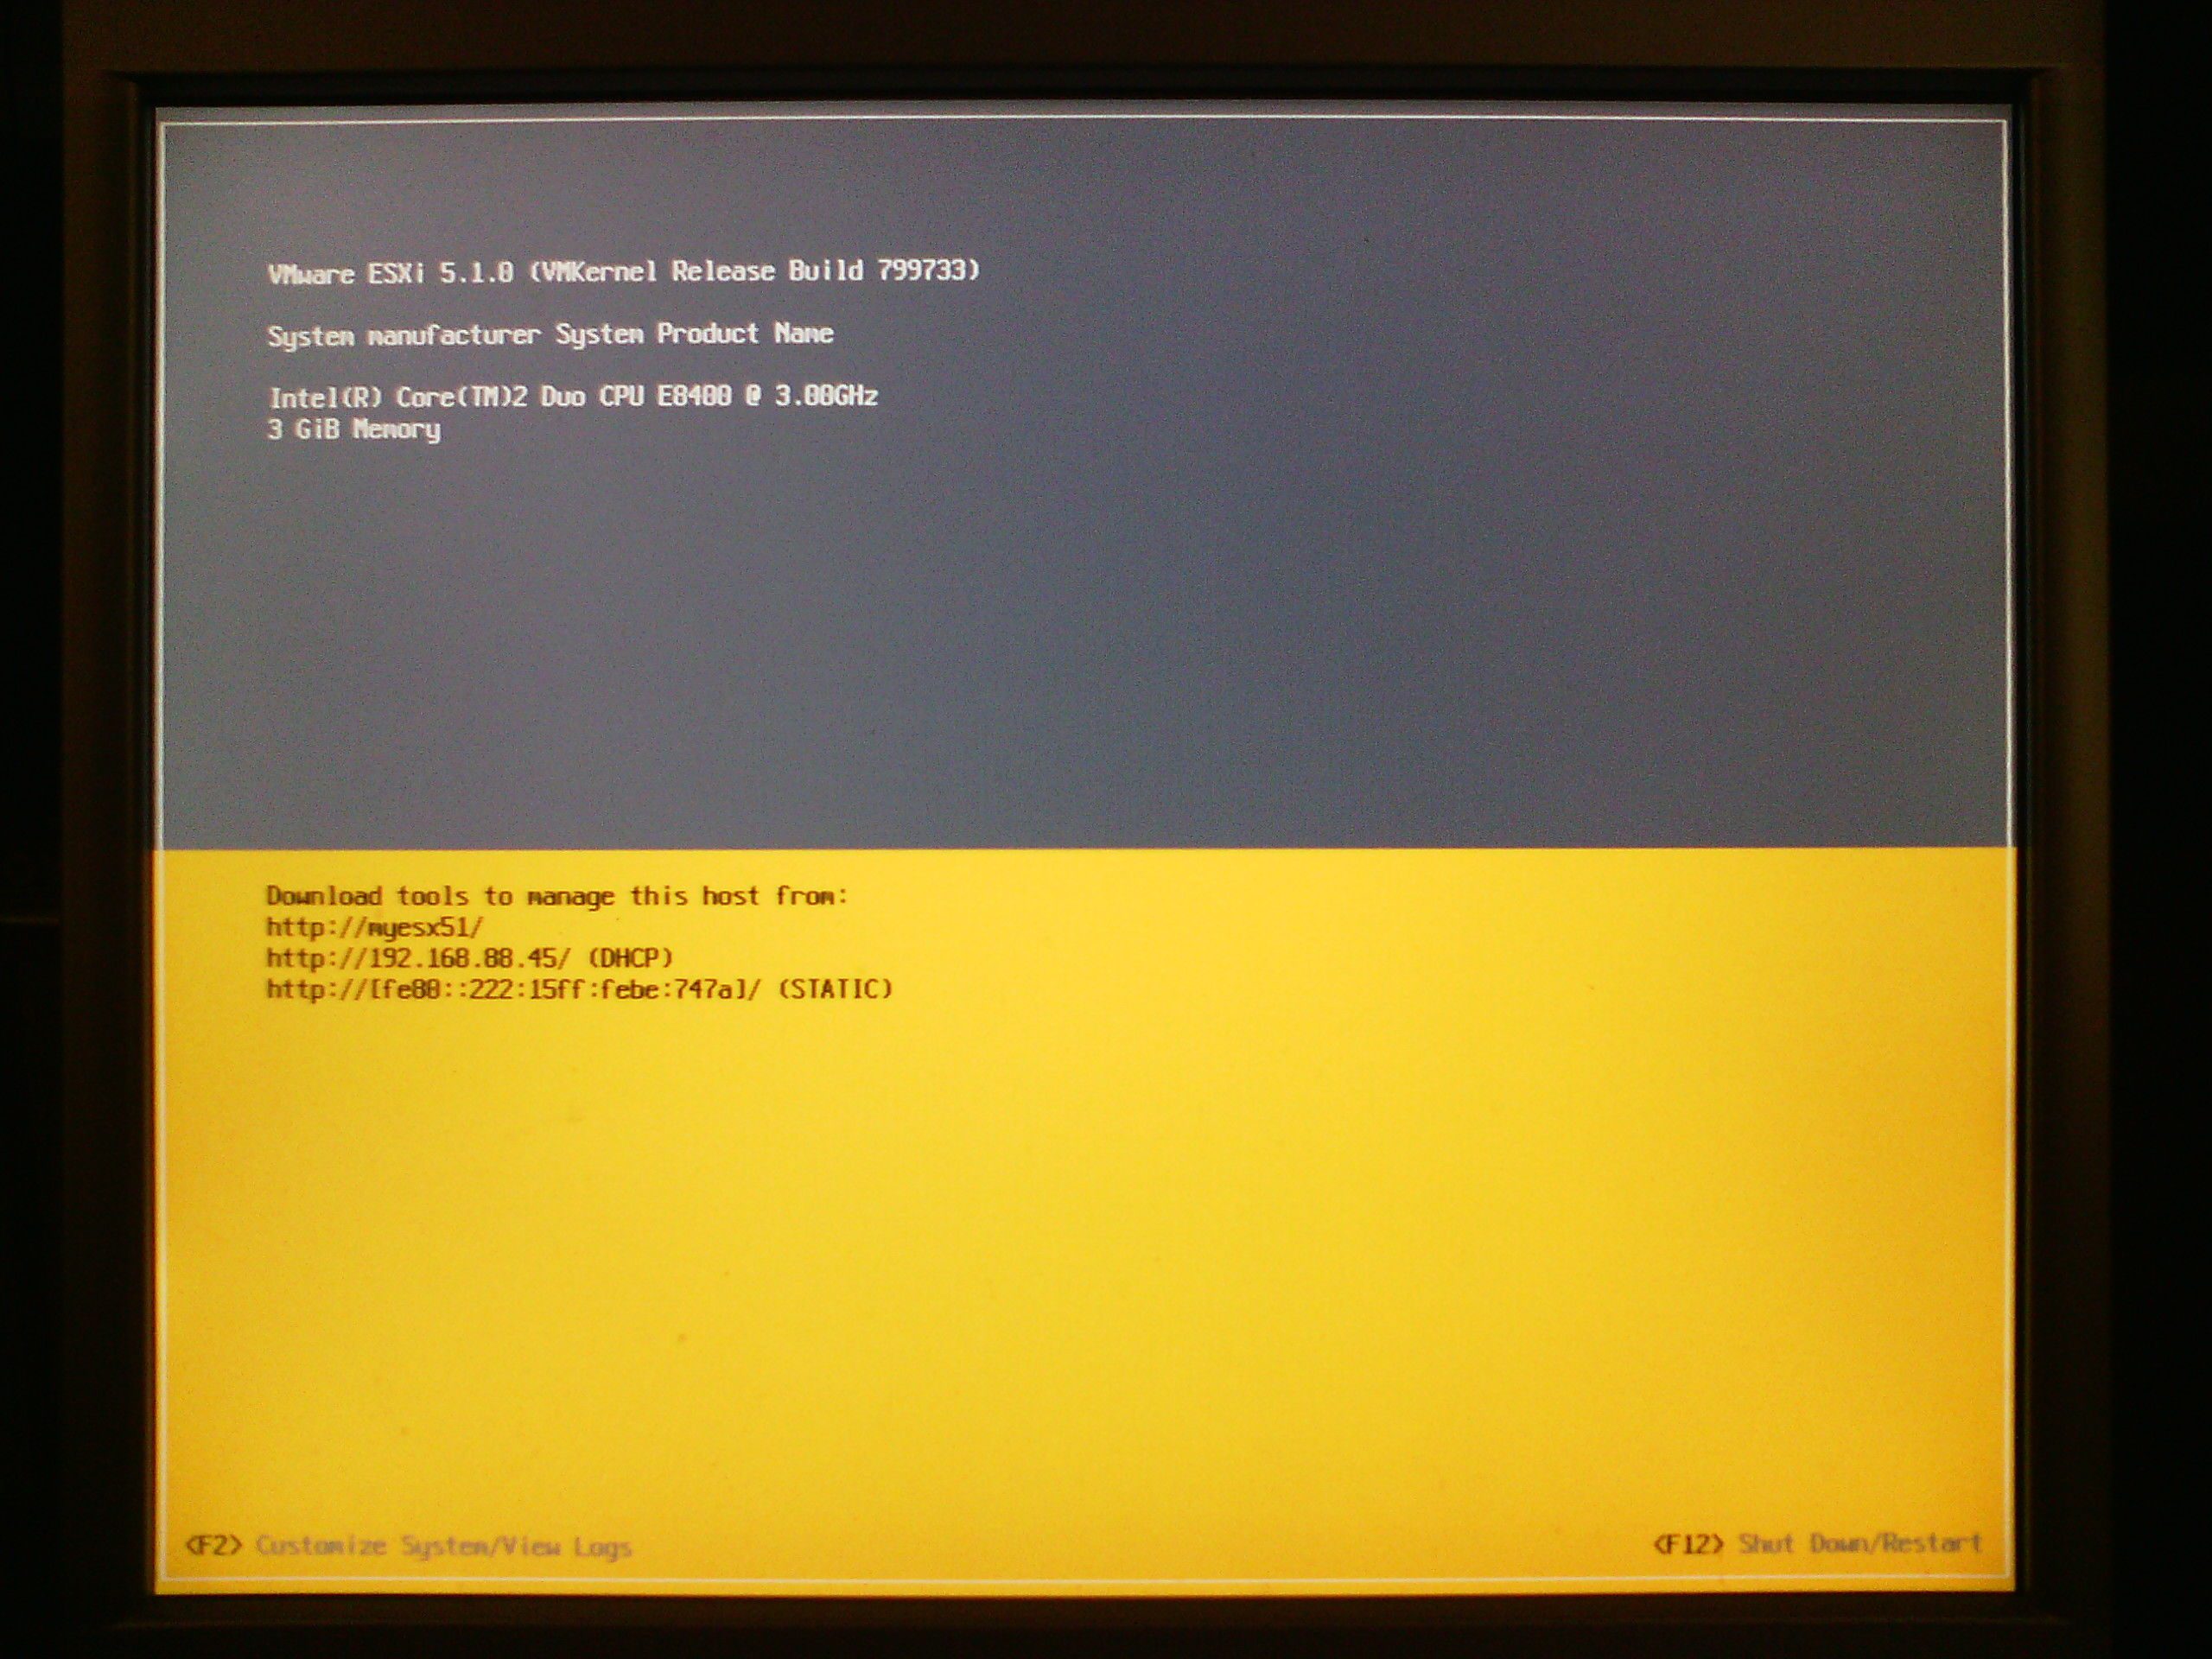
Here a screenshot short after the reboot. It will still use PXE but the PXE configuration will make it boot locally from its first local disk.
ESX starting up after the automatic installation.
Now fully up and running and also pre-configured and automatic integrated into openQRM.
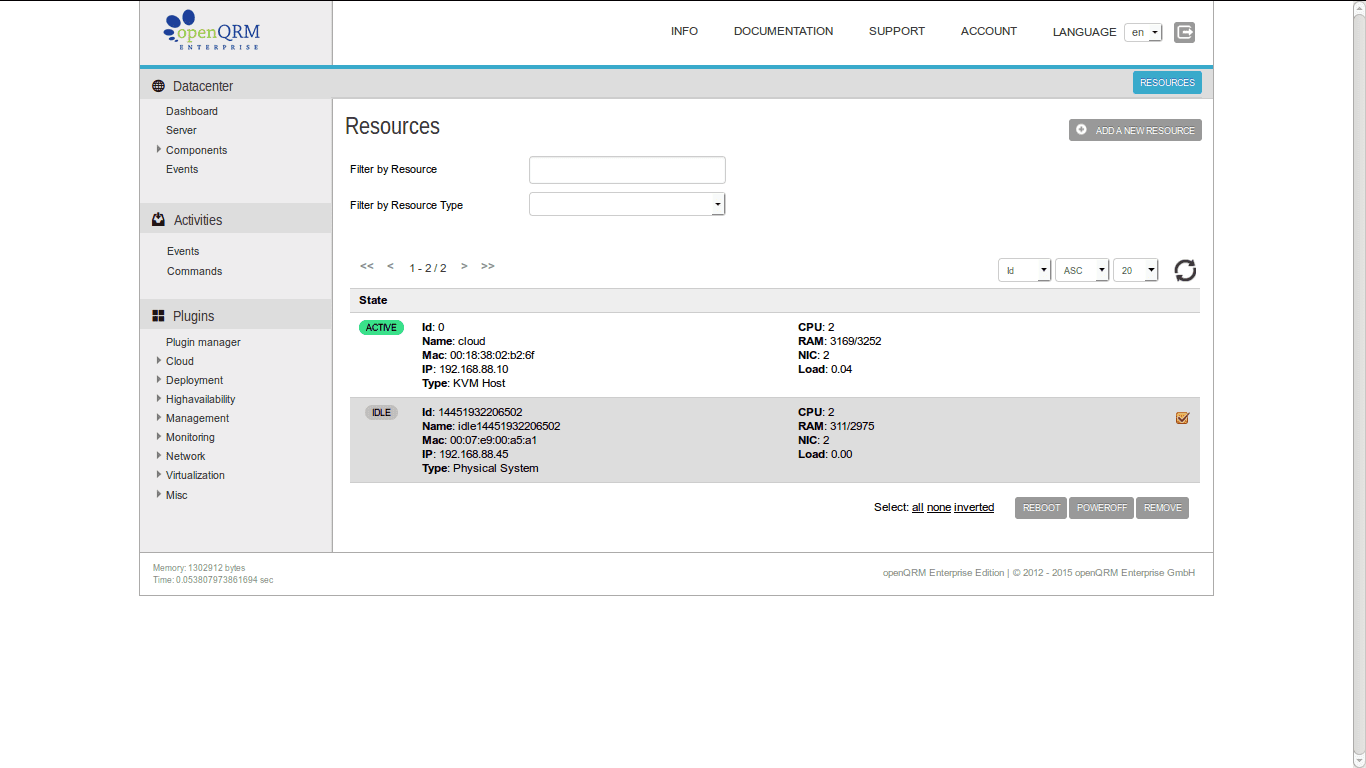
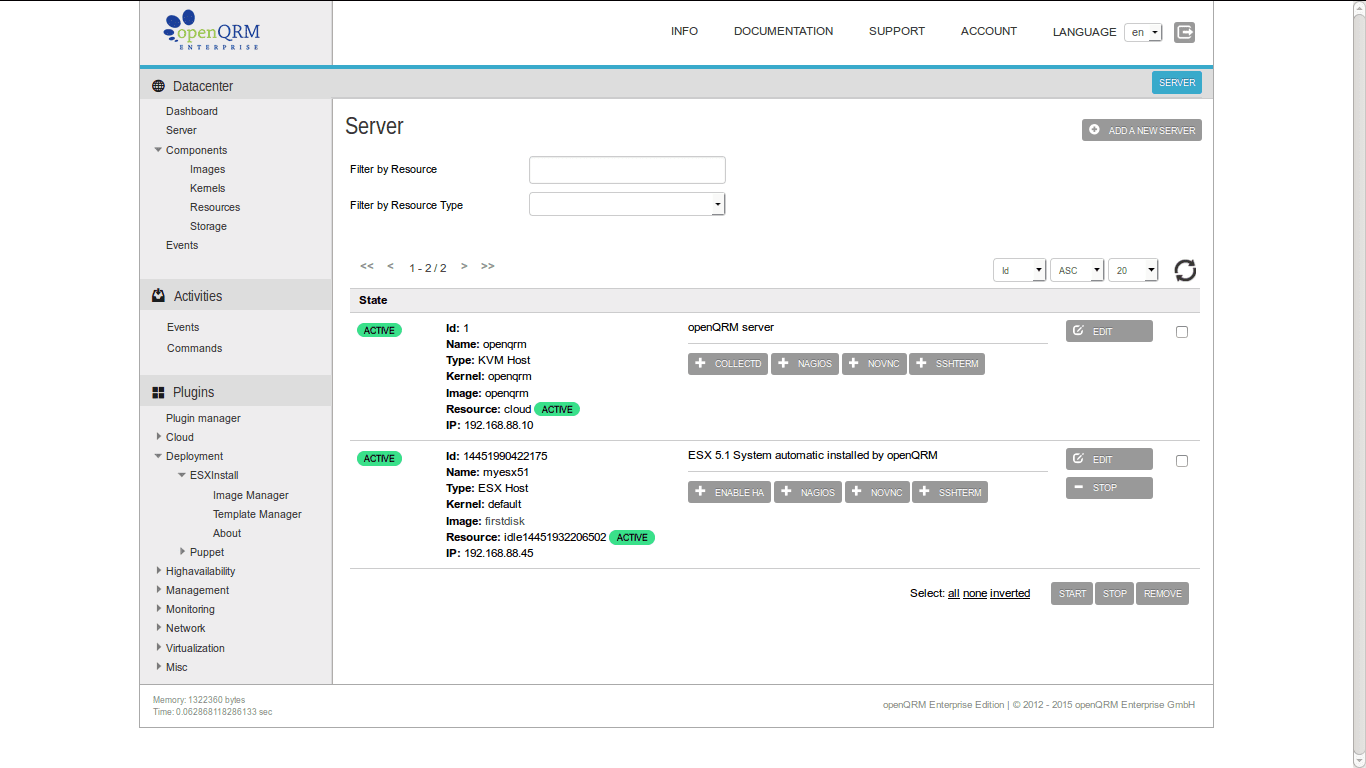
In the server overview the server and resource object of the ESX system are now active.
Now click on Plugins -> Virtualization -> VMware -> Hosts and click on "Network" of the fresh installed ESX system.
Please notice: This step requires to have the VMware PERL SDK/API installed on the openQRM server as described in the "Virtualization with VMware ESX on openQRM".
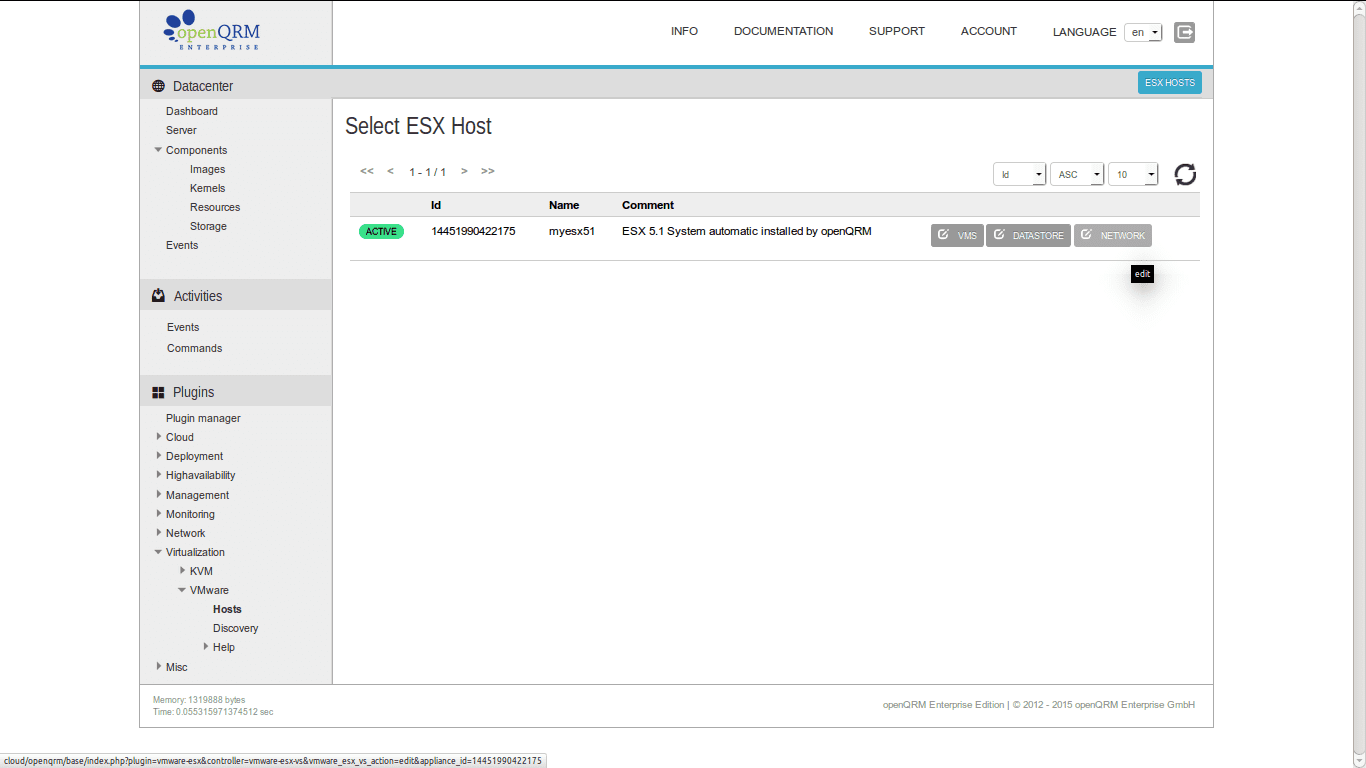
This will show the vSwitch configuration of the ESX system and it means that it is now fully ready to be managed by openQRM.

Please notice if something goes wrong with the PXE/network-boot!
The automatic-installation Image actions (if not configured "persistent" are "one shot" actions.
That means they are only executed once!
If something goes wrong during the installation following the above steps the recommended way
to solve it is to follow the steps below:
This will ensure activating the automatic installation Image action again.
Congratulations!
You have successfully made it through this howto!
Another openQRM documentation sponsored by openQRM Enterprise
We hope you have enjoyed it!
Your openQRM Enterprise Team
Links
- openQRM Community - http://www.openqrm.com/
- openQRM Project at sourceforge - sourceforge.net/projects/openqrm/
- openQRM Enterprise - http://www.openqrm-enterprise.com/
- openQRM at Twitter - https://twitter.com/openQRM
- openQRM at Facebook - https://www.facebook.com/openQRM